You shipped a new feature. Your team worked hard on it. Now you need to tell your users what changed, and that's where most teams fumble. Knowing how to write release notes that are actually useful (and actually read) is a skill that separates great product teams from forgettable ones.
Release notes aren't just a changelog dump. They're a direct line to your users, a chance to show them you listened, you built, and you delivered. At Koala Feedback, we help teams collect and prioritize user feedback, then share progress through public roadmaps. Release notes are the final piece of that loop: proof that user input turned into real product improvements.
This guide breaks down exactly how to structure, format, and write release notes that people want to read. You'll get a simple template you can reuse, along with real-world examples from companies doing it well. Whether you're writing your first release note or trying to fix a process that nobody follows, you'll walk away with a clear system.
A release note is a short document that tells your users what changed in your product. It could describe a new feature, a bug fix, a performance improvement, or a security patch. Release notes live in a changelog, a running record of every update you ship, and they give users a way to track how your product evolves over time.
Release notes do three things at once. They inform users about what changed, they set expectations for how those changes affect daily use, and they build trust by showing that your team is actively improving the product. When you understand how to write release notes well, you turn a routine update into a moment that strengthens the relationship between your product and its users.
The best release notes don't just describe what changed. They answer the question your user is already asking: "Why does this matter to me?"
Most users won't read every word. They scan for changes that affect their workflow, which means clarity and structure matter more than length or polish. Your job is to make it easy for someone to find the one line that's relevant to them in under ten seconds.
Every release note, regardless of update size, should cover a handful of core elements. Skipping any of them leaves users confused or forces them to contact your support team to understand what changed.
Here's what to include:
| Element | What it does | Example |
|---|---|---|
| Version or date | Anchors the update in time | v2.4.1 or May 19, 2026 |
| Category tag | Helps users scan quickly | New, Fix, Improvement, Security |
| Short headline | Summarizes the change in plain language | "Export reports as CSV" |
| Description | Explains what changed and why it matters | 1-3 sentences |
| Who it affects | Narrows the audience when relevant | "Available to Pro plan users" |
| Call to action | Points users to the next step | "Try it in Settings" or a docs link |
Not every release note needs all six elements. A minor bug fix might only need a category tag, a headline, and one sentence. A major feature launch deserves the full set.
Release notes are not internal meeting notes. Keep technical jargon and internal shorthand out entirely. Your users don't need to know the pull request number, the name of the engineer who built the feature, or the architecture decisions behind the change. That information belongs in your internal documentation, not your public changelog.
You should also cut vague filler phrases like "various improvements" or "performance updates." Those phrases tell users nothing and erode trust over time. If something changed, name it. If a bug got fixed, say what the bug was and how it affected the user experience.
Specificity is what makes release notes worth reading and worth keeping. When users see you name the exact problem you solved, they know you pay attention to the details that affect their daily work. That kind of transparency turns a simple product update into a signal that your team is listening and shipping with purpose.
Before you write a single word, you need a complete list of what changed in this release. Most teams skip this step or rush through it, which is why their release notes end up missing important fixes or padding out minor tweaks into major announcements. A solid collection process is the foundation of every good changelog entry.
Your changes are scattered across multiple tools. You need to pull them together into one place before deciding what to include. Git commit logs and pull request titles give you the raw technical list. Your project management tool (whether that's Linear, Jira, or a simple board) shows you what tickets closed in this sprint or release cycle.
The goal at this stage isn't to write anything yet. It's to make sure you have a full inventory of every change so nothing important slips through.
Check your user feedback board too. If a feature request or bug report prompted the change, note that connection now. You'll use it later when you frame why the change matters to users. With Koala Feedback, teams tag feedback items directly to roadmap features, so tracing a shipped fix back to the original request takes seconds and gives you built-in context for your notes.
Not every change deserves a line in your public release notes. Your job is to filter the full list down to changes that affect the user experience in some visible or meaningful way. Apply a simple rule: if a user could notice the difference before and after the change, it belongs in the changelog.
Here's a quick framework to decide what ships:
| Change type | Include? | Why |
|---|---|---|
| New feature | Yes | Directly affects what users can do |
| Bug fix (user-facing) | Yes | Solves a problem users experienced |
| Performance improvement | Yes, if noticeable | Users feel the difference |
| Internal refactor | No | Users see no change |
| Dependency update | No | No user impact |
| Security patch | Yes | Users deserve to know |
Once you have your filtered list, group related changes together by type or product area. This grouping makes the drafting step much faster and helps you spot whether you have a major release or a minor one on your hands, which shapes how you write release notes for each update.
With your filtered list in hand, you're ready to write. Don't stare at a blank page trying to craft the perfect opening line. Instead, use a repeatable template that keeps every entry consistent and speeds up the drafting process every time you ship.
Every entry in your changelog follows the same basic pattern. Here's a template you can copy, adjust, and reuse for any update, whether it's a minor bug fix or a major feature launch:
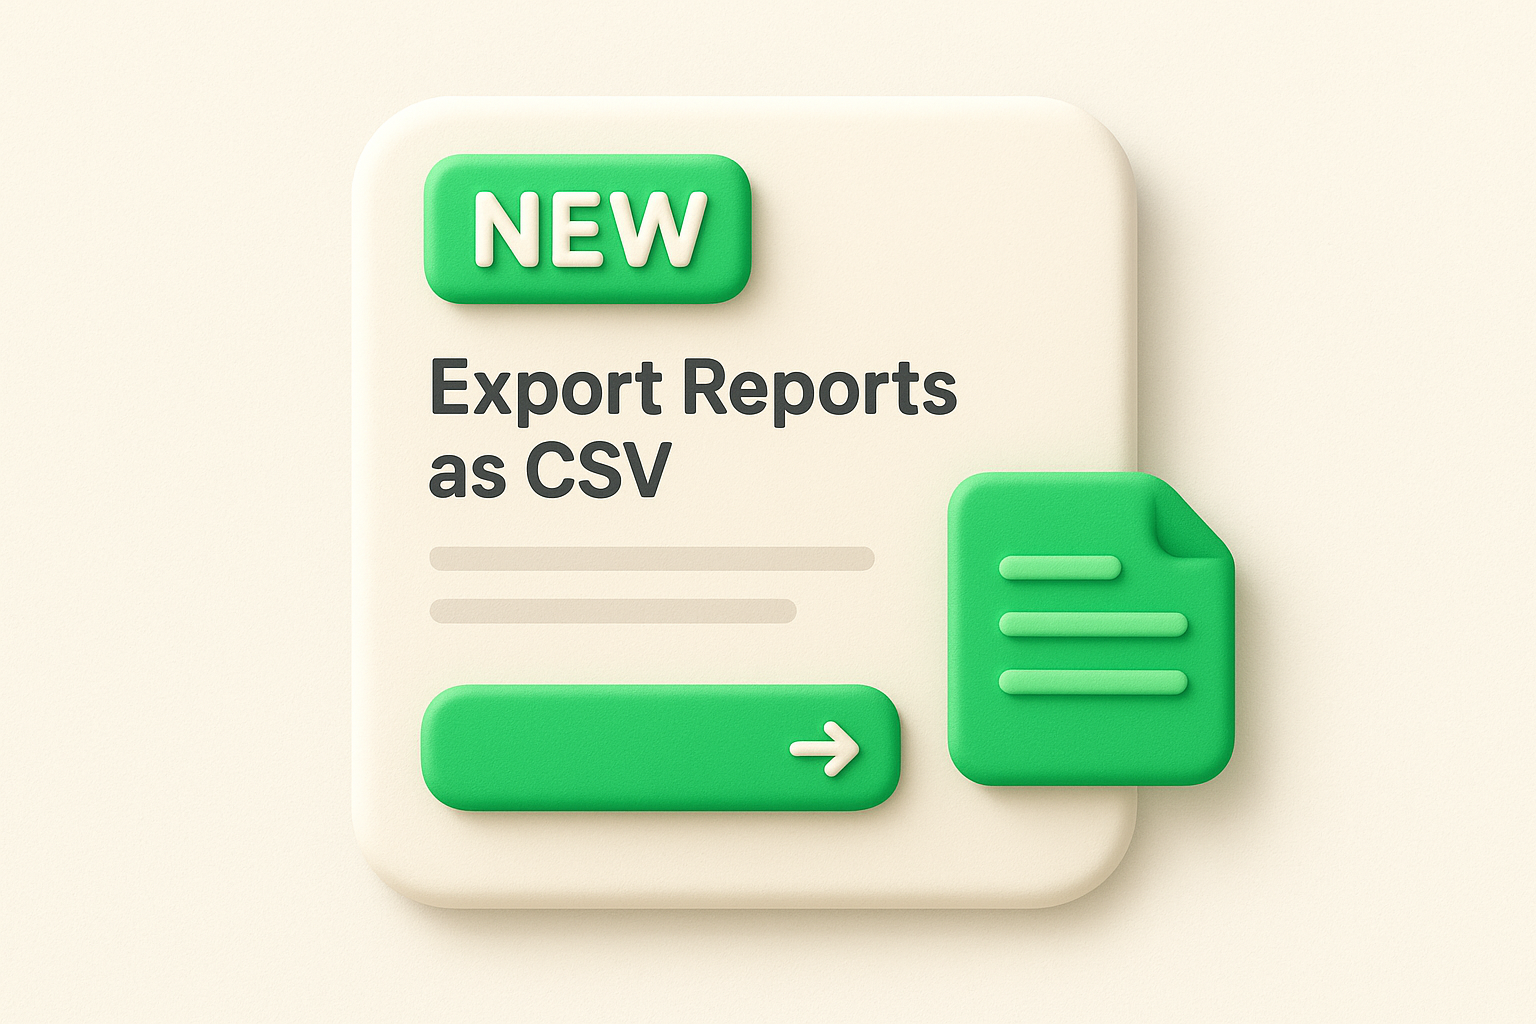
[Category] [Short Headline]

[1-3 sentence description: what changed, why it matters, who it affects]

[Optional: Link to docs or next step]
A real example using this structure:
NEW, Export Reports as CSV

You can now export any report to CSV directly from the dashboard.
This makes it easier to share data with teammates who work outside
the app. Head to any report and click "Export" to get started.

Learn more in our Help Center →
Category labels keep your changelog scannable. Stick to a short, consistent set: New, Fix, Improvement, and Security cover most cases. Don't invent new categories for every release, or your users lose the ability to scan quickly.
This is where most teams overthink how to write release notes. Your description should answer two questions: what changed, and why does it matter to the person reading this? You don't need more than three sentences to do that job well.
Write the description as if you're explaining the change to a user in a support chat, not presenting it to your engineering team in a sprint review.
Start with the outcome, not the mechanism. Instead of "Refactored the filtering logic to improve query performance," write "Filters now load up to 3x faster." The first version describes your work. The second version describes the user's experience. That shift in framing is the difference between release notes that feel useful and ones that feel like internal documentation that accidentally went public.
Keep each description to three sentences or fewer. If you need more space than that, you're either combining multiple changes into one entry or writing a blog post, not a release note.
A draft isn't finished when you've filled in the template. Clarity and scannability are what separate release notes people actually read from ones they scroll past. Before you publish, run each entry through a quick edit pass focused on three things: length, formatting, and usefulness for the specific person who needs that information.
Long, dense sentences bury the information your users need. Aim for sentences under 20 words in your descriptions. If a sentence runs long, break it in two. Every word in a release note should earn its place.
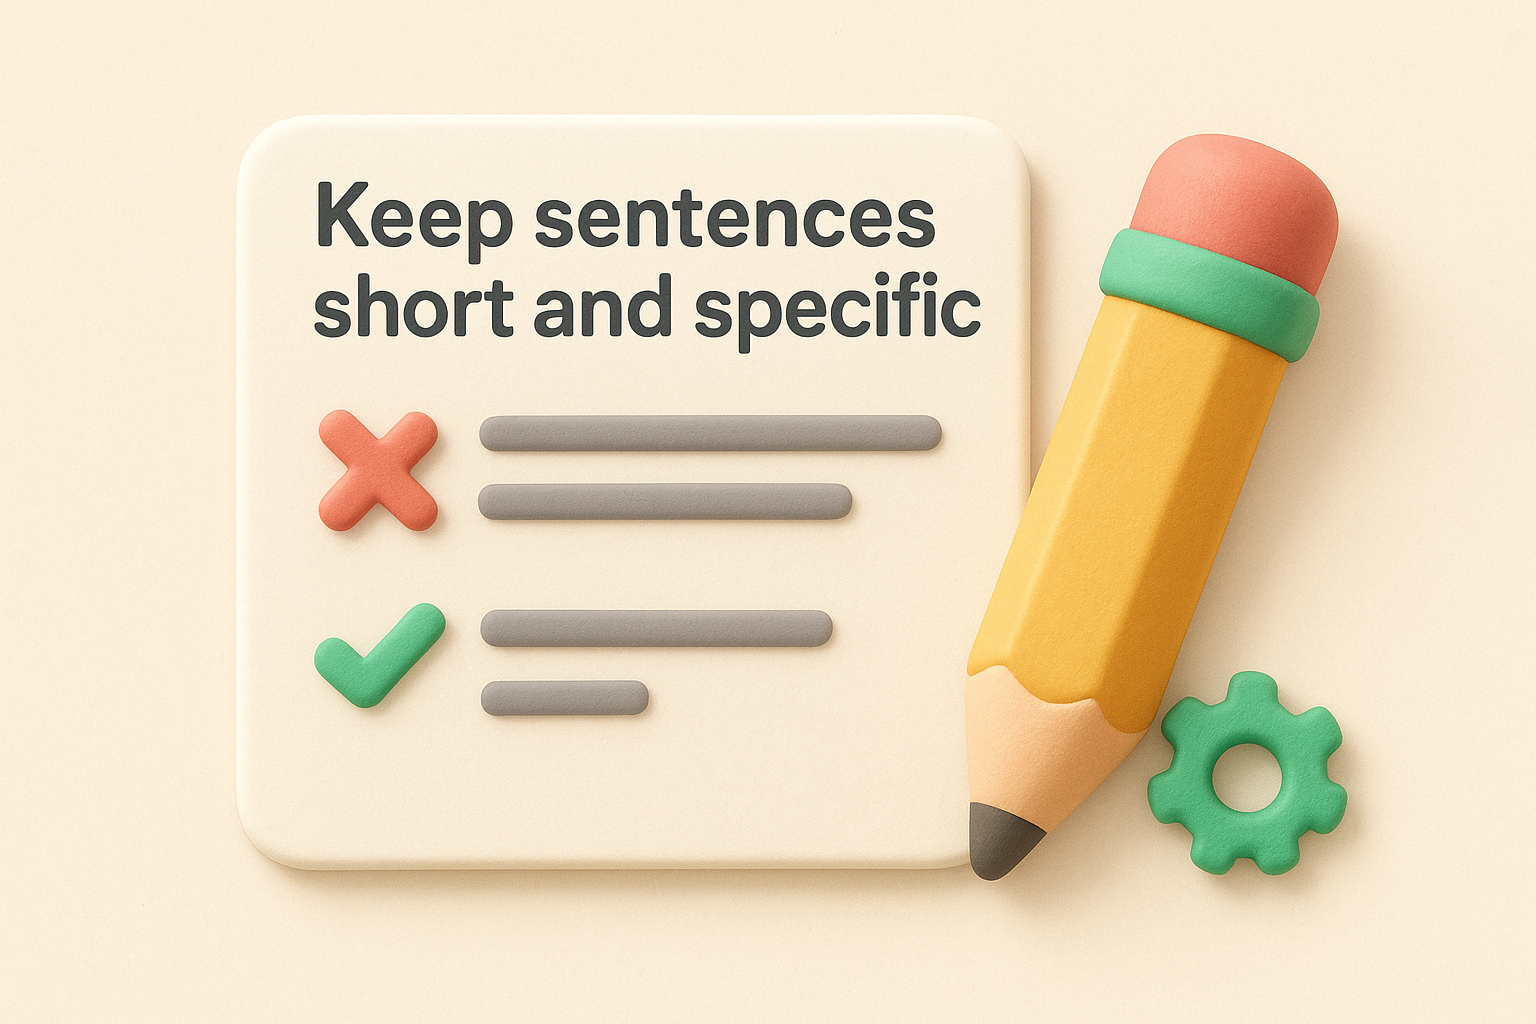
Check each entry for vague qualifiers like "improved," "enhanced," or "better." Replace every one with a specific claim. Instead of "Improved loading speed," write "Dashboard loads in under one second." That single edit makes the change measurable and believable.
Specificity builds trust. When users see exact numbers and named behaviors, they know you tested the change rather than just shipped it.
Here's a before-and-after comparison you can use as a model when editing your own entries:
| Vague version | Specific version |
|---|---|
| Improved performance | Search results appear 40% faster |
| Fixed a bug | Fixed a crash when uploading files over 10MB |
| Enhanced the editor | Added keyboard shortcuts for bold, italic, and link |
| Various improvements | Reduced email notification delay from 5 minutes to under 30 seconds |
Consistent formatting does the heavy lifting once your words are in place. Use your category labels on every entry, align your headlines to a uniform style, and keep descriptions to one to three sentences. Users who visit your changelog regularly will build a mental model of your format, which means they extract the information they need faster each time.
Avoid walls of text. If a single release includes more than five or six changes, break them into grouped sections by category (Fixes, New Features, Improvements). That structure lets different users find what's relevant to them without reading the full list.
Read each entry out loud before you publish. If it sounds awkward or unclear spoken aloud, it reads the same way on screen. Then ask someone who wasn't involved in building the feature to read the entry and tell you what they think changed. That quick comprehension check reveals gaps that are invisible to the person who built it.
Knowing how to write release notes well comes down to writing for the reader who knows nothing about what happened internally, only what they experienced before and what they experience now.
Writing the entries is only part of the work. Once you know how to write release notes that are clear and specific, you still need to decide where they live, how users find them, and how you maintain the archive as it grows. A well-written note that nobody sees doesn't close the feedback loop.
Your changelog needs a permanent, predictable home that users can bookmark and revisit. A dedicated changelog page on your own domain (for example, yourapp.com/changelog) is the most reliable option. It keeps your update history under your control, loads fast, and lets users scan back through previous releases without depending on a third-party platform staying online.
Put your changelog link in your main navigation or footer so users can find it without searching.
Avoid publishing release notes only inside your app's notification feed or as a pop-up modal. Those surfaces disappear the moment a user dismisses them, which means anyone who misses the window loses the information entirely. A standalone page keeps the record accessible to every user, at any time.
Publishing the page isn't enough. Most users won't check your changelog unless you send the update directly to them. Email is the most reliable distribution channel for significant releases. Write a short email that leads with the most impactful change, links to the full changelog entry, and includes one clear next step. Keep the email to three to five sentences.
For smaller fixes and improvements, in-app notifications or a banner pointing to the changelog entry work well without filling a user's inbox. Match the distribution weight to the size of the update. A security patch or a major new feature justifies an email. A minor UI tweak does not.
Changelogs get harder to navigate as they grow. Apply consistent date formatting and category labels from your very first entry so the archive stays uniform. Use the same label set you established in your template (New, Fix, Improvement, Security) and never rename them partway through.
Review your changelog every three to six months and check that older entries still link to current documentation. Broken links and outdated screenshots erode trust just as much as vague descriptions do. A tidy archive signals that your team cares about the product long after a release ships.
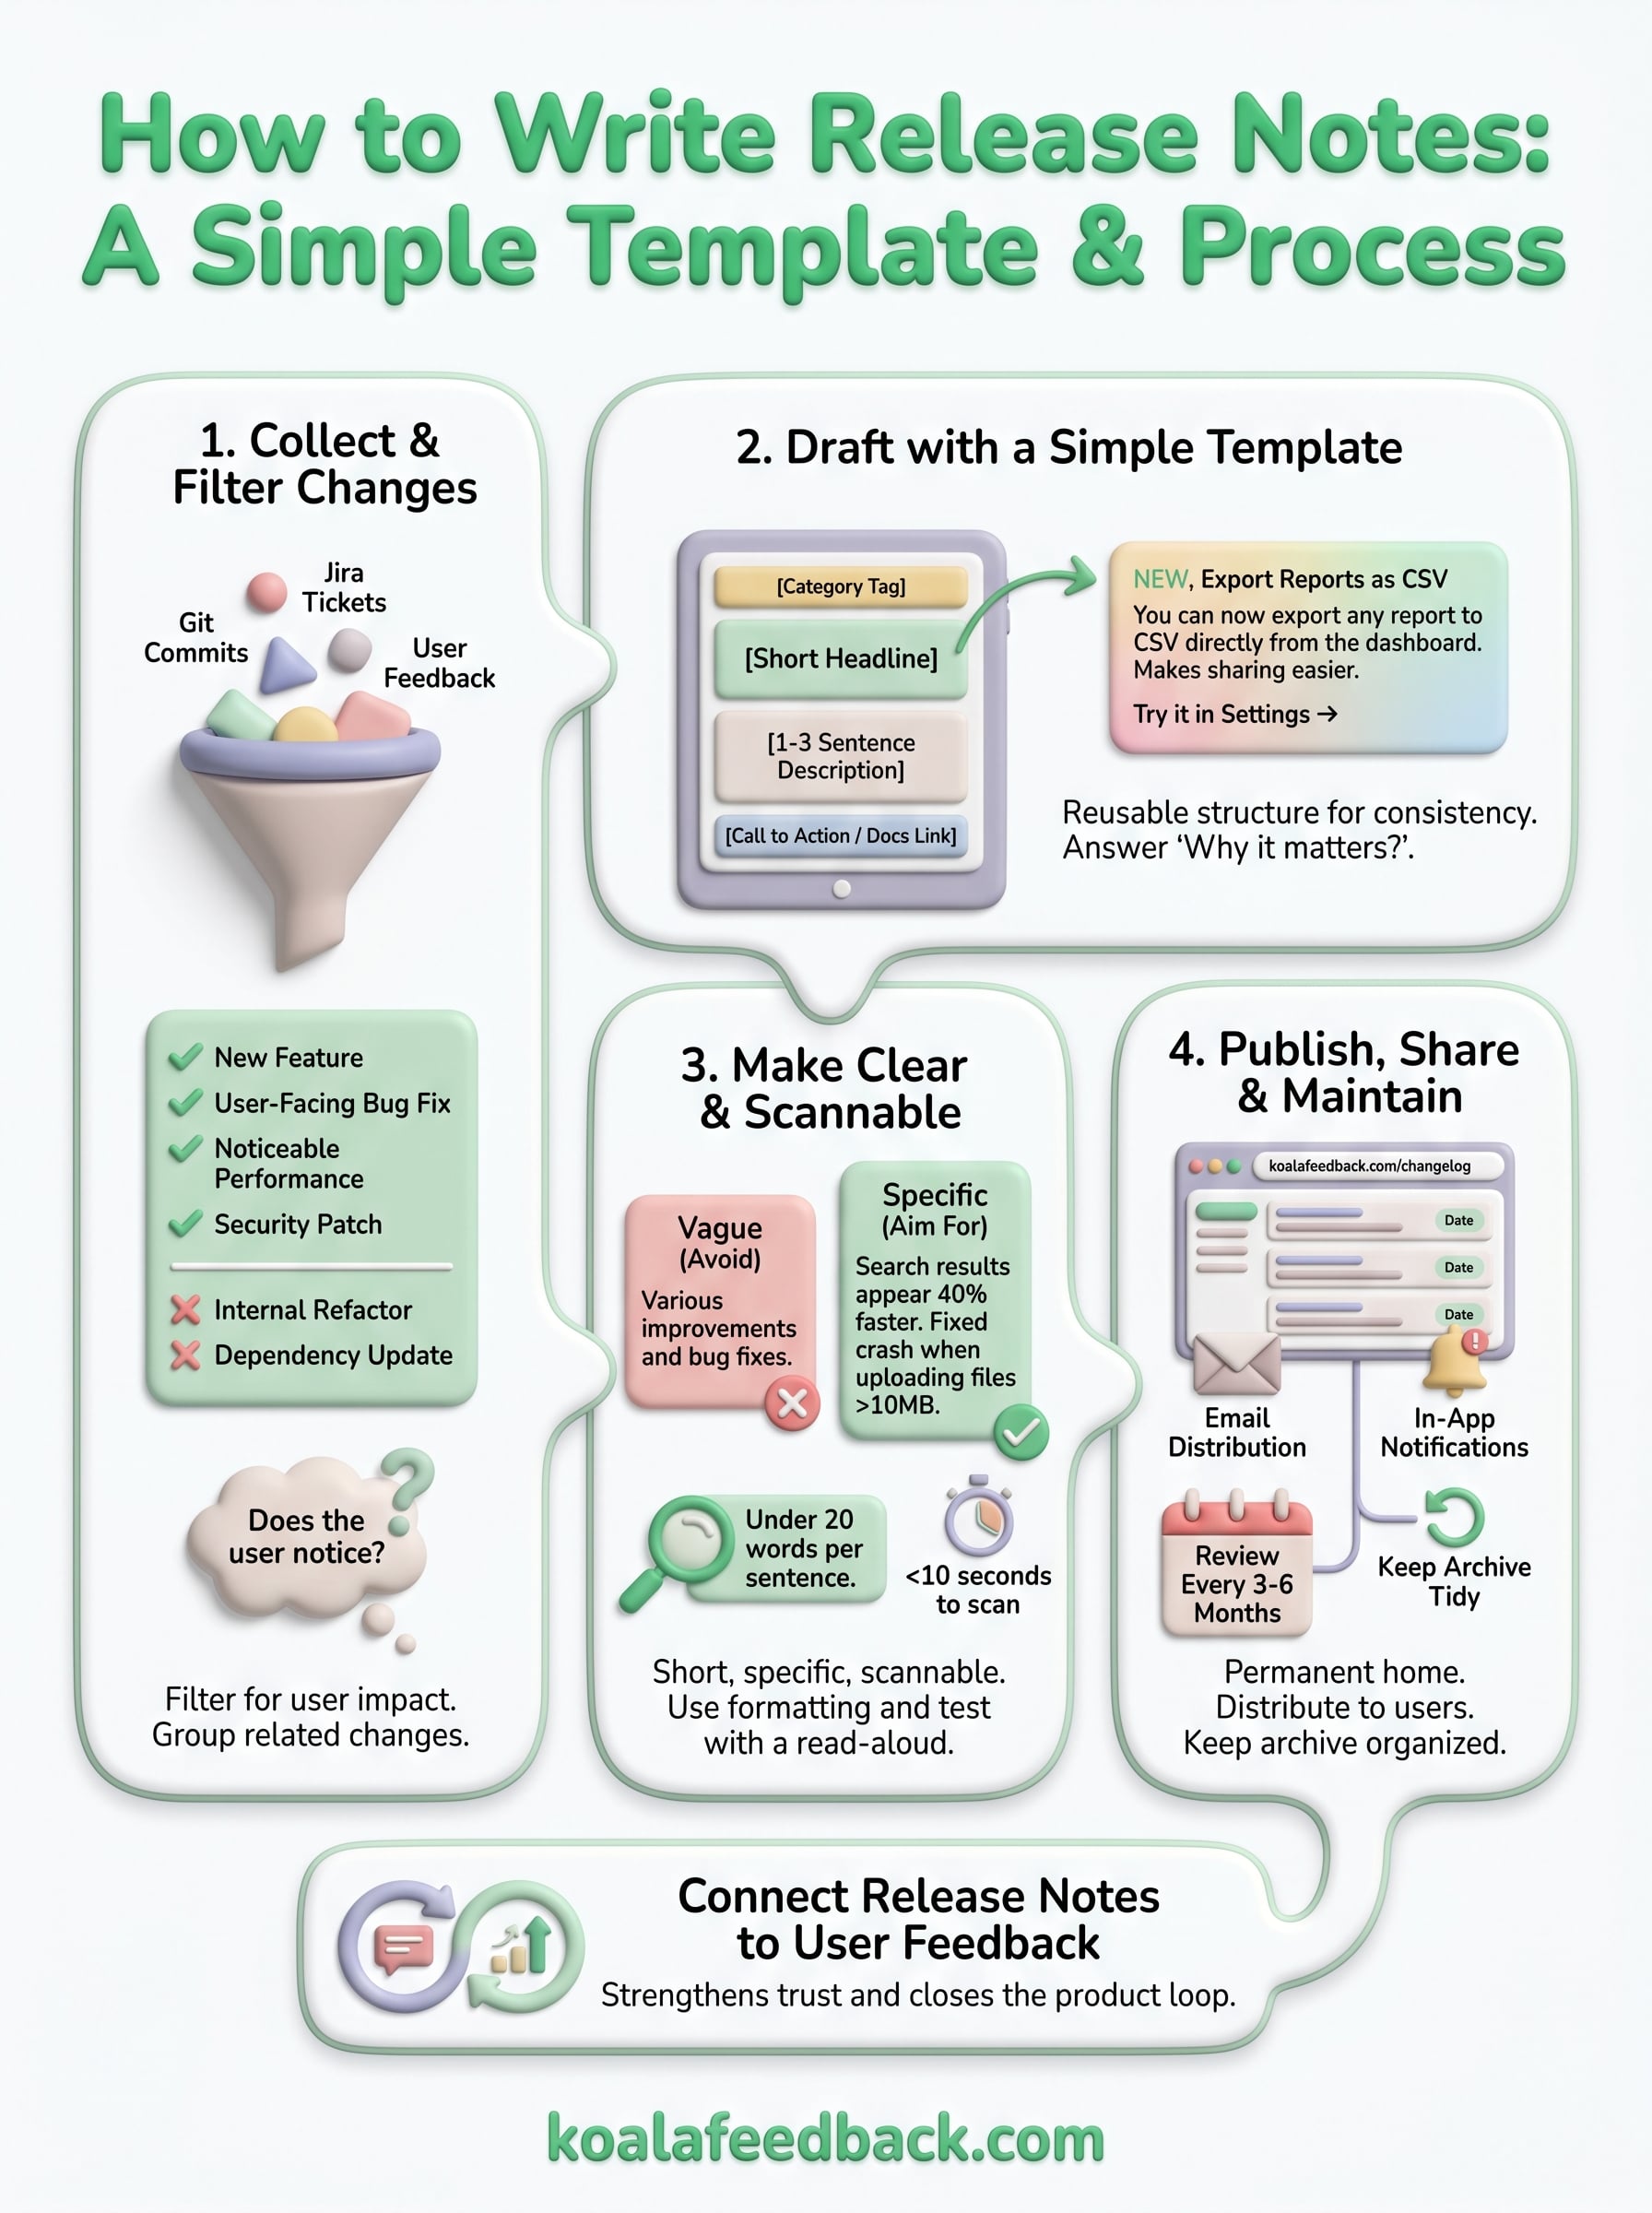
Knowing how to write release notes well comes down to four repeatable steps. First, collect and filter your changes so only user-facing updates make it into your changelog. Second, draft each entry using the simple template: category, headline, one to three sentence description, and an optional next step. Third, edit for specificity and scannability so every sentence earns its place. Fourth, publish your notes in a permanent location, distribute them to your users, and keep the archive clean as it grows.
Every step in this process works better when you connect your release notes back to the feedback that drove them. Users who see their request turn into a shipped feature stay engaged, come back with more useful input, and trust your team to keep delivering. That connection between feedback and shipping is exactly what Koala Feedback is built to support. Start turning your user feedback into a clear, transparent product loop today.

Start today and have your feedback portal up and running in minutes.