You know you need direct input from real users, but the last interview you ran felt more like a survey read aloud than a conversation. Learning how to conduct user interviews well is what separates feedback that actually shapes your roadmap from a transcript nobody reads again. Most product teams skip straight to asking questions without a plan, and end up with answers that are polite but useless.
This guide gives you the exact process: how to recruit the right participants, write questions that reveal real behavior instead of opinions, and build enough rapport that people tell you what they actually think instead of what they assume you want to hear. You'll also get scripts and follow-up prompts you can adapt for your own product.
We'll walk through every stage, from setting a clear research goal to structuring the session and turning raw notes into decisions your team can act on. Once you've collected that feedback, tools like Koala Feedback help you organize it, spot patterns across interviews, and connect it directly to feature prioritization, so the insights don't just sit in a doc, they shape what you build next.
A user interview is a one-on-one conversation with a real or potential customer, designed to uncover how they actually work, what problems they hit, and why they make the choices they make. It's not a pitch, and it's not a support call. You're not there to convince anyone or fix a bug on the spot. You're there to listen, ask follow-up questions, and understand behavior well enough to make better product decisions. This distinguishes it from a survey, which collects quick, structured answers from many people but rarely explains the reasoning behind them.
Most teams pick from three interview styles, and the right one depends on how much you already know about the problem you're researching.
| Format | Best for | Trade-off |
|---|---|---|
| Structured | Comparing answers across many participants | Feels rigid, limits follow-up questions |
| Semi-structured | Most product discovery work | Requires a skilled moderator to stay on track |
| Unstructured | Early exploration of a new problem space | Hard to compare notes across sessions |
Semi-structured interviews work best for product feedback because they give you a consistent backbone of questions while leaving room to chase interesting answers wherever they lead. You'll see this format used throughout the rest of this guide.
Teams that skip interviews often rely on support tickets, app store reviews, or their own assumptions about what users want. Each of those sources is biased in a different direction. Support tickets skew toward frustrated users. Reviews skew toward extreme opinions. Internal assumptions skew toward whatever the loudest person in the room believes. A well-run interview cuts through all of that noise by putting you directly in front of the person who uses your product, with enough time to ask why, not just what.
A single well-run interview tells you more about real user behavior than a hundred survey responses ever will.
That's not a knock against surveys, quantitative data has its place, especially for validating a pattern across a large group. But surveys measure what people say they'd do. Interviews reveal what people actually do, and more importantly, why they do it. You'll often find that the reason someone abandoned a feature has nothing to do with the reason your team assumed.
When you run interviews consistently, three things change in how your team builds product:
This last point matters more than most teams realize. Interviews aren't just a research tool, they're also a relationship-building exercise. The participant walks away feeling heard, and if you follow up later to say "we shipped the thing you mentioned," you turn a one-time conversation into a long-term advocate. That's part of why pairing interviews with a public feedback and roadmap tool works so well: the insights you gather in a session can feed directly into a feature request that other users vote on, giving you a data point that goes beyond a single conversation.
Once you understand what a user interview is and why it earns a spot in your research toolkit, the next question is practical: what are you actually trying to learn? That's where a clear research goal comes in, and it's the foundation every other step in this guide builds on.
Before you write a single question, decide what decision this research needs to inform. A research goal isn't "learn more about onboarding," that's a topic, not a goal. A real goal sounds like "figure out why 40% of new signups never create their first project." The difference matters because a vague topic leads to a scattered interview guide, and a scattered guide leads to notes nobody can act on. Teams that skip this step usually end up with a pile of interesting quotes and no clear next move.
Think about the decision waiting on the other side of this research. Are you deciding whether to build a feature, redesign a flow, or kill a project that isn't gaining traction? Write that decision down first, then work backward to the questions that would actually change your mind. This keeps you from padding the interview with questions that are merely curious rather than useful.
If a question's answer wouldn't change what you build next, cut it from the interview.
Once you know the decision, translate it into two or three specific research questions. Keep them behavior-focused, not opinion-focused. Compare the difference:
| Weak research question | Strong research question |
|---|---|
| Do users like our dashboard? | What do users try to accomplish the first time they open the dashboard? |
| Would people use a mobile app? | How do users currently work around not having a mobile app? |
| Is pricing a problem? | What made users hesitate before upgrading their plan? |
Notice the strong versions ask about actual behavior rather than a yes-or-no preference. That framing carries through every later step, from the interview guide you write to the follow-up prompts you use in the room.
Document your goal in a single sentence and share it with whoever else is involved in the research, whether that's a designer, a founder, or another PM. This does two things. It keeps the interview guide honest, since every question should trace back to that sentence. It also gives your team a shared reference point when you present findings later, so nobody asks "wait, what were we even trying to figure out?" halfway through the readout. A goal that fits on a sticky note is usually a good sign. If it takes a paragraph to explain, narrow it further before you move to writing questions.
An interview guide isn't a script you read word for word, it's a loose map that keeps you and the participant moving toward the goal you defined in Step 1. Think of it as a safety net: if the conversation stalls or wanders too far, you have prepared questions to pull it back. Skip this step and you'll either freeze mid-interview or default to leading questions that just confirm what you already believed.
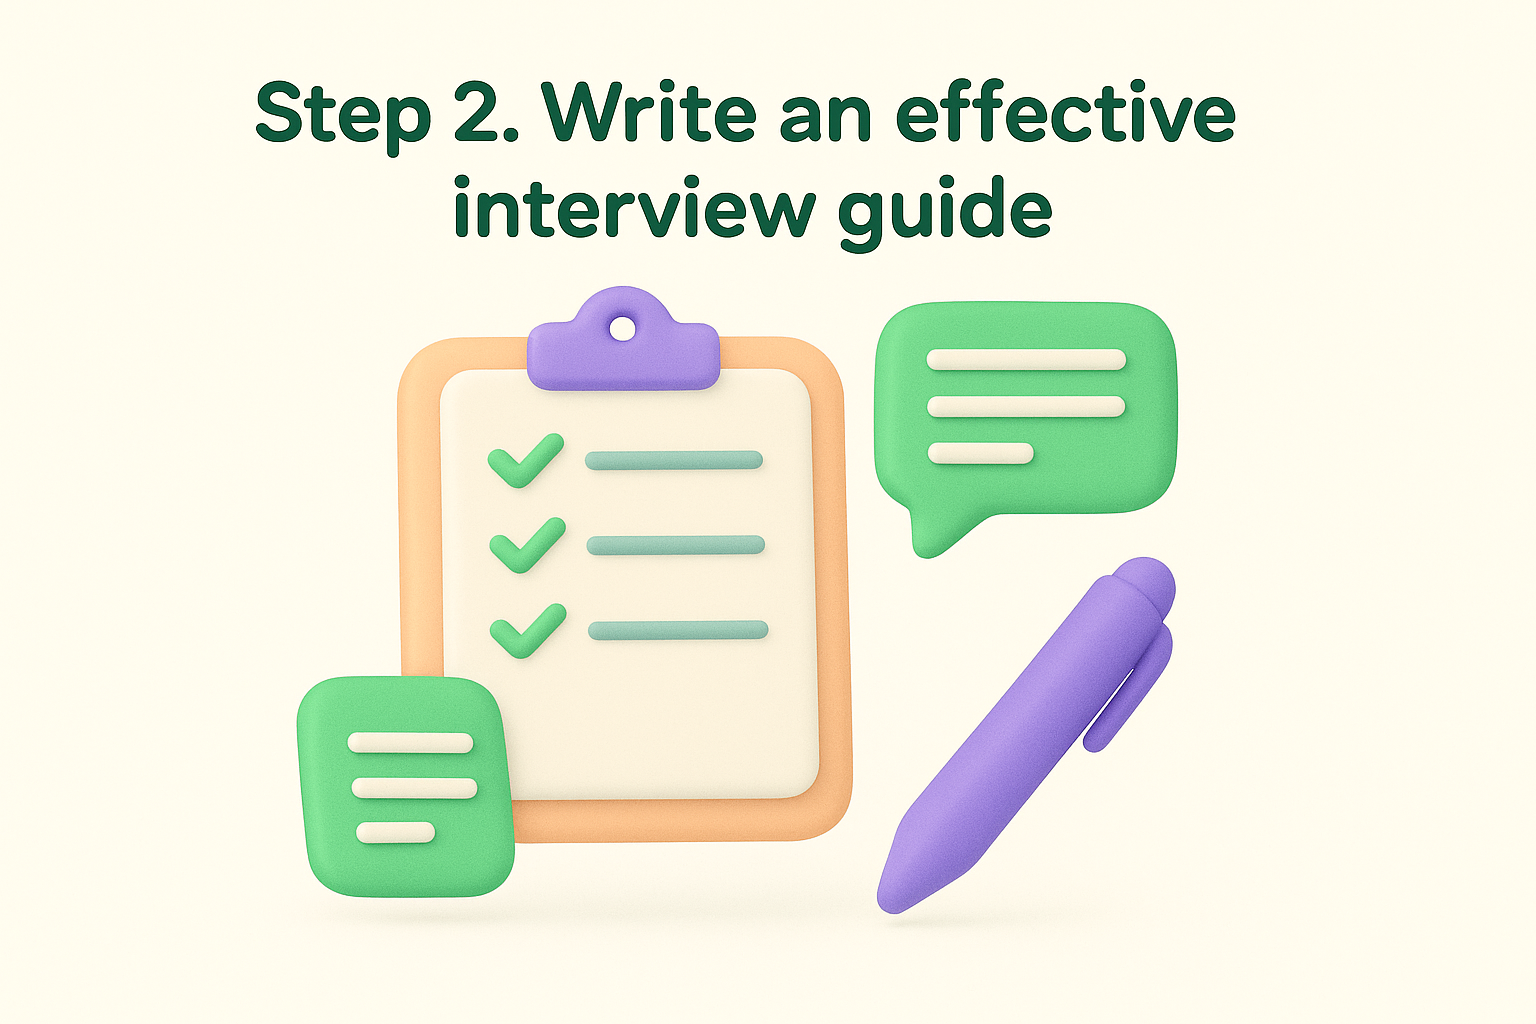
Every solid guide breaks into an opening, a core section, and a close. The opening warms up the participant with easy, low-stakes questions about their role or routine. The core section holds your real research questions, ordered from general to specific. The close leaves room for anything you missed and thanks the participant for their time. A simple outline looks like this:
1. Warm-up (2 min): role, context, how they use the product today
2. Core questions (20-25 min): behavior-focused, ordered general to specific
3. Wrap-up (3 min): "anything we didn't cover?" + thank you
Keep each section timed loosely in your head so you don't burn 20 minutes on warm-up chat and leave nothing for the questions that actually matter.
Write questions that ask what someone did, not what they'd theoretically do. "Walk me through the last time you tried to export a report" beats "Would you use an export feature?" every time, because people are unreliable predictors of their own future behavior but decent narrators of their past actions. Pair each open question with two or three follow-up prompts you can pull out when an answer is thin: "What happened right before that?" or "Why did you choose that instead of the alternative?"
A question about the past beats a question about the future almost every time.
Aim for no more than eight to ten core questions. Anything longer and you'll either rush the last few or run over time and lose the participant's attention. Before your first session, run the guide past a colleague and time yourself reading through it out loud. If it takes more than 30 minutes solo, participants will take even longer once they start answering, so cut questions until the guide fits comfortably inside your scheduled slot.
Great questions won't save an interview if you're talking to the wrong person. Recruiting the right participants means finding people who've actually experienced the behavior you're researching, not just anyone willing to hop on a call. If your research goal is about why users abandon the export feature, you need people who tried to export something in the last month, not power users who love every part of your product. Screen for behavior, not enthusiasm.
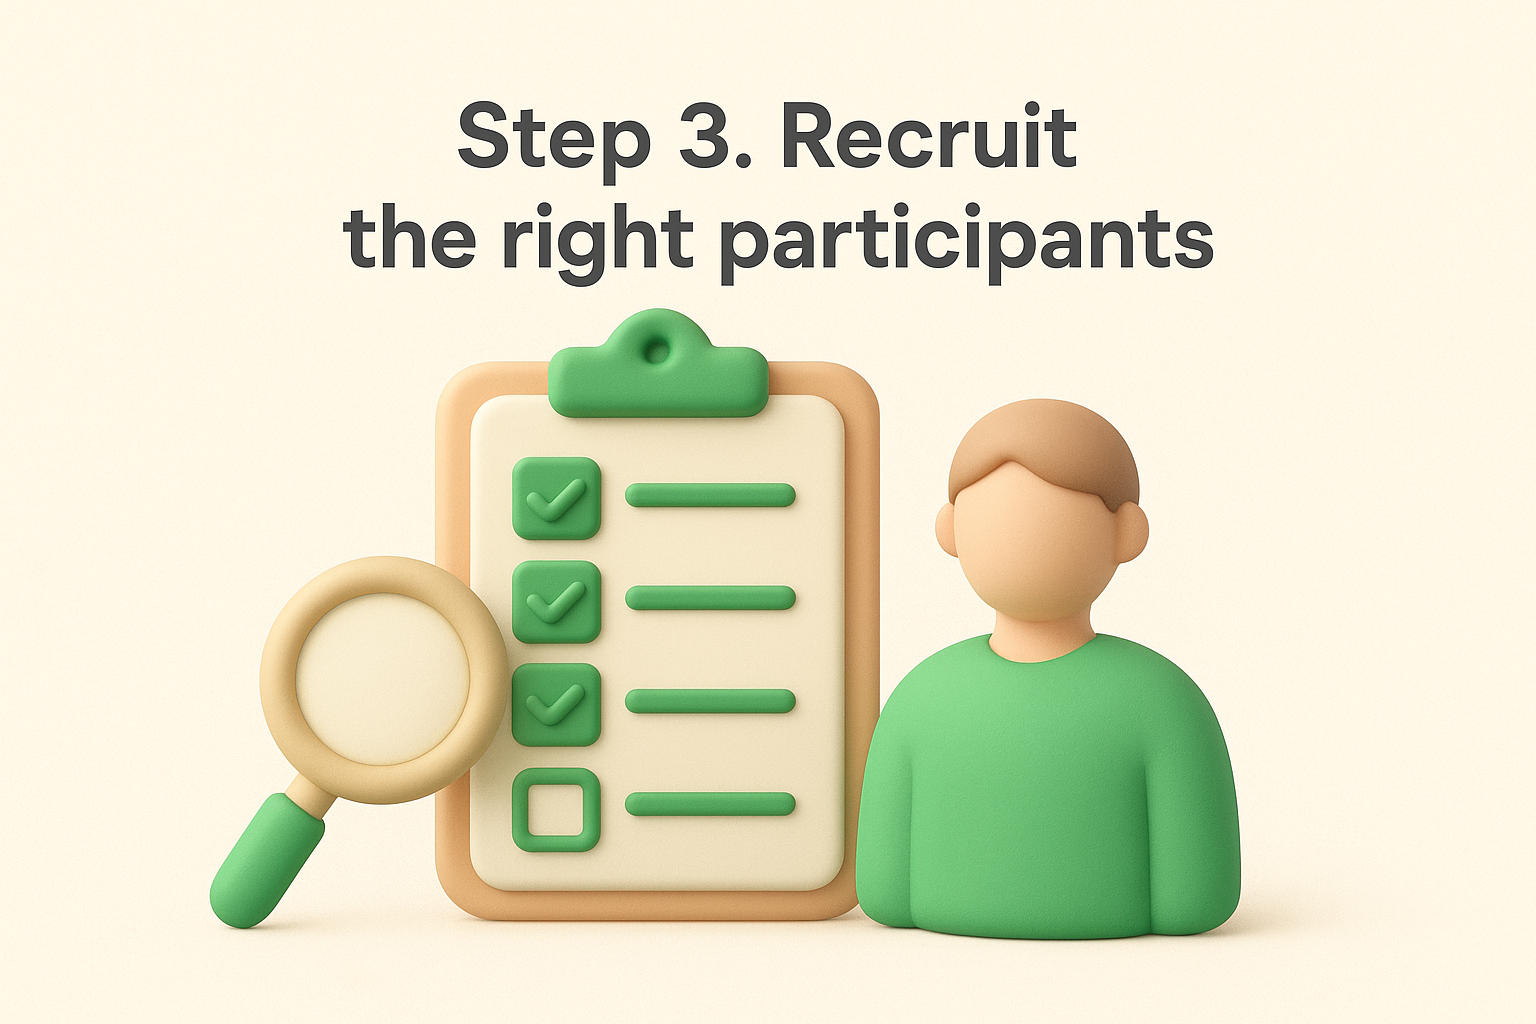
Write a short screener survey before you send invites anywhere. Five or six questions is plenty, and each one should map back to your research goal from Step 1. Skip demographic questions unless they genuinely affect the behavior you're studying.
1. How often do you use [product/feature]? (daily / weekly / rarely / never)
2. When did you last try to [specific task]?
3. What tool or workaround did you use before this?
4. Are you comfortable sharing your screen during a 30-minute call?
5. What's your role at your company?
Use the answers to sort people into "yes," "maybe," and "not a fit," and always recruit a few more than you need. Cancellations happen.
You don't need a fancy recruiting panel to start. Pull directly from sources you already have access to:
The best participant isn't your biggest fan, it's the person who lived the exact problem you're researching.
If you're running Koala Feedback, your feedback board is one of the fastest recruiting sources available, since every commenter already told you what they struggle with.
For most product discovery work, five to eight interviews per user segment is enough to spot repeating patterns. Jakob Nielsen's research at the Nielsen Norman Group has long shown that usability problems surface quickly with a small number of participants, and the same principle applies to discovery interviews (https://www.nngroup.com/articles/how-many-test-users/). Offer a modest incentive, a gift card in the $25 to $50 range works well for a 30-minute session, and confirm the time slot with a calendar invite that includes the video link and a one-line reminder of what to expect.
Good preparation happens the day before, not five minutes before the call. A rushed setup shows in small ways, a laggy recording tool, a guide you haven't glanced at since you wrote it, a participant who has no idea what to expect. Preparing properly for user interviews means the actual conversation can focus entirely on listening instead of troubleshooting logistics.
Whatever video and recording setup you use, test it the day before, not right as the call starts. Confirm the recording actually captures audio, check that your screen-share works if you're reviewing a prototype together, and have a backup plan (a phone recorder, a second laptop) in case something fails mid-session. Nothing kills a participant's trust faster than a moderator fumbling with tech while the clock runs.
A quick email the day before sets expectations and reduces no-shows. Keep it short and low-pressure:
Subject: Quick reminder for tomorrow's chat

Hi [Name],

Looking forward to our call tomorrow at [time]. It'll be about
30 minutes, informal, and there are no right or wrong answers,
we just want to hear about your experience.

Here's the link: [video link]

See you then!
[Your name]
This note also confirms the time zone and gives the participant a chance to reschedule early instead of ghosting you.
If you're interviewing in person, pick a quiet space free of interruptions and turn off notifications on any shared screen. If you're remote, close every tab except the one you need and mute Slack. Preparing the physical or virtual room signals to the participant that this conversation has your full attention, and it keeps you from breaking focus mid-answer to dismiss a notification.
The best interviews happen when the moderator has nothing left to think about except the person in front of them.
If a colleague is joining to take notes, agree beforehand on who asks questions and who stays quiet. Two people jumping in with questions confuses the participant and breaks their train of thought. Give the note-taker a simple template to fill in during the session so nothing depends on memory afterward:
Run through your interview guide one last time right before the call starts, not to memorize it, but to remind yourself of the order and the follow-up prompts you planned. That last read-through is often the difference between a moderator who sounds prepared and one who sounds like they're seeing the questions for the first time.
Once the participant joins, your job shifts from planner to listener. Moderating a user interview well means asking a question, then getting out of the way. Most new moderators talk too much, filling silences with clarifying comments or their own opinions. Resist that urge. The person you're interviewing should be talking roughly 80% of the time. If you catch yourself narrating your own product back to them, stop and redirect with an open question instead.
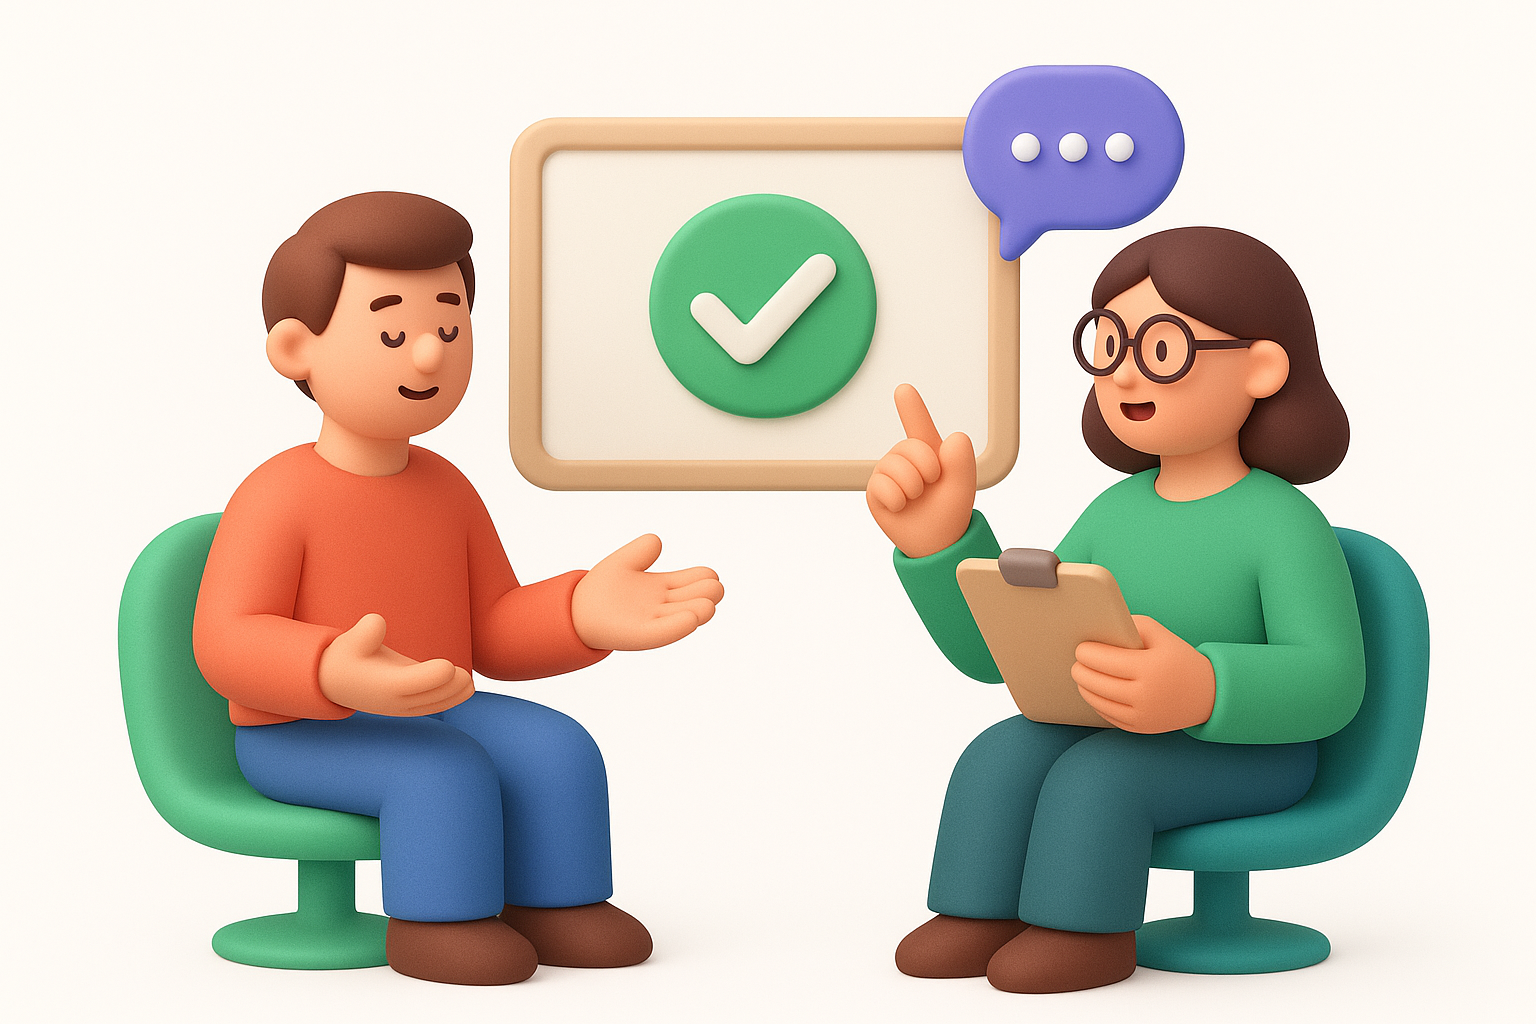
Silence feels uncomfortable, but it's one of your best tools. After someone finishes an answer, count to three in your head before you speak again. Often they'll keep talking and add the exact detail you were about to ask for. Interrupting too early cuts off the most useful part of an answer, the part that comes after someone has finished their first, more rehearsed response.
The best moderators say less and hear more.
When an answer feels thin, use neutral follow-ups instead of questions that hint at what you want to hear. Compare these two:
| Leading (avoid) | Neutral (use instead) |
|---|---|
| "So that was frustrating, right?" | "How did that make you feel?" |
| "Wouldn't a shortcut button help there?" | "What would have made that easier?" |
| "You'd probably pay more for that, wouldn't you?" | "What would need to be true for that to be worth paying for?" |
Neutral phrasing keeps the participant's own words in the answer instead of your assumptions.
Every interview hits a rough patch eventually. Here's how to handle the common ones without derailing the session:
Rapport doesn't come from being chatty, it comes from making the participant feel genuinely heard. Nod, use short verbal acknowledgments like "got it" or "makes sense," and reflect their own words back occasionally: "So when you said the export felt unpredictable, what made it feel that way?" That kind of mirroring shows you're tracking closely, and it almost always pulls out more detail than a fresh question would.
Raw notes from five or six interviews feel overwhelming until you organize them properly. Analyzing user interviews starts with re-reading your notes or transcripts within 24 hours of each session, while the context is still fresh, and pulling out anything that surprised you or contradicted an assumption. Waiting a week to do this means you'll forget the tone behind a quote, and tone often matters as much as the words themselves.
Resist the urge to write a paragraph summary of each interview. Instead, tag individual quotes and moments with short labels that describe the behavior or friction point, then group similar tags across all your sessions. A simple spreadsheet works fine for this:
Quote/Moment | Participant | Tag | Related research question
"I gave up and used a spreadsheet instead" | P3 | workaround-export | Q2
"I didn't even know that button existed" | P5 | discoverability | Q1
Once you've tagged everything, count how many participants hit each tag. A theme that shows up in four out of six interviews deserves attention. A theme that shows up once is worth noting but not acting on yet.
A pattern across multiple interviews is a finding. A single opinion is just a data point.
Your team won't read a 20-page report, so don't write one. Build a one-page summary with three sections: what you set out to learn, the top three to five patterns you found, and a short list of recommended next steps. Back each pattern with one or two direct quotes, since a real participant's words persuade a room faster than your paraphrase ever will. Keep opinions and data clearly separated so nobody mistakes your interpretation for something a participant actually said.
Insights that stay in a slide deck rarely change anything. Once you've identified a pattern worth acting on, log it as a feature request or problem statement somewhere your team already looks, whether that's a backlog tool or a public feedback board like Koala Feedback. Tagging the request with which interviews support it means anyone reviewing the roadmap later can trace a planned feature straight back to real user words instead of a guess. This also makes prioritization conversations faster, since a request backed by five interviews and a dozen upvotes carries more weight than one backed by a single loud stakeholder. Circle back to participants once you ship something tied to their feedback. That follow-up costs you one email and buys you a participant who says yes the next time you ask for their time.
Sometimes the fastest way to write a strong interview guide is to start with proven questions and adapt them to your product. The examples below cover the situations that come up most often when you're learning how to conduct user interviews for product discovery, onboarding research, and pricing decisions. Swap in your own feature names, but keep the structure: behavior first, opinion second.
Use these when you're trying to understand what happens the moment someone opens your product for the first time.
These work well once you already know roughly which part of the product you're investigating, and they push participants toward specifics instead of general impressions.
The strongest questions ask about a specific moment, not a general opinion.
Pricing research is easy to get wrong because people are terrible at predicting what they'd pay. Anchor these questions to past decisions instead of hypothetical ones.
| Instead of asking | Ask this |
|---|---|
| "Would you pay more for this?" | "What made you decide to upgrade last time?" |
| "Is our pricing fair?" | "What did you compare us against before buying?" |
| "Would you switch tools for this feature?" | "What would need to change for you to consider switching?" |
Save a few minutes at the end for open questions that catch whatever your structured list didn't cover. These often produce the most quotable moment of the whole session.
That last question is worth asking every time. It often hands you your next participant before the call even ends.
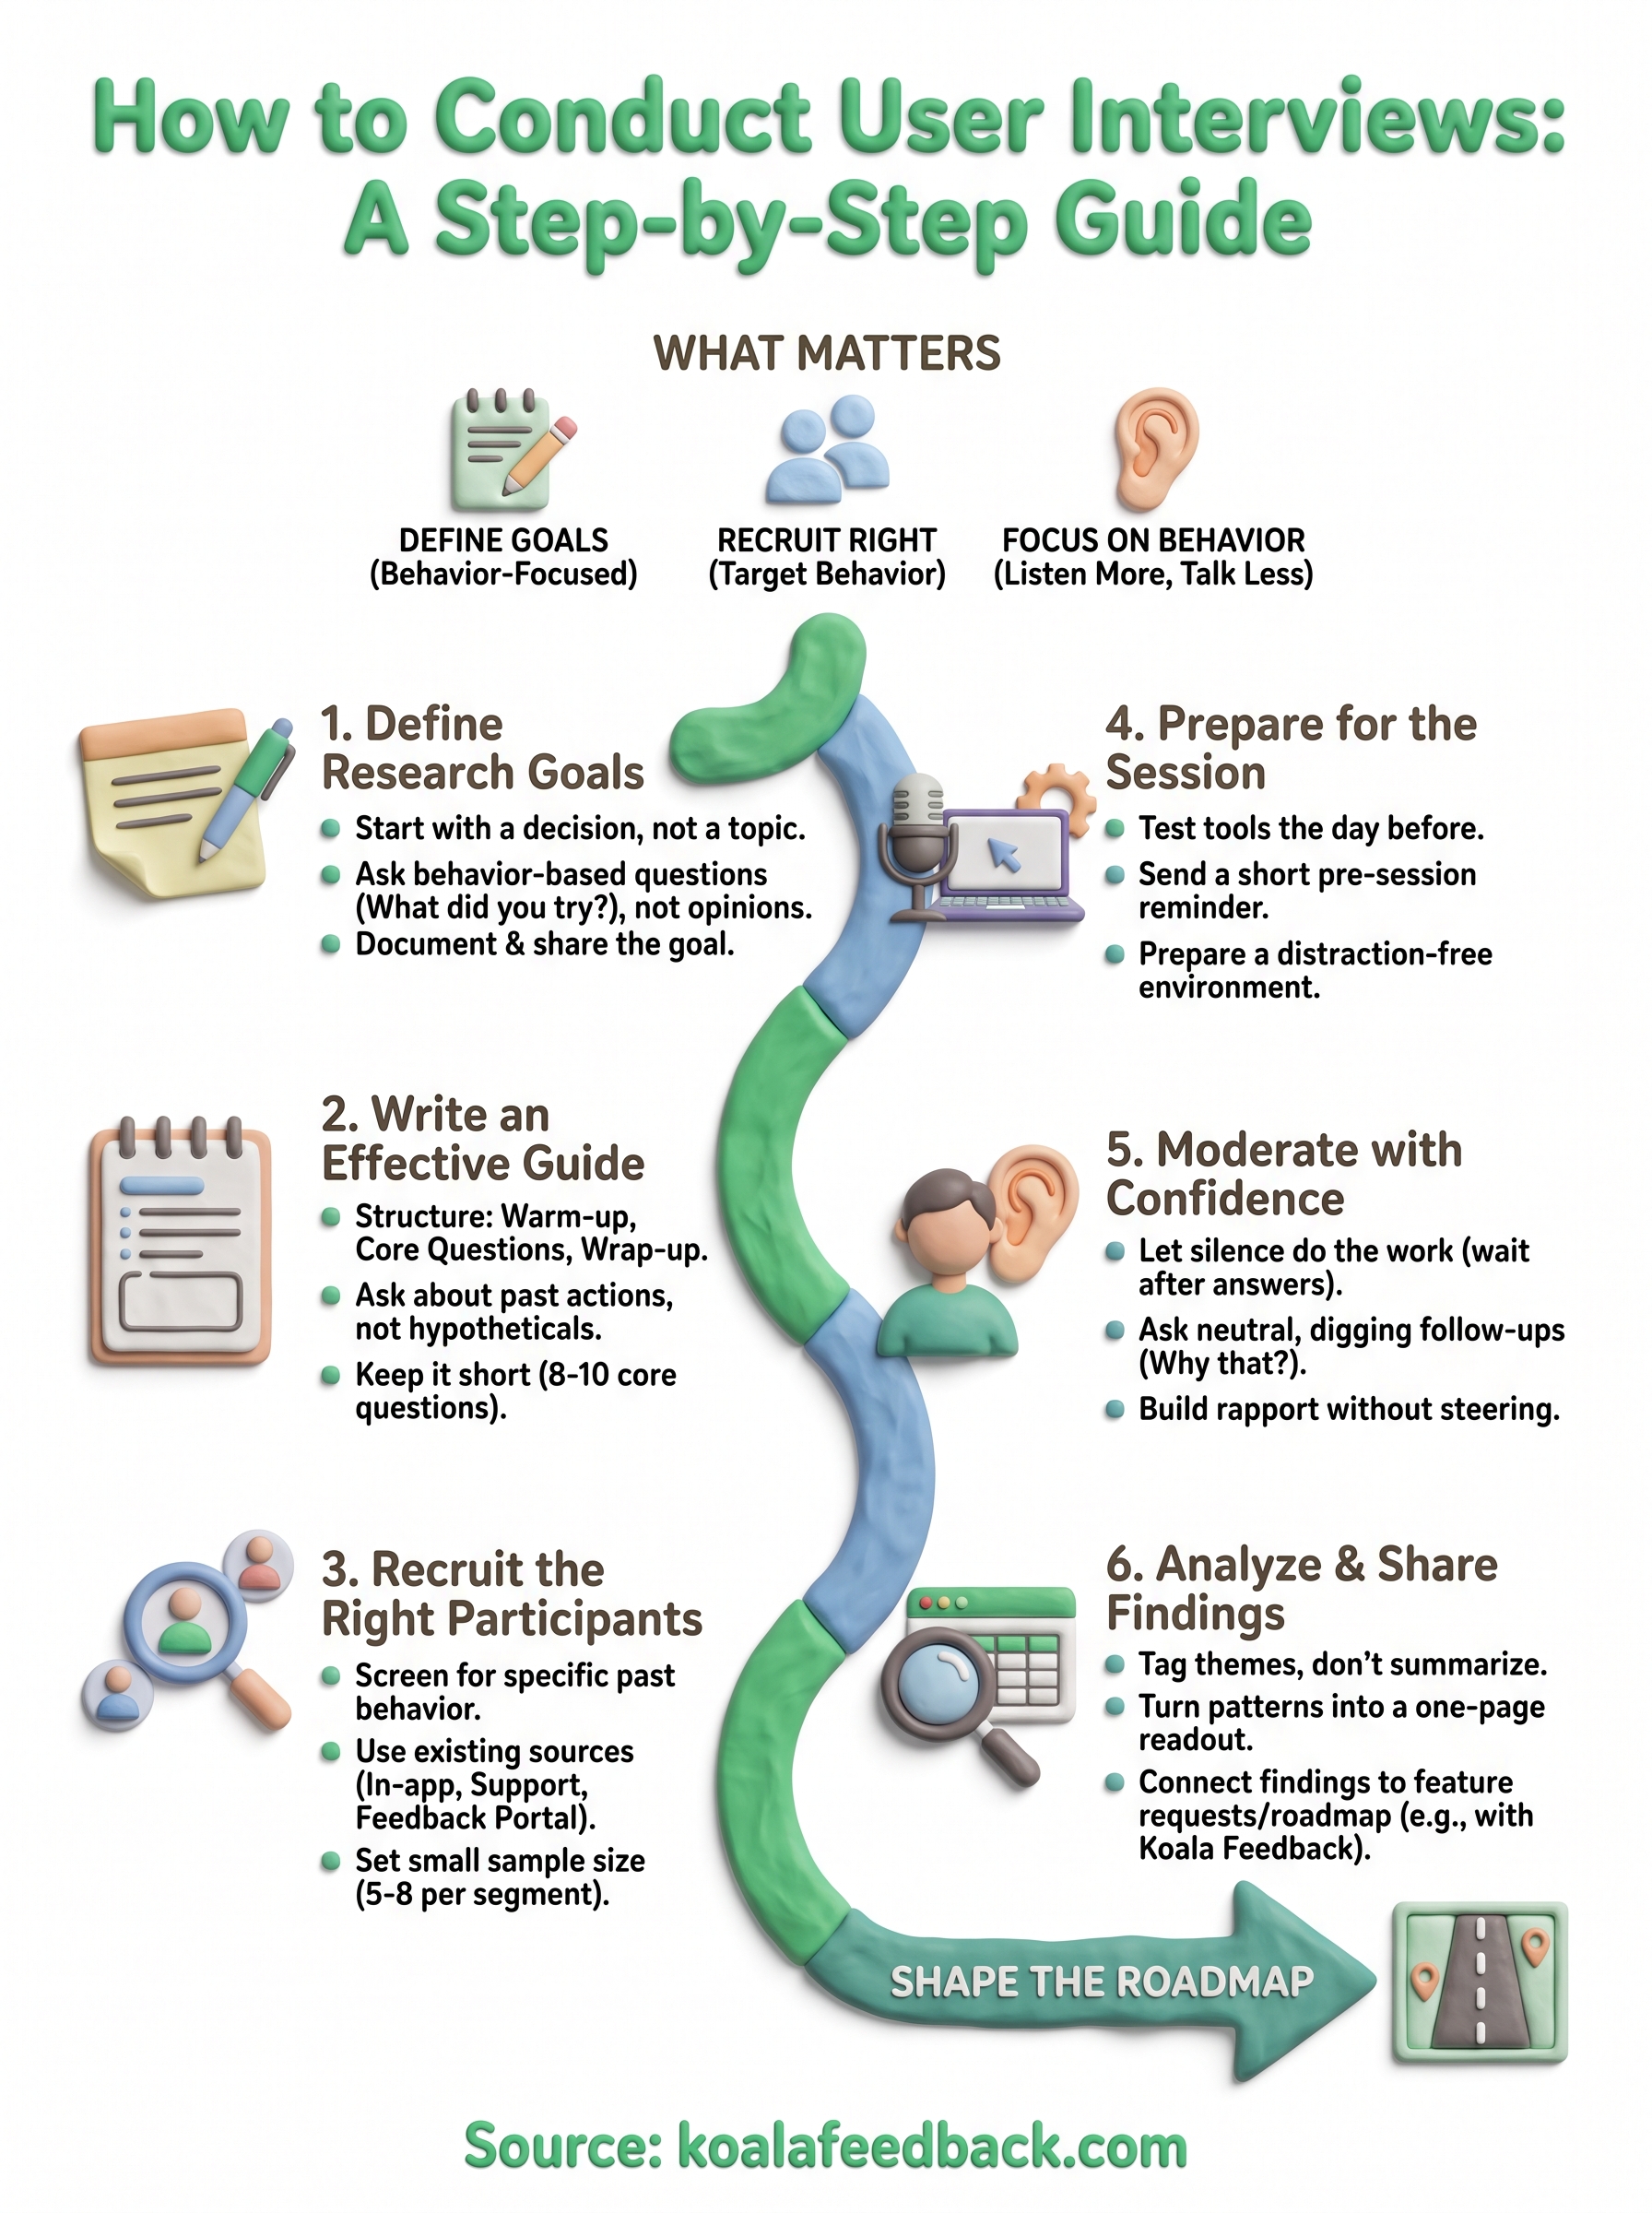
Good interviews aren't about collecting quotes for a slide. They're about building a habit: define a real goal, talk to the right people, listen more than you talk, and turn what you hear into something your team can act on. Skip any one of those steps and you end up with a folder of transcripts nobody opens again. Follow all six, and every conversation earns its place on your roadmap.
The part that trips up most teams isn't the interview itself, it's what happens after. Notes get scattered across docs, tags live in someone's head, and patterns disappear before anyone connects them to a decision. That's the gap Koala Feedback closes, giving you one place to log what you heard, link it to a feature request, and let other users vote on whether it matters too.
If you're ready to turn your next round of interviews into a roadmap people can actually see, start your feedback board with Koala Feedback.

Start today and have your feedback portal up and running in minutes.