Most SaaS companies lose the majority of their trial users before those users ever experience the product's core value. Not because the product is bad, but because the SaaS onboarding strategy is either missing or broken. The gap between signup and "aha moment" is where churn quietly stacks up, and it's entirely fixable.
A strong onboarding process does more than walk users through features. It connects people to outcomes fast, reducing time-to-value so they stick around long enough to become paying customers. But building that process requires more than a welcome email and a tooltip tour. It takes a structured, repeatable framework grounded in what your users actually need.
That's where feedback becomes essential. At Koala Feedback, we help SaaS teams collect and prioritize user input so product decisions, including onboarding flows, reflect real demand instead of guesswork. We've seen firsthand how listening to users early shapes onboarding that retains.
This guide breaks down a step-by-step SaaS onboarding strategy you can implement to cut churn quickly. You'll get actionable tactics, a clear framework, and a checklist to tighten every stage from signup to activation. Let's get into it.
A solid SaaS onboarding strategy isn't a product tour or a series of emails. It's a deliberate system that moves new users from confusion to confidence as fast as possible. Every decision you make in onboarding, from the first screen to the first milestone, should serve one goal: help your users get a result. When they get a result, they stay. When they don't, they leave, often silently and without telling you why.
The purpose of onboarding isn't to educate users about your product. It's to get them to a point where your product solves something real for them.
New users arrive with a specific problem they want to solve. Your onboarding has a narrow window to prove the product can actually solve it. Users who experience value within the first session are significantly more likely to convert and stay. That window is typically shorter than most product teams assume, and the cost of missing it is direct churn.
To move users toward value quickly, your onboarding should focus on one core action above everything else. Not three actions or a full setup wizard, just the single thing that leads directly to the outcome they signed up for. For a project management tool, that might be creating and assigning a task. For an analytics platform, it could be viewing their first data report. Identify that action and build the entire path around it.
Use this framework to pinpoint your activation event:
| Question | What to find |
|---|---|
| Why do users sign up? | The outcome they want |
| What action leads to that outcome? | Your activation event |
| What blocks them from that action? | Friction to remove |
| How long does it currently take? | Your baseline time-to-value |
Users abandon onboarding when they hit friction they didn't expect. Confusing UI, missing guidance, and unclear next steps all push people toward closing the tab. Your job is to anticipate those moments and remove them before users encounter them.
Friction in onboarding falls into two categories: technical friction (broken flows, slow load times, confusing navigation) and cognitive friction (too many choices, unclear instructions, unfamiliar terminology). Both types damage retention, but cognitive friction is often harder to catch because it's invisible in analytics until it shows up as churn.
Practical ways to reduce friction immediately include:
Onboarding doesn't end at activation. Users who complete setup and experience value once still need reasons to return, and your onboarding should create those habits early. That means showing users what they gain by coming back, not just celebrating what they finished during setup.
Your onboarding should also collect early signals about what users want. If someone skips a feature during setup, that tells you something. If they complete one action but ignore others, that tells you something too. Feeding those signals back into your product decisions, through in-app surveys, feedback prompts, or behavioral data, makes every future onboarding improvement sharper and more targeted. Teams that build this feedback loop early consistently make better product decisions than those relying on intuition alone.
Before you build anything in your SaaS onboarding strategy, you need clarity on two things: what success looks like for a new user, and how fast they should reach it. Activation is the specific moment when someone first experiences the core value of your product, and time-to-value measures how long it takes to get there. Without defining both, you're building a flow with no finish line, which means you can't measure progress or identify where drop-offs happen.
If you can't define activation clearly, you can't design onboarding that actually works.
Your activation event is a single, observable action that strongly correlates with long-term retention. It's not "user completes setup" or "user logs in twice." It's the moment your product delivers a concrete result for someone. To find it, look at your cohort of retained users and compare what they did in their first session to what churned users did. The behavioral gap between those two groups usually reveals your activation event.
Common activation events by product type:
| Product type | Example activation event |
|---|---|
| Project management | User assigns a task to a team member |
| Email marketing | User sends their first campaign |
| Analytics | User views a report with their own data |
| Feedback tool | User receives their first submitted piece of feedback |
| Accounting software | User connects a bank account and sees a transaction |
Once you identify a candidate event, verify it with retention data. Pull the 30-day retention rate for users who completed that action in session one versus those who didn't. A strong activation event shows a meaningful retention gap between those two groups. If the gap is small, keep digging.
Time-to-value tells you how long it takes the average new user to reach your activation event. To find your baseline, track the median time between signup timestamp and first activation event across your user base. Most teams find this number is significantly longer than they assumed.
Use this formula to set a concrete target:
Time-to-value target = (Current median activation time) × 0.5
Cutting time-to-value in half is a realistic and high-impact goal for most products. Once you have your baseline and target, every onboarding decision in the steps ahead should connect back to this number. If a step doesn't help users reach activation faster, it probably doesn't belong in the critical path.
With your activation event defined and your time-to-value target set, you're ready to build the actual flow. This is where your SaaS onboarding strategy takes shape in practice: you decide what users see, when they see it, and what content moves them toward that first moment of real value. The biggest mistake most teams make here is building too much. More steps don't mean better onboarding. They mean more places to lose someone.
The shortest path to activation is almost always the best path.
Your critical path is the minimum sequence of steps a new user must complete to reach activation. Start by listing every action a user currently takes from signup to activation, then cut anything that doesn't directly contribute to getting there. If a step exists for your team's convenience rather than the user's benefit, defer it until after activation.
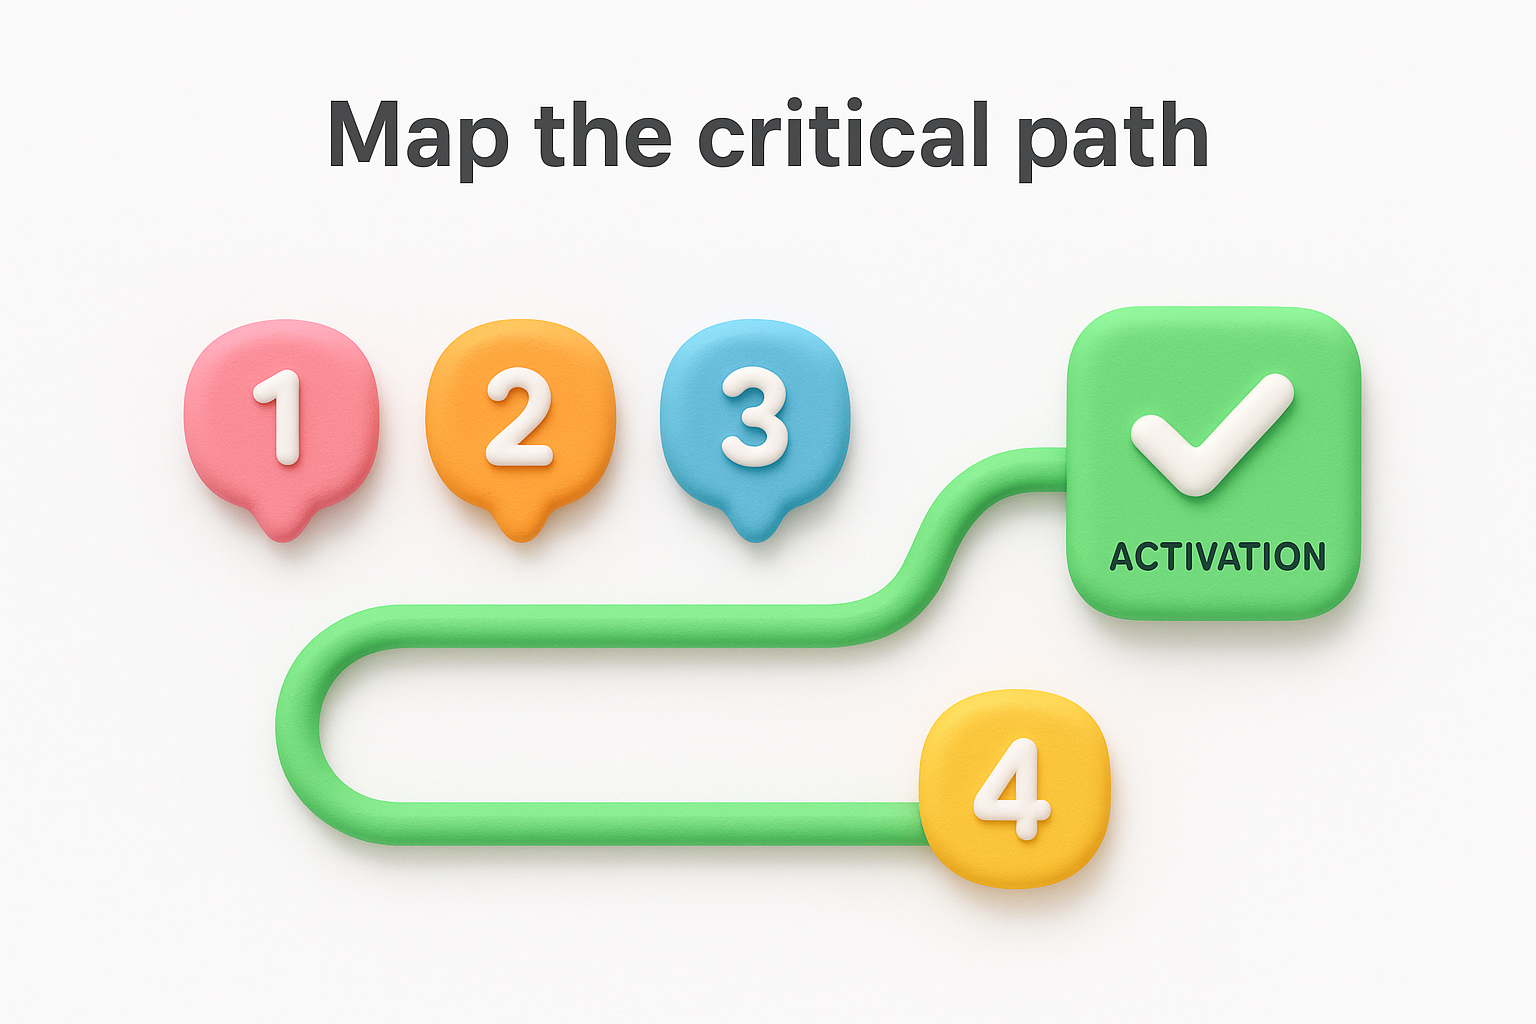
Use this template to audit your current flow:
| Step | Action | Required for activation? | Decision |
|---|---|---|---|
| 1 | Create account | Yes | Keep |
| 2 | Complete profile | No | Defer |
| 3 | Connect integration | Yes | Keep |
| 4 | Set notification preferences | No | Defer |
| 5 | Reach activation event | Yes | Keep |
Most SaaS products land at two to four essential steps once you cut everything optional. That's your target path length. Trim until you hit it.
Different users need different types of guidance, and the right format depends on the complexity of your activation event, not on what's fastest to build. In-app checklists work well for users who prefer to explore independently, while contextual tooltips help users who need nudges through unfamiliar UI.
Cover your critical path using a combination of these formats:
Your welcome email is the first piece of content most users encounter after signup, which makes it one of the highest-leverage assets in your entire flow. Keep it under 100 words, link to one action only, and focus entirely on getting the user back into the product moving toward activation. Here's a template you can adapt directly:
Subject: Your first step with [Product Name]

Hi [First Name],

You're set up. Here's the one thing to do next:

→ [CTA Button: Complete your first activation action]

It takes about [X minutes] and gets you to [specific outcome].

Hit reply if you need anything.

[Your name]
One subject line, one CTA, one outcome. Anything more dilutes the message and reduces the chance a new user actually takes that next step.
Once your critical path is built, you need a system that runs without you. Manual follow-ups and ad hoc support don't scale, and they break down exactly when your user volume grows. This step turns your SaaS onboarding strategy into an engine that triggers the right message, for the right person, at the right moment, without someone pulling levers every time a new user signs up.
Automation without personalization is just noise at scale.
Behavioral triggers outperform time-based emails every time. Instead of sending a follow-up email three days after signup regardless of what a user has done, tie your messages to specific actions. If a user completes step one but stalls on step two, send a nudge about step two specifically. If they hit activation, send a message that pushes toward the next meaningful action.
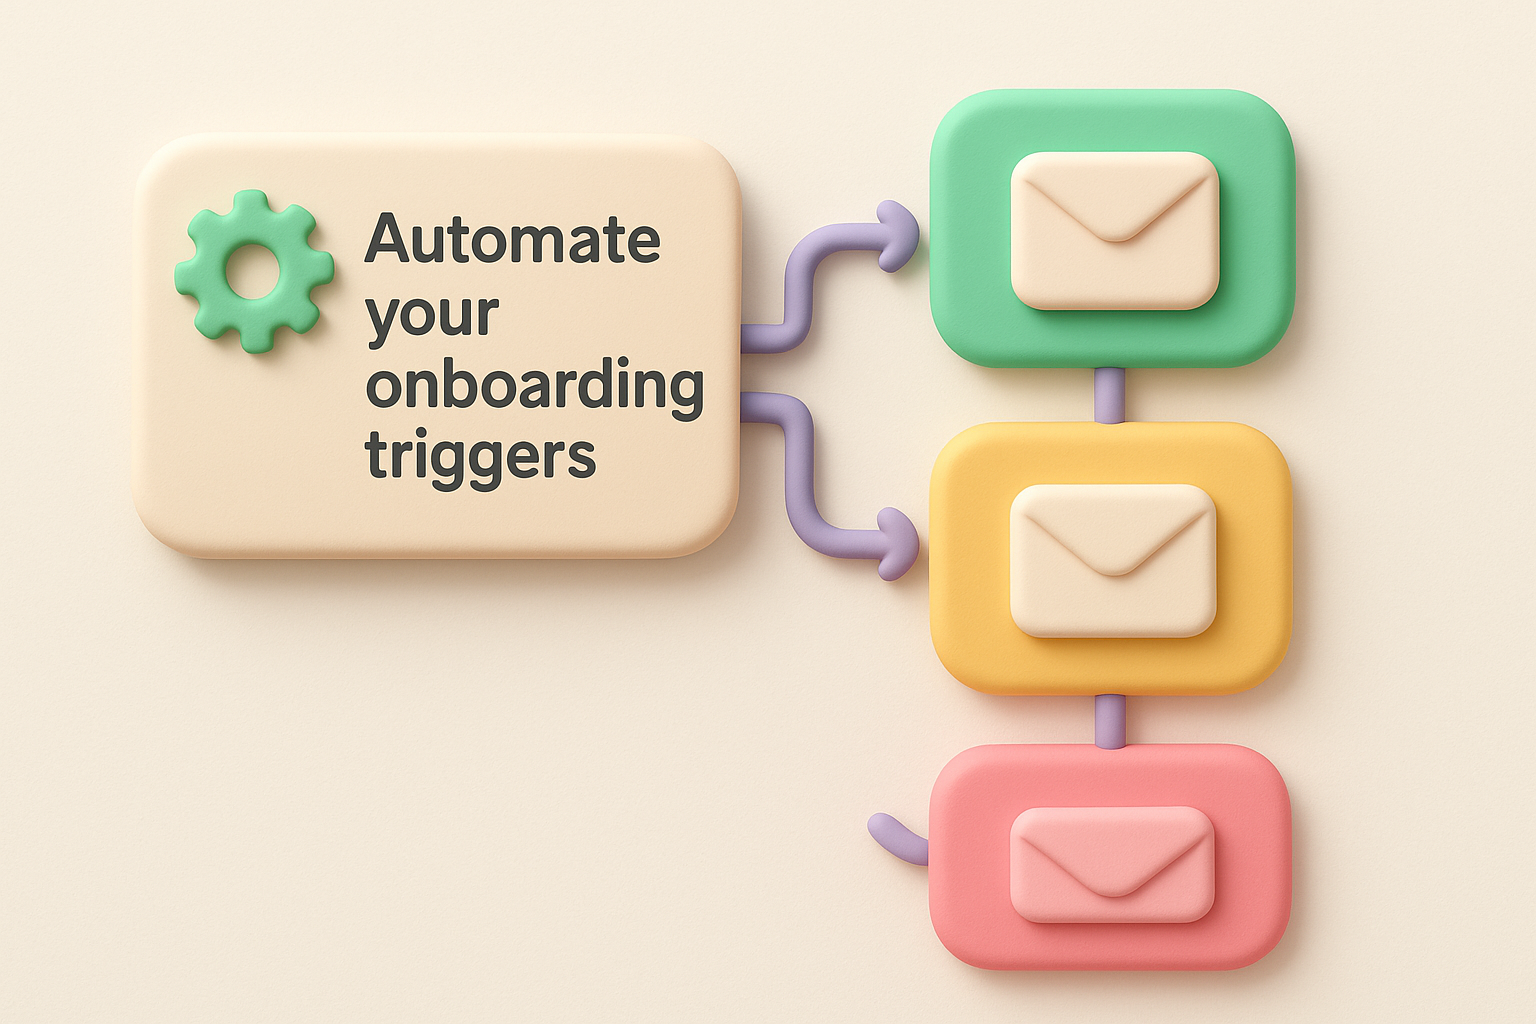
Here's a trigger map you can replicate directly in any email automation tool:
| User behavior | Trigger | Message goal |
|---|---|---|
| Signs up, no action in 1 hour | Email 1 | Drive back to product |
| Completes step 1, stalls on step 2 | Email 2 | Remove friction from step 2 |
| Reaches activation event | Email 3 | Reinforce value, suggest next step |
| No login in 3 days | Email 4 | Re-engage with specific outcome |
| No login in 7 days | Email 5 | Last-chance re-engagement |
Generic onboarding treats every user the same, which means it works well for almost no one. Segment your users at signup using one or two fields, such as role or use case, then route them to slightly different versions of your onboarding flow. A product manager and a developer signing up for the same tool have different activation paths and different language that resonates with them.
Keep segmentation simple at first. One branching question at signup, like "What are you mainly using this for?", gives you enough signal to serve different welcome emails and in-app checklists without building a complex system from scratch.
Live chat and in-app help are churn prevention tools, not luxuries. Place contextual help links at the exact steps where your drop-off data shows users abandoning the flow. For high-touch segments, trigger a short check-in from your team after day two if activation hasn't happened yet. Proactive outreach converts at a higher rate than waiting for users to raise their hand.
Your SaaS onboarding strategy only improves if you measure it. Without data, you're making changes based on gut feel, and gut feel rarely pinpoints where users actually drop off. This step turns your onboarding into a system you can audit, adjust, and improve on a defined cycle rather than only when churn becomes a crisis.
What you don't measure in onboarding, you can't fix.
Activation rate and time-to-value are your two primary onboarding health metrics. Activation rate tells you what percentage of new users reach your activation event. Time-to-value tells you how long it takes. Both numbers should be tracked weekly, not monthly, because onboarding drop-off moves fast and slow reporting cycles hide problems until they've already cost you users.
Track these five metrics as your onboarding baseline:
| Metric | What it measures | Target direction |
|---|---|---|
| Activation rate | % of users who hit activation event | Increase |
| Time-to-value | Median hours from signup to activation | Decrease |
| Step drop-off rate | % of users who abandon at each step | Decrease |
| Day-7 retention | % of users still active after 7 days | Increase |
| Day-30 retention | % of users still active after 30 days | Increase |
Pull these numbers from your product analytics tool every week. Set a threshold for each metric so you know when a number is a problem worth acting on versus normal variation.
Once you have baseline data, run one onboarding change at a time so you know which improvement moved which metric. A two-week iteration cycle works well for most teams: one week to implement a change, one week to observe results. Avoid stacking multiple changes in the same cycle or your data becomes unreadable.
Use this simple iteration log to track every change you make:
Date: [YYYY-MM-DD]
Change made: [Describe the specific change]
Metric targeted: [e.g., Step 2 drop-off rate]
Baseline value: [e.g., 42% drop-off]
Result after 2 weeks: [e.g., 29% drop-off]
Next action: [Keep, revert, or build on this change]
Behavioral data tells you where users drop off, but not why. To find the why, you need direct input from users. Add a short in-app prompt to users who abandon your onboarding flow asking one question: "What stopped you from completing setup?" Keep the question open-ended and review responses weekly alongside your quantitative data. The combination of behavioral signals and direct feedback consistently surfaces fixes you'd never spot in a dashboard alone.
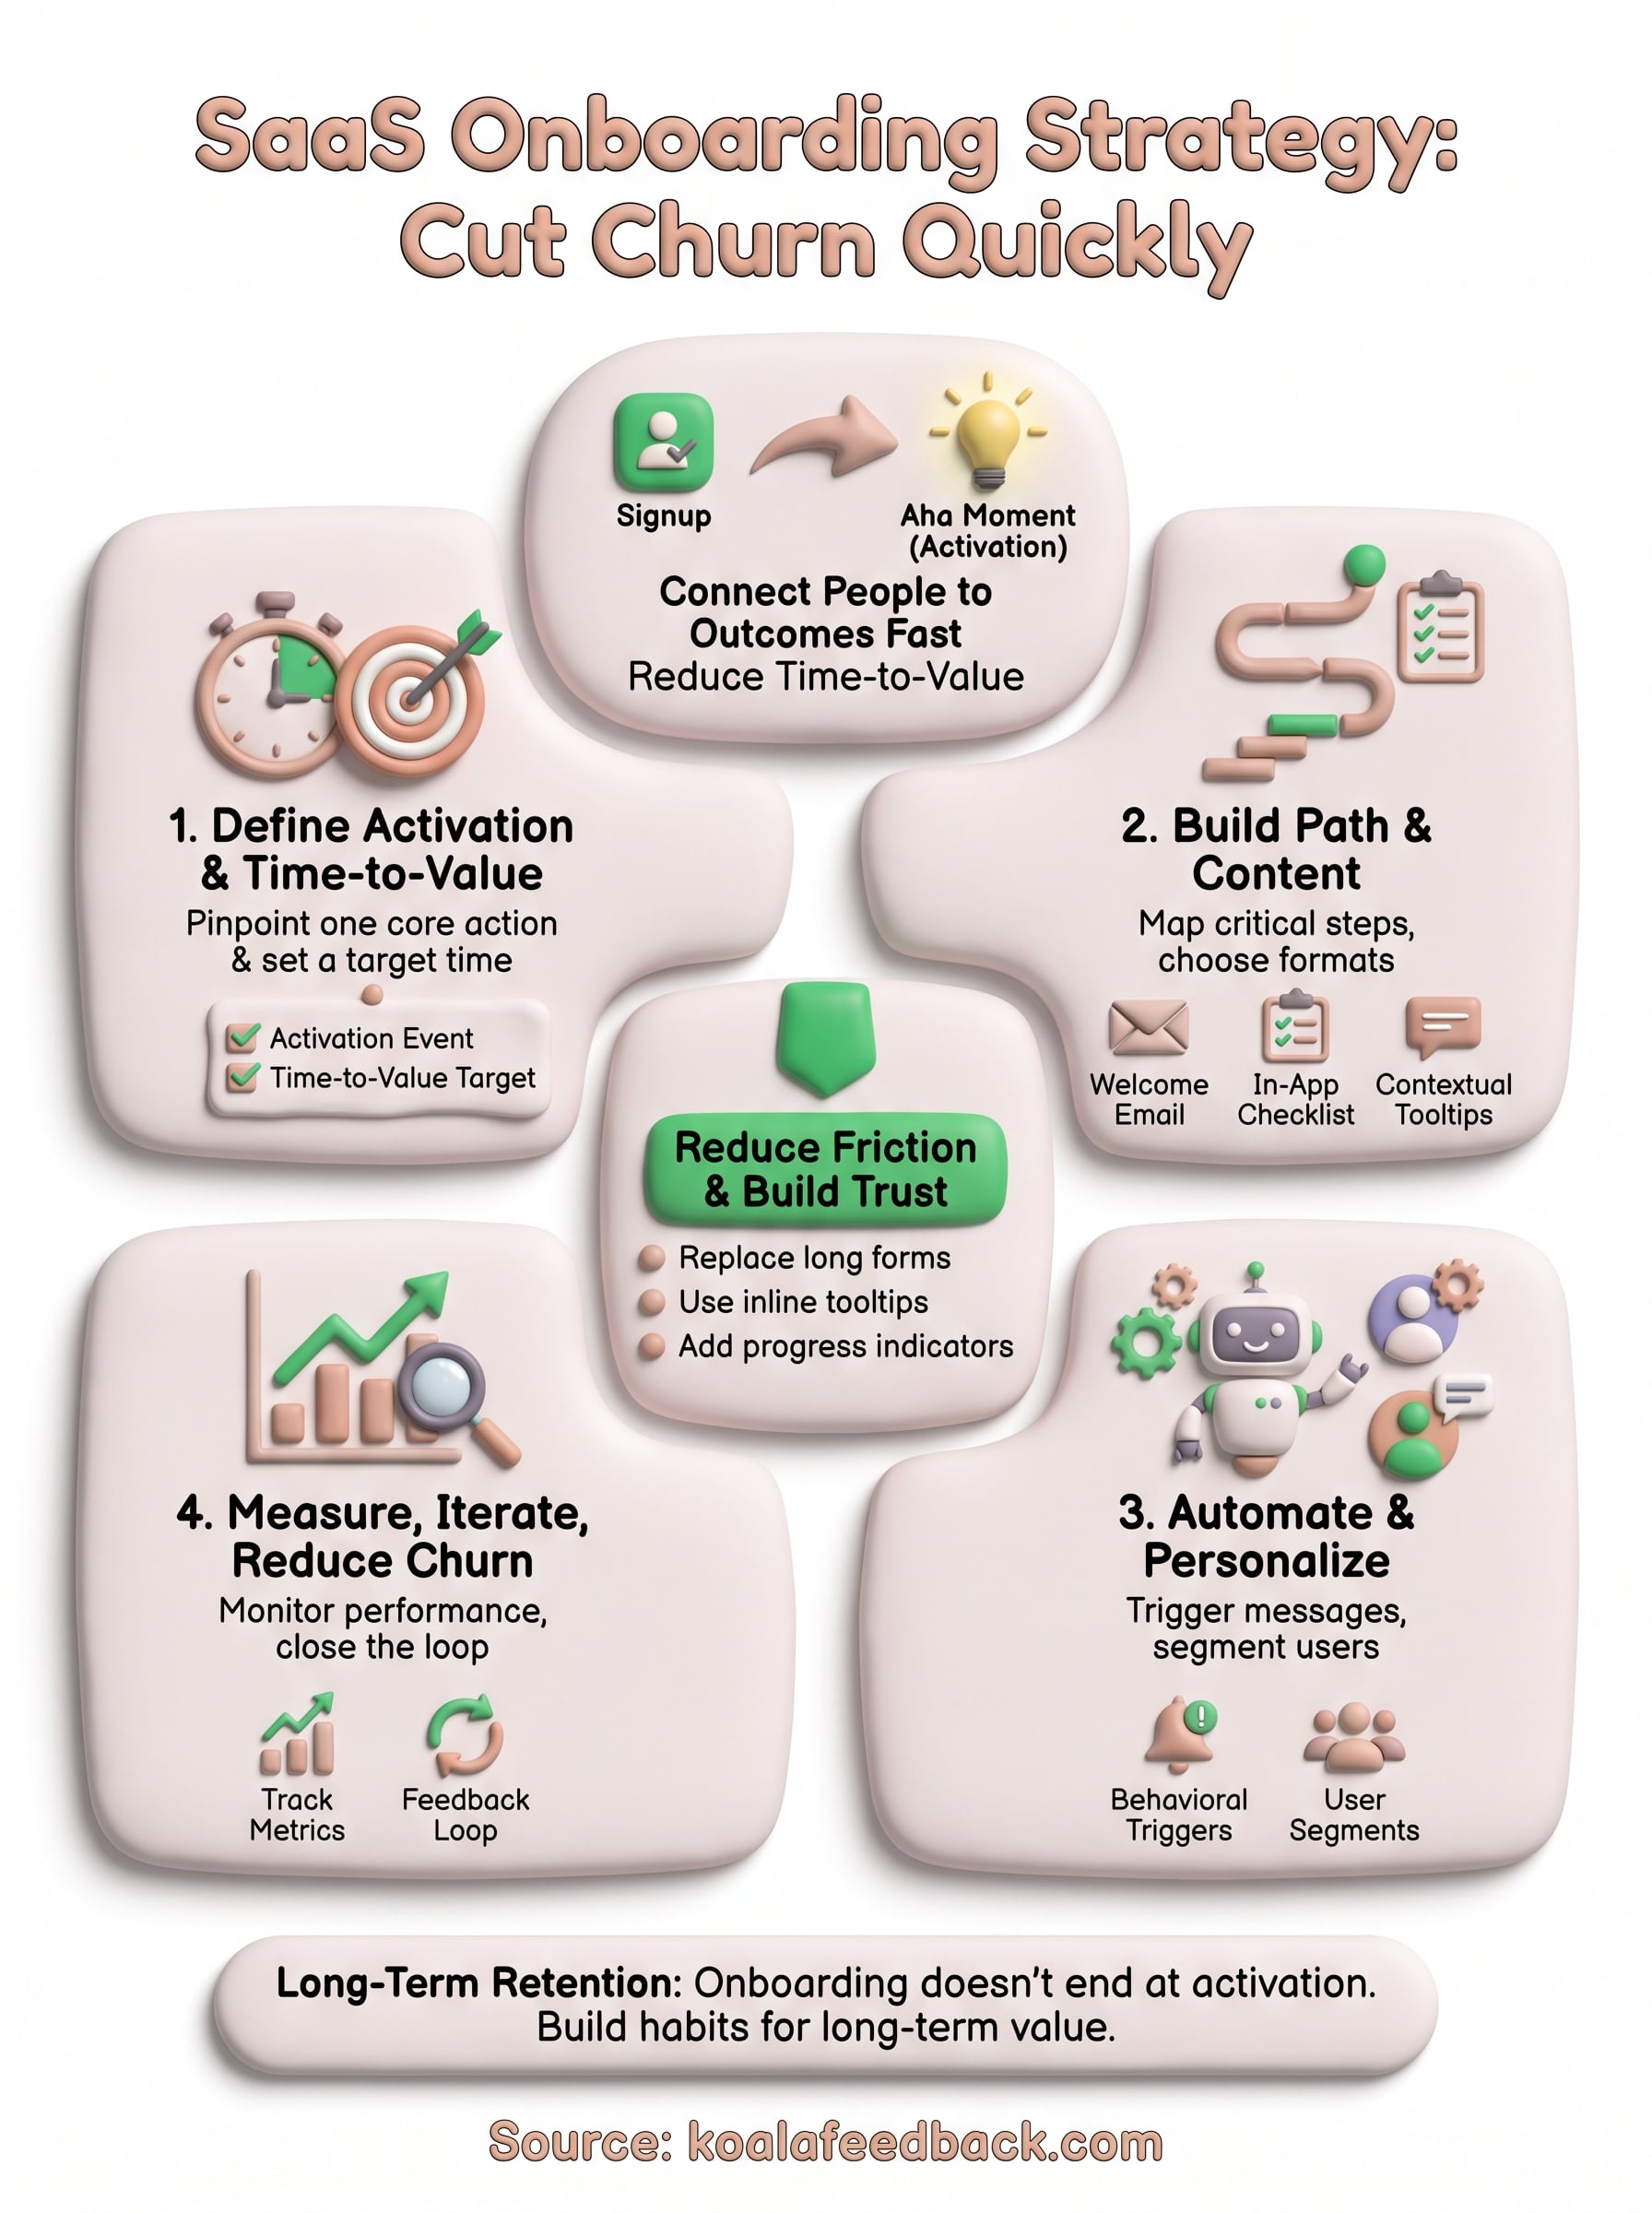
A strong SaaS onboarding strategy doesn't require a perfect product or a large team. It requires clarity on what success looks like for your users and a system built to get them there fast. Define your activation event, cut your critical path to the minimum, automate the right triggers, and measure what happens. Then iterate on one thing at a time until your numbers move.
The feedback loop is what separates onboarding that improves from onboarding that stagnates. Every drop-off point, every abandoned flow, and every skipped step is a signal worth capturing and acting on. When you combine behavioral data with direct user input, your onboarding decisions stop being guesses.
Start collecting that input today. Koala Feedback gives you the tools to gather, prioritize, and act on what your users tell you, so every onboarding change you make is grounded in real user demand.

Start today and have your feedback portal up and running in minutes.