Most SaaS products lose the majority of their signups before users ever experience real value. The fix isn't more features or better marketing, it's a structured SaaS onboarding checklist that guides new users from "just signed up" to "can't live without this" as quickly as possible. Without one, you're essentially hoping users figure things out on their own. Most won't.
The difference between products that retain users and those that bleed them comes down to activation speed. How fast can someone reach their first meaningful outcome? Every unnecessary step, confusing UI element, or missing prompt is a chance for someone to close the tab and never come back. A well-designed onboarding flow removes that friction systematically rather than leaving it to chance.
At Koala Feedback, we help teams collect and prioritize user feedback, and one pattern we see repeatedly is that onboarding gaps are the #1 source of early churn complaints. Users tell you exactly where they got stuck, if you're listening. That insight shaped this guide.
Below, you'll find a 12-step checklist covering everything from pre-signup prep to post-activation engagement. Each step includes specific actions you can implement right away, whether you're building your first onboarding flow or tightening up an existing one.
Before you fix anything in your onboarding flow, you need to know what's actually broken. User feedback is the most direct signal you have, and without a place to capture it consistently, you end up making onboarding decisions based on guesswork rather than real patterns.
Set up a dedicated feedback portal using Koala Feedback to collect onboarding-specific input from new users. Create a board focused entirely on the onboarding experience so feedback doesn't get buried alongside feature requests or bug reports. Give users a clear place to share what confused them, what slowed them down, or what they wished had been explained sooner.
Every gap in your SaaS onboarding checklist shows up in user feedback before it shows up in your churn data. Users who get stuck don't always leave immediately; they often try to communicate the problem first. If you're not capturing that signal, you miss the window to fix it before it becomes a retention problem.
The teams that iterate fastest on onboarding treat early friction reports as a direct product priority, not as support tickets to close.
When you centralize feedback in one place, patterns emerge quickly. You stop seeing isolated complaints and start seeing systemic issues you can actually act on.
Track how many onboarding-specific submissions you receive each week and monitor which issues collect the most votes. Review new submissions within 48 hours so friction points don't sit unaddressed. A consistent review cadence means you're updating your onboarding flow at least once per quarter based directly on what users report, not on assumptions your team makes in isolation.
Your activation event is the single moment when a new user first experiences your product's core value. Without defining it clearly, your entire SaaS onboarding checklist is built on a fuzzy target, and you cannot optimize what you have not named.
Pick one specific in-product action that signals a user has reached real value in your product. For a project management tool, that might mean creating a first task or inviting a teammate. Define success criteria in concrete, measurable terms so your whole team agrees on what "activated" actually looks like.
When your activation event is vague, every team optimizes for a different outcome. Engineering, product, and customer success end up pulling in different directions, which fragments the experience for new users. A single agreed-upon activation moment aligns the whole organization around one measurable goal.
The clearest signal of onboarding success isn't a completed tour or a filled-out profile. It's a user reaching the moment your product actually solves their problem.
Map your core user journey from signup to first value, then mark the exact step where real value is delivered. Assign a time benchmark to that step and make the activation event visible in your analytics dashboard so the whole team can track progress in real time.
Track your activation rate weekly as the percentage of new signups who complete the event within your target window. If the number drops, audit each step leading up to activation and identify exactly where users fall off before reaching that moment.
Not every user who signs up for your product has the same goal. A solo founder using your tool to gather early product feedback has completely different needs than a product manager at a 200-person company managing multiple feature boards. When your onboarding treats both users identically, neither gets the experience they need to activate quickly.
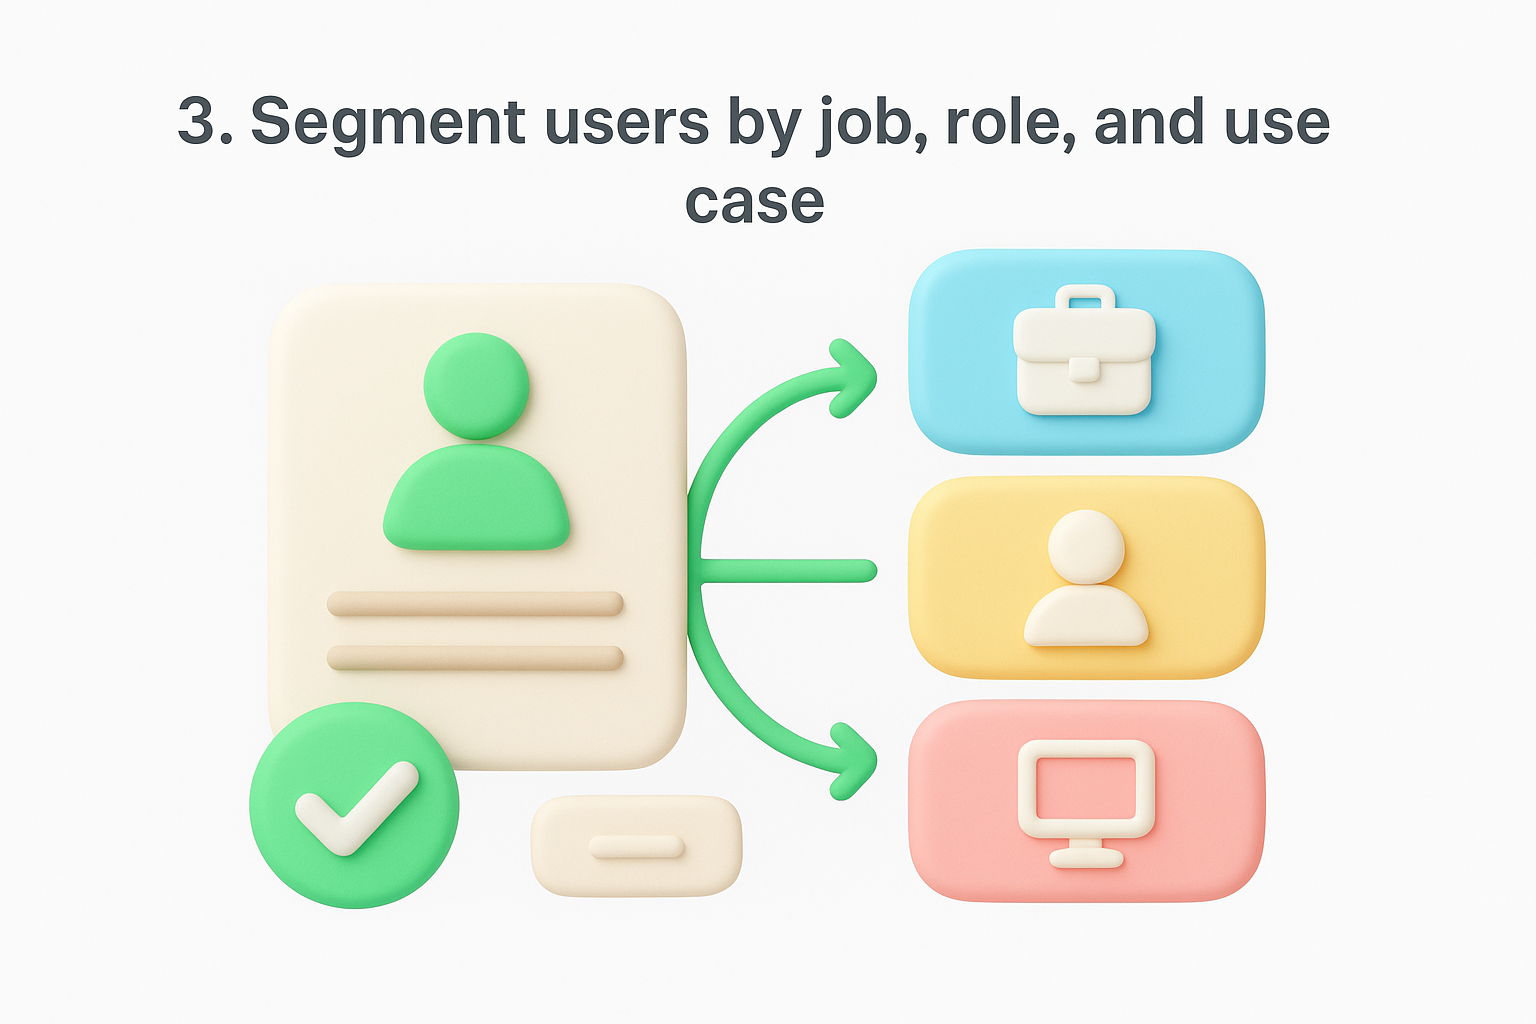
Ask users a short role or use-case question during or immediately after signup. Use their answer to branch them into a tailored onboarding path that speaks directly to their situation. Keep the question focused: one well-chosen question does more than a five-question survey that users abandon halfway through.
Segmentation lets you show users only the steps and features that matter to them, which shortens the path to activation. Generic onboarding forces every user to wade through content that may not apply to them at all, and that friction drives drop-off before they ever reach value.
A new user who sees their specific job reflected in the onboarding experience is far more likely to complete it than one who sees a one-size-fits-all walkthrough.
Track completion rates per segment to identify which user groups finish onboarding and which drop off early. A significant gap between segments points directly to a flow that needs reworking for that specific audience.
Sign-up friction is one of the most common places where new users disappear before they ever see your product's value. The goal is to remove unnecessary steps from the sign-up flow while still capturing the intent signals you need to personalize the experience that follows.
Strip your sign-up form down to the bare minimum required fields to create an account. In most cases, that means an email address and a password, or a single-click social login option. Every additional field you add before the user has experienced any value is a reason to close the tab.
Every extra field or confirmation step you add to sign-up reduces the number of users who complete it. High drop-off at sign-up means your entire onboarding flow never gets a chance to run, no matter how well-designed the rest of your saas onboarding checklist is.
The best time to ask users for more information is after they've already experienced something worth sticking around for.
Track your sign-up completion rate as the percentage of users who start the form and finish it. If that number falls below 60%, audit each field individually and test removing the ones that aren't strictly necessary to create an account.
The moment a new user lands inside your product after signing up, their first impression is already forming. If they see a blank screen with no guidance, or a wall of options with no clear starting point, many will hesitate and some will leave. Your welcome experience should immediately confirm they made the right decision and tell them exactly what happens next.
Show a brief, focused welcome screen or modal that acknowledges the user by name, confirms what the product does, and lays out the two or three steps they'll take in their first session. Avoid overwhelming them with every feature at once. Your goal is to narrow their focus, not expand it.
Users who understand what to do next are far more likely to keep going. A clear welcome experience reduces the cognitive load of starting fresh in an unfamiliar tool and sets a tone of confidence rather than confusion. When expectations are unclear, users fill the gap with doubt.
The welcome screen is the first handshake your product makes. Make it direct, specific, and useful.
Track the click-through rate from your welcome screen to the first onboarding step. A low rate means the message is unclear or the next action is not obvious enough to act on.
New users don't need to configure everything on day one. When you front-load your setup process with too many required steps, you overwhelm users before they've seen any value. Progressive setup breaks the first-time experience into a sequence of small, achievable tasks that build momentum rather than create anxiety.
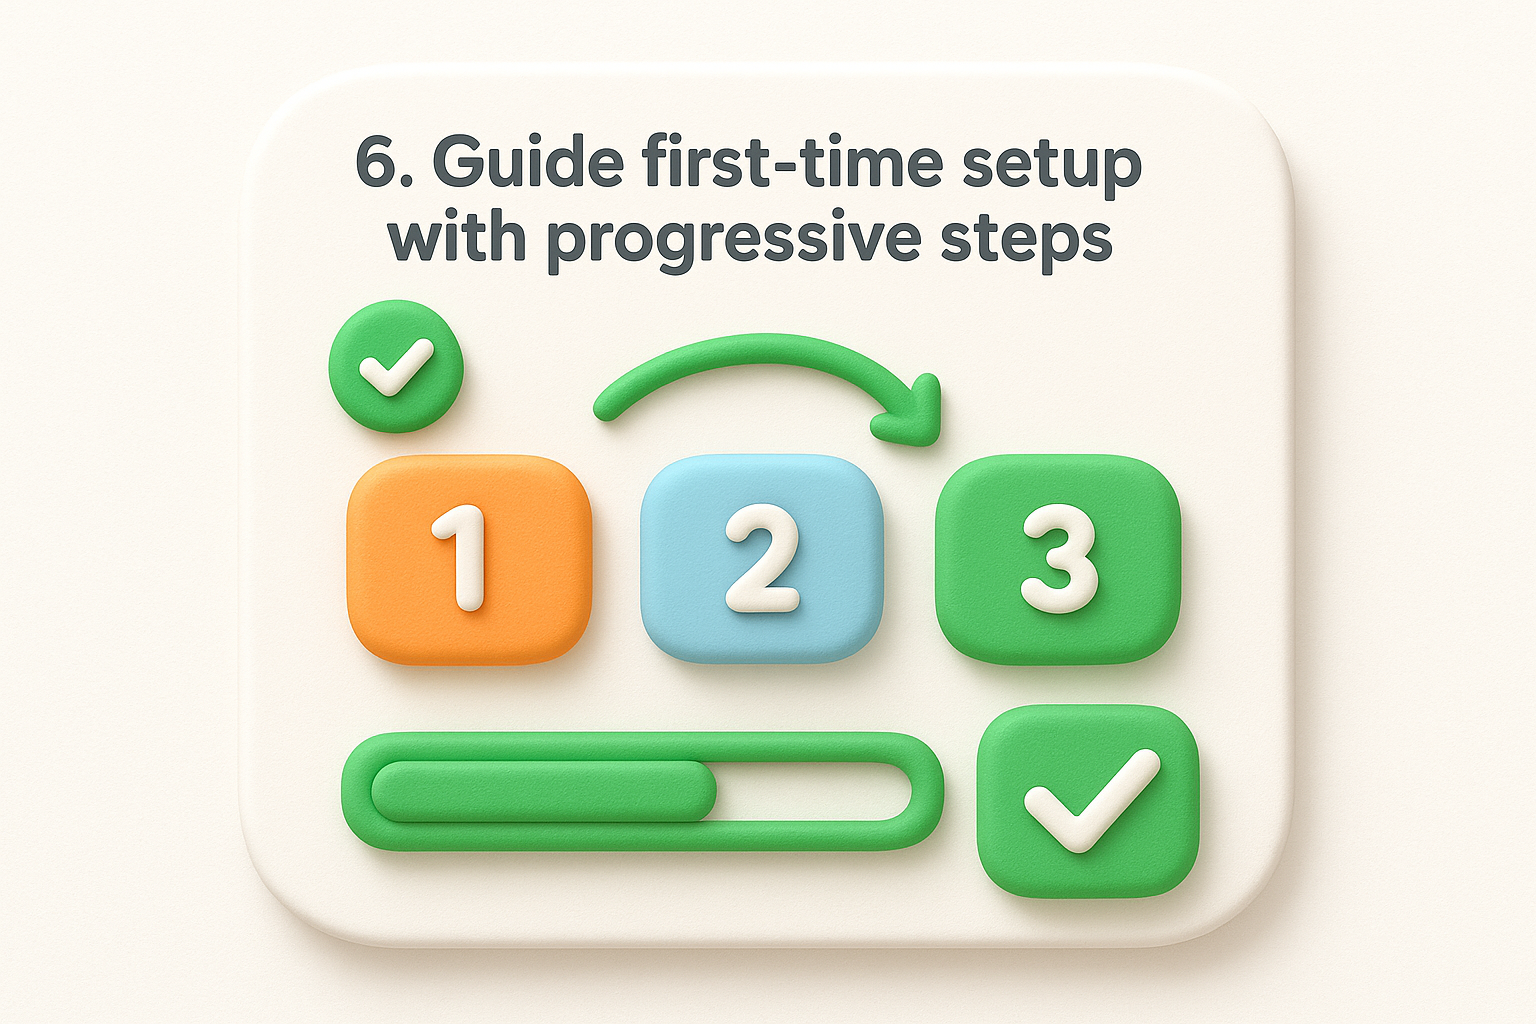
Show users one step at a time instead of presenting the full configuration checklist upfront. Each step should take under two minutes to complete and deliver an obvious visual result so users feel immediate progress. Treat your setup flow as a guided path, not a form to fill out.
When setup feels long or unclear, users stop. They tell themselves they'll come back to finish later, and most never do. Progressive disclosure keeps cognitive load low and gives users a sense of accomplishment after each step, which drives them forward through your full saas onboarding checklist instead of abandoning it midway.
The fastest path to activation is not fewer steps. It's steps that each feel small and immediately rewarding.
Track drop-off at each individual setup step to pinpoint exactly where users stop. Any step with a drop-off rate above 20% needs to be simplified, shortened, or removed from the required path entirely.
Product tours are one of the most misused tools in onboarding. Many teams build tours that walk users through every feature in the product, which overwhelms new users instead of guiding them toward their first meaningful outcome. A focused tour does the opposite: it shows users exactly the two or three actions they need to take to reach value, then gets out of the way.
Keep your product tour short and strictly limited to the steps that lead directly to your activation event. Your tour should not double as a feature showcase. Treat it as a guided path from signup to first result, covering only what users need to experience your product's core value in a single session.
A tour that covers too much teaches users nothing. When every feature gets equal screen time, nothing stands out and users lose track of what to do next. A tight, purposeful tour keeps attention focused on the actions that matter most in your saas onboarding checklist and increases the chance users reach activation before they close the tab.
The goal of a product tour is not to inform users about your product. It's to move them forward until they've experienced value firsthand.
Track your tour completion rate and compare activation rates between users who finish the tour and those who skip it. Any step with a high abandonment rate signals content that needs to be cut or simplified immediately.
A visible onboarding checklist gives new users a clear map of where they are in the process and what they still need to do. Without it, users have no frame of reference for their progress, which makes an incomplete setup feel more like a dead end than a journey they're almost finished with.
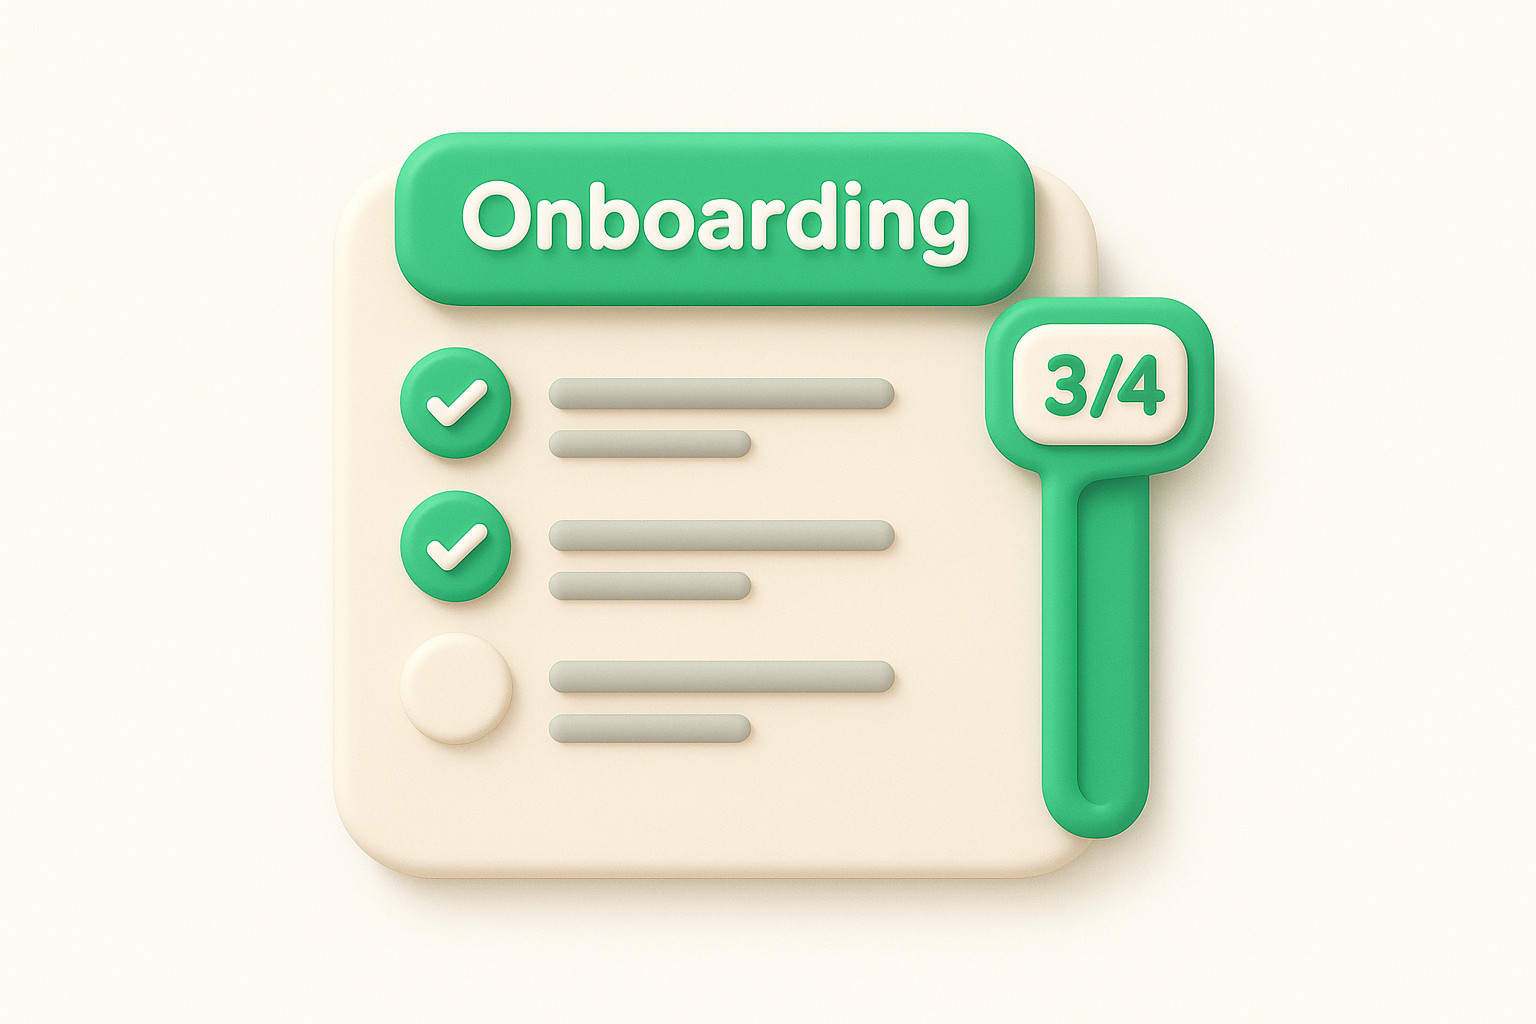
Show users a persistent checklist with clearly labeled steps inside the product, not buried in a settings menu. Each item should be short, action-oriented, and visually marked as complete once the user finishes it. Your saas onboarding checklist should contain five to eight steps at most so the list feels achievable rather than exhausting from the start.
Progress visibility reduces the chance that users abandon the flow midway. When someone can see they've completed three out of five steps, the pull to finish is stronger than if the remaining work feels undefined or open-ended.
A visible checklist does more than organize tasks. It turns setup into a series of small wins that build user confidence in your product.
Place the checklist somewhere users see it every time they log in during their first week, such as a dashboard widget or a collapsible sidebar panel. The goal is to make progress impossible to ignore without being intrusive.
Track your checklist completion rate for each individual step and overall. Any step with high abandonment tells you it's too vague, too difficult, or not relevant enough to justify its place in the flow.
Empty states are the screens users see before they've added any data. Most products treat these as blank placeholders, but they're actually some of the most valuable real estate in your entire saas onboarding checklist. A well-designed empty state turns a dead end into a clear invitation to take the next step.
Replace every blank screen with a purposeful prompt that tells users exactly what to do to fill it. The message should name the action, explain the benefit, and include a single call-to-action button that links directly to the relevant workflow. Keep the copy short and specific so users don't have to think about what to do.
When users land on a blank screen with no guidance, they read it as proof that the product isn't ready for them. That feeling triggers immediate doubt, and doubt accelerates churn before your onboarding flow ever gets a fair shot.
Empty states are not the absence of content. They are a prompt in disguise.
Users who see a clear next action on an empty screen are far more likely to stay and complete setup than users who see nothing and assume they've done something wrong.
Track the click-through rate on each empty state prompt to see how often users take the action. A low rate signals that the copy or button placement needs to be clearer or more direct.
Automated prompts and in-app messages fill the gaps in your onboarding flow that human support can't cover at scale. When a user stalls on a specific step, a well-timed nudge based on their behavior keeps them moving without requiring any manual intervention from your team.
Set up behavior-triggered messages that fire when users hit common friction points, such as spending more than two minutes on a setup step without completing it or returning to the same screen repeatedly. Each prompt should name the specific problem and offer a direct path forward, not a generic "need help?" pop-up that tells users nothing useful.
Static onboarding content only helps users who are actively reading it. Triggered prompts reach users at the exact moment they're stuck, which is when guidance has the most impact. Without automation, friction accumulates silently until a user gives up, and you only find out when churn data surfaces days later.
The right message at the wrong time is ignored. The right message at the right moment is the difference between a user who activates and one who leaves.
Track the open and click-through rates for each automated prompt to measure whether the message lands. Any prompt with a click-through rate below 15% needs clearer copy or a more precise trigger condition.
Automation handles the bulk of onboarding at scale, but some users need a real person before they'll commit to pushing through a difficult step. Knowing when to insert human support into your flow is the difference between recovering a hesitant user and losing them permanently to a product that felt easier to understand.
Identify two or three specific moments in your saas onboarding checklist where users are most likely to need direct human help. Common moments include the first time a user tries to integrate with another tool, during initial team setup, or when a user repeatedly visits a help article without completing the related step. At each of these points, make live chat or a short onboarding call clearly available, not buried in a help center.
Automated prompts are effective for small friction points, but complex or high-stakes decisions require human reassurance that no tooltip can provide. Users who feel genuinely supported during a difficult step are far more likely to activate and stay long-term.
Human support positioned at high-friction moments is not a cost center. It's a retention investment.
Track conversation-to-activation rate for users who engage with human support versus those who don't. A meaningful lift confirms that your intervention timing is accurate and worth maintaining.
You cannot improve an onboarding flow you are not measuring. Tracking performance at each step of your onboarding gives you the evidence you need to make changes with confidence instead of guessing which part of the experience is broken.
Pick a small set of onboarding metrics that connect directly to your activation event and track them consistently over time. Avoid tracking every possible data point. Focused measurement on the steps that matter most inside your saas onboarding checklist produces faster, more actionable insights than a dashboard cluttered with vanity metrics.
Teams that skip measurement end up iterating based on internal opinions rather than user behavior. Behavior data tells you what users actually do, while opinions tell you what your team wishes they would do. Those two things are rarely the same.
The fastest way to improve onboarding is to measure what breaks it, fix one thing at a time, and confirm the change worked before moving to the next.
Review your step-by-step completion funnel weekly to catch new drop-off points before they compound into churn. Track time-to-activate as your north star metric and set a clear improvement target each quarter so iteration stays focused and intentional.
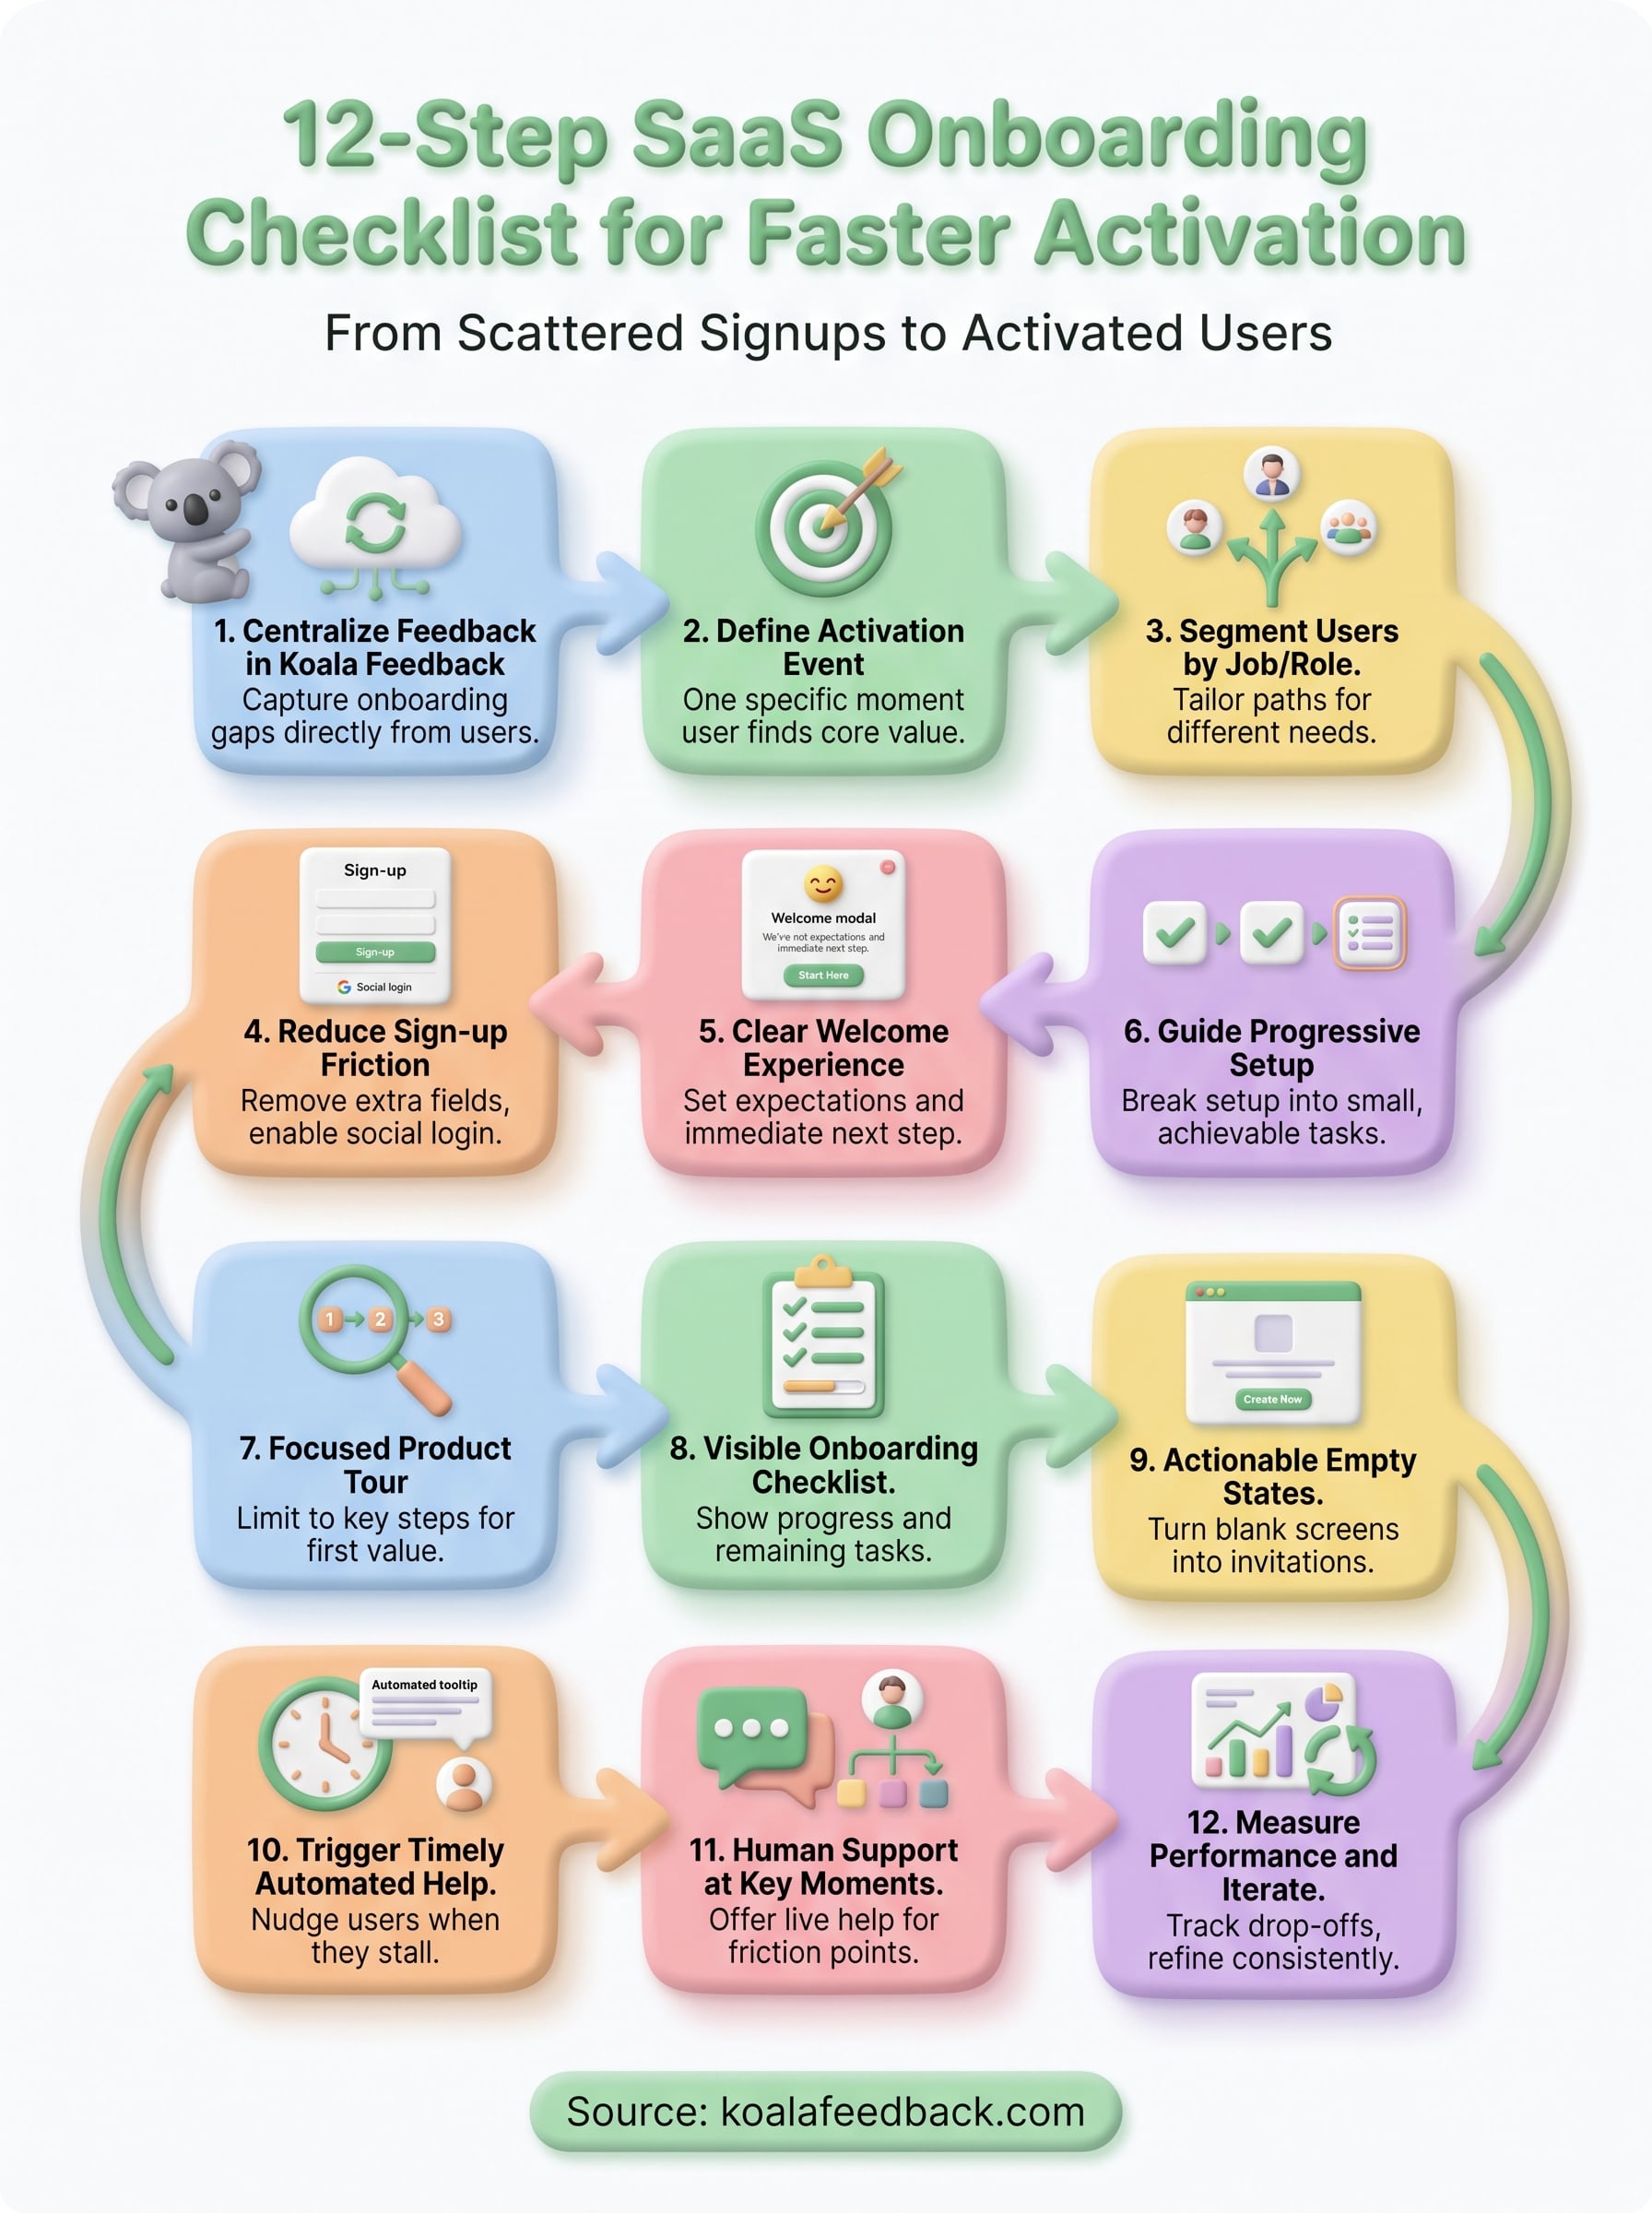
Working through each step in this saas onboarding checklist gives you a clear path from scattered signups to users who activate quickly and stick around. The checklist only works if you treat it as a living process rather than a one-time setup. Measure your drop-off points, collect feedback directly from new users, and make one targeted improvement at a time.
Start with what your users are already telling you. The fastest way to find your biggest onboarding gap is to ask the people who just experienced it. Centralizing that input in one place lets you spot patterns early and prioritize fixes based on real behavior instead of internal guesswork. If you want a dedicated tool to capture, organize, and act on that feedback, try Koala Feedback and set up your first onboarding feedback board today.

Start today and have your feedback portal up and running in minutes.