ClickUp is a powerful project management tool, and plenty of product teams use it to organize their work. But when it comes to building a ClickUp product roadmap, things get a bit more nuanced. You can absolutely create one, ClickUp offers views, custom fields, and templates that make it possible, but it wasn't specifically designed as a roadmap-first tool.
That distinction matters. A product roadmap isn't just an internal planning board. It's how you communicate direction to your team, your stakeholders, and, most importantly, your users. If you're stitching together a roadmap inside ClickUp, you need to know which features to lean on, what workarounds exist, and where the gaps are that might require a complementary tool.
This guide walks you through how to plan, track, and share a product roadmap using ClickUp, step by step. You'll learn how to set up boards, organize features by priority, and present your roadmap publicly. We'll also cover where ClickUp falls short for collecting and prioritizing user feedback, and how a dedicated feedback tool like Koala Feedback can fill that gap by giving your users a voice in what gets built next.
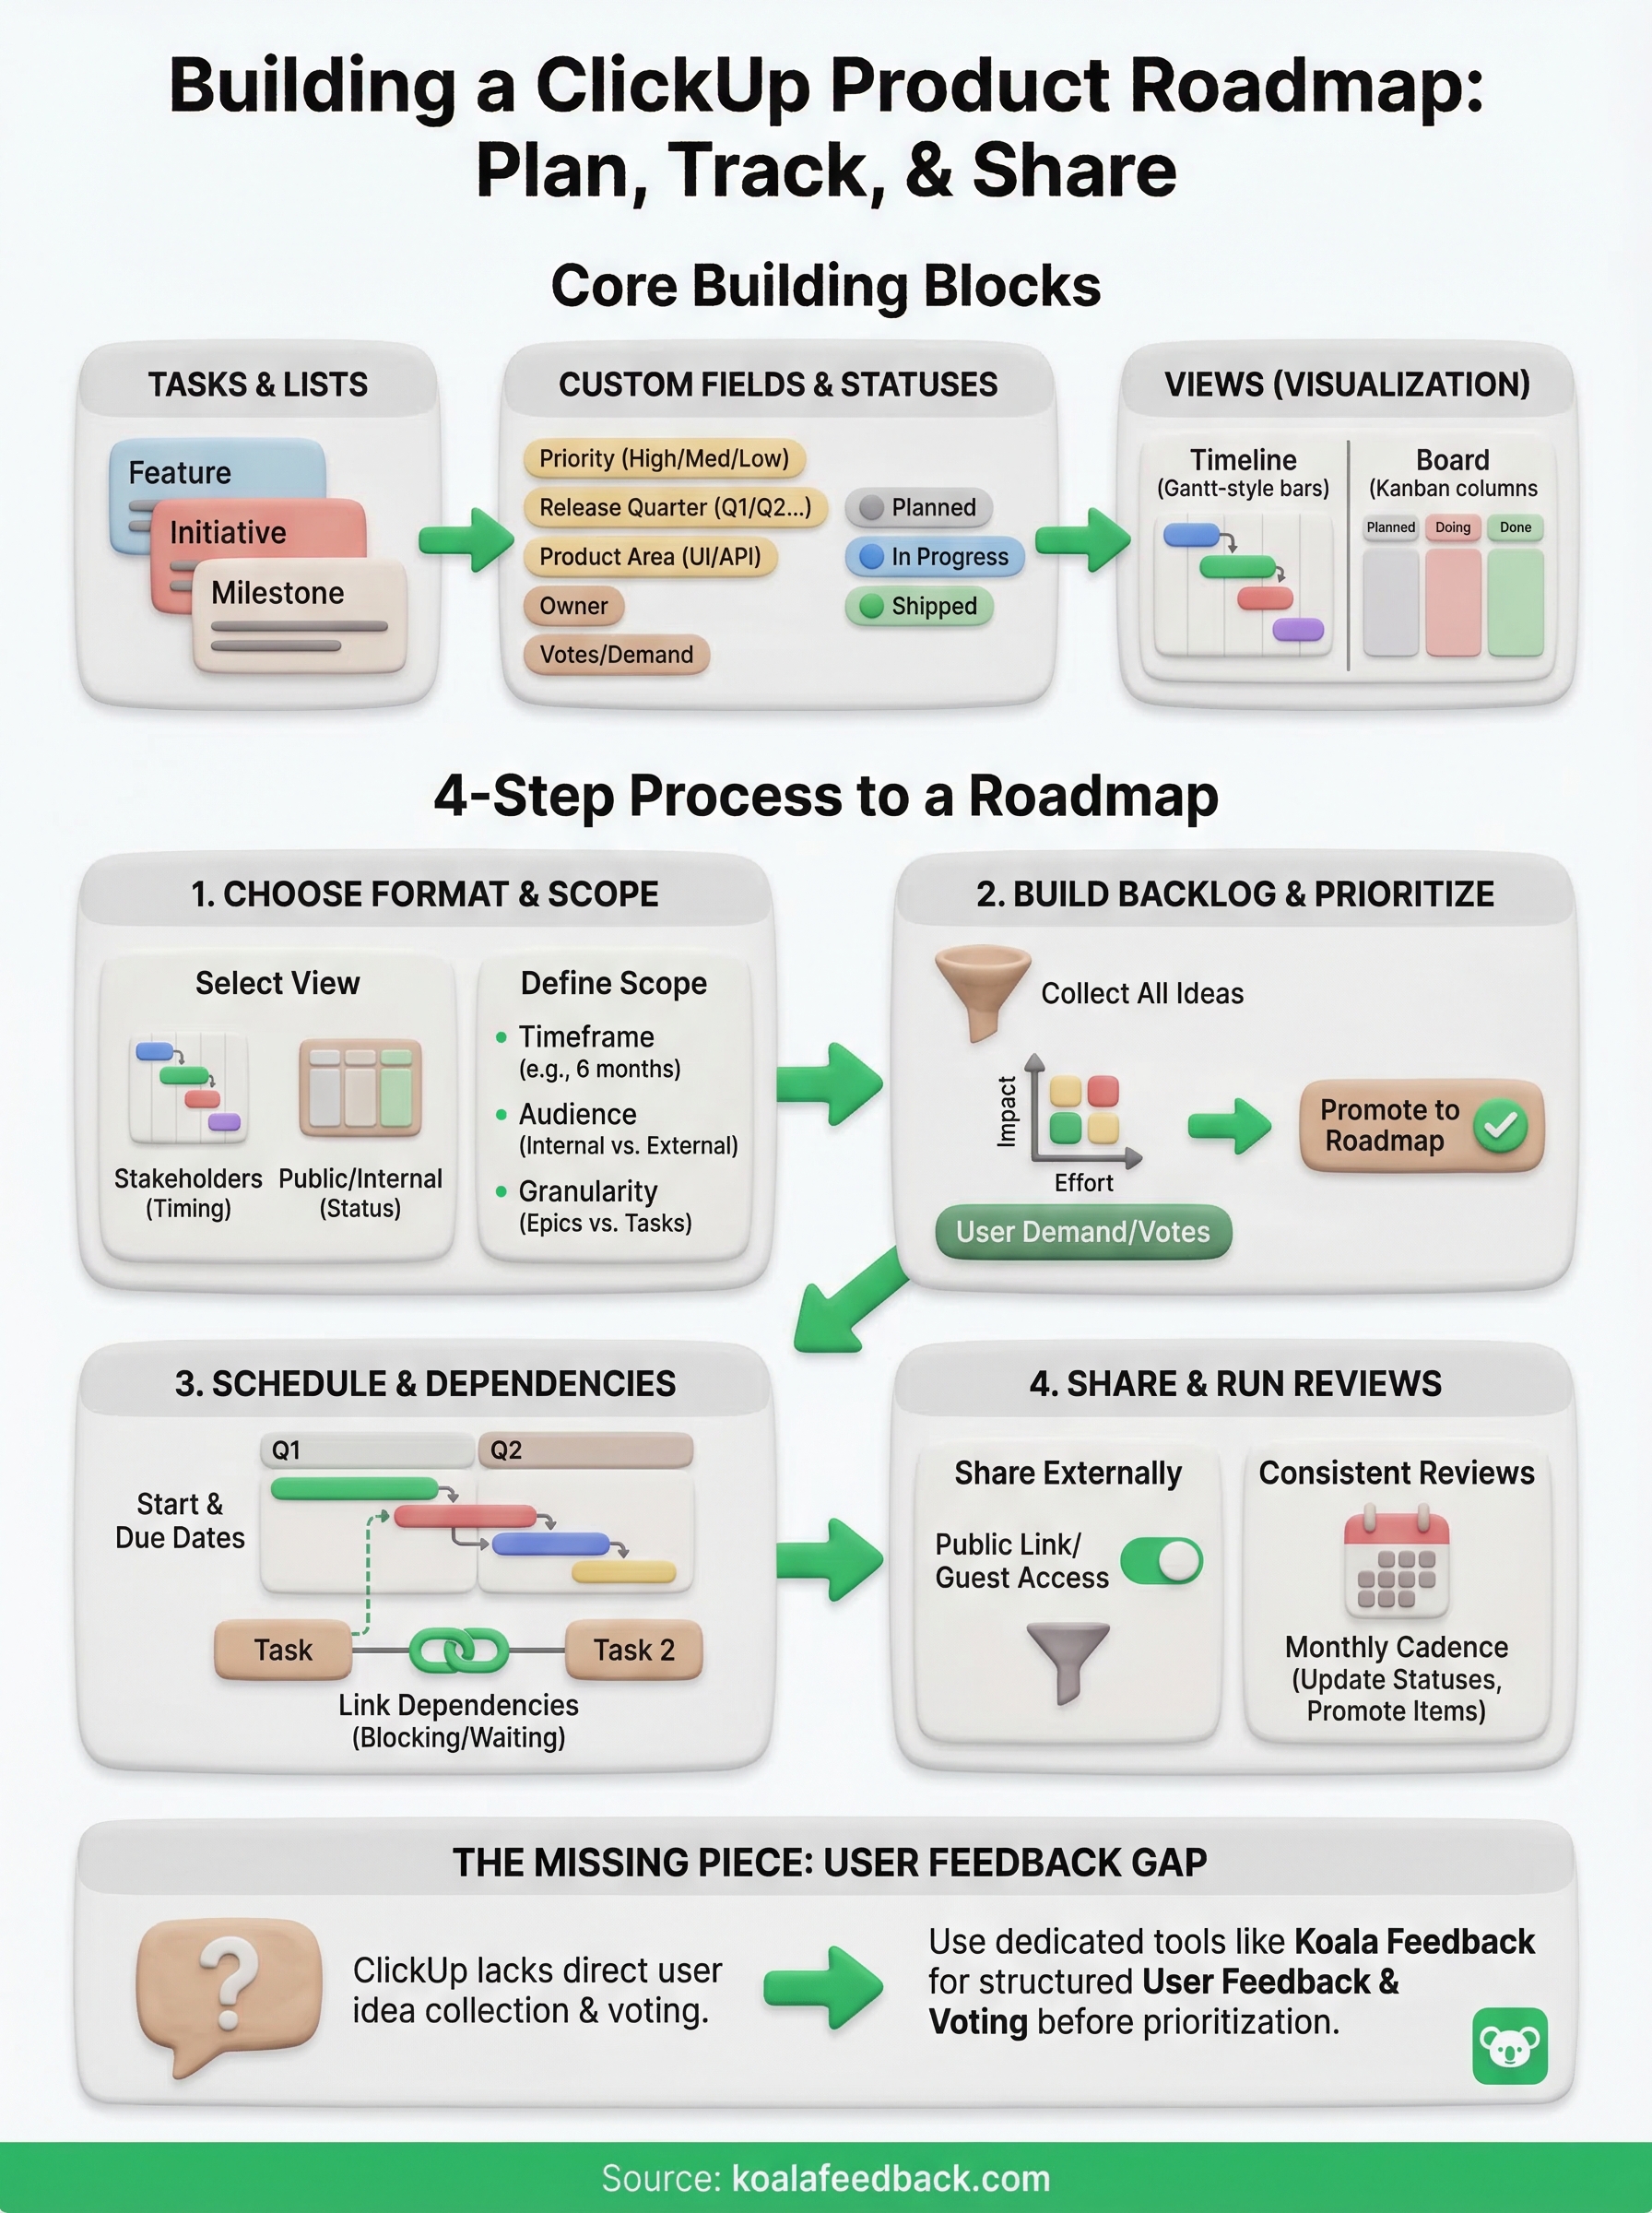
A ClickUp product roadmap is built from a combination of tasks, custom fields, and views that together represent your product's direction. Unlike dedicated roadmap tools, ClickUp gives you raw building blocks rather than a pre-built roadmap experience, so you assemble the structure yourself. That flexibility is both a strength and the reason setup takes more thought upfront.
Every roadmap in ClickUp relies on a few foundational elements working together. At its base, you have a List or Space where each task represents a feature, initiative, or milestone. On top of that, you layer custom fields and statuses to capture the information that makes a roadmap useful: priority level, release quarter, product area, and current status.
Your statuses do most of the communication work on a roadmap. Use clear, consistent labels like "Planned," "In Progress," and "Shipped" so anyone reading it knows exactly where each item stands.
Here's what a basic ClickUp roadmap task structure looks like:
| Field | Example Values |
|---|---|
| Task name | Dark mode support |
| Status | Planned / In Progress / Shipped |
| Priority | High / Medium / Low |
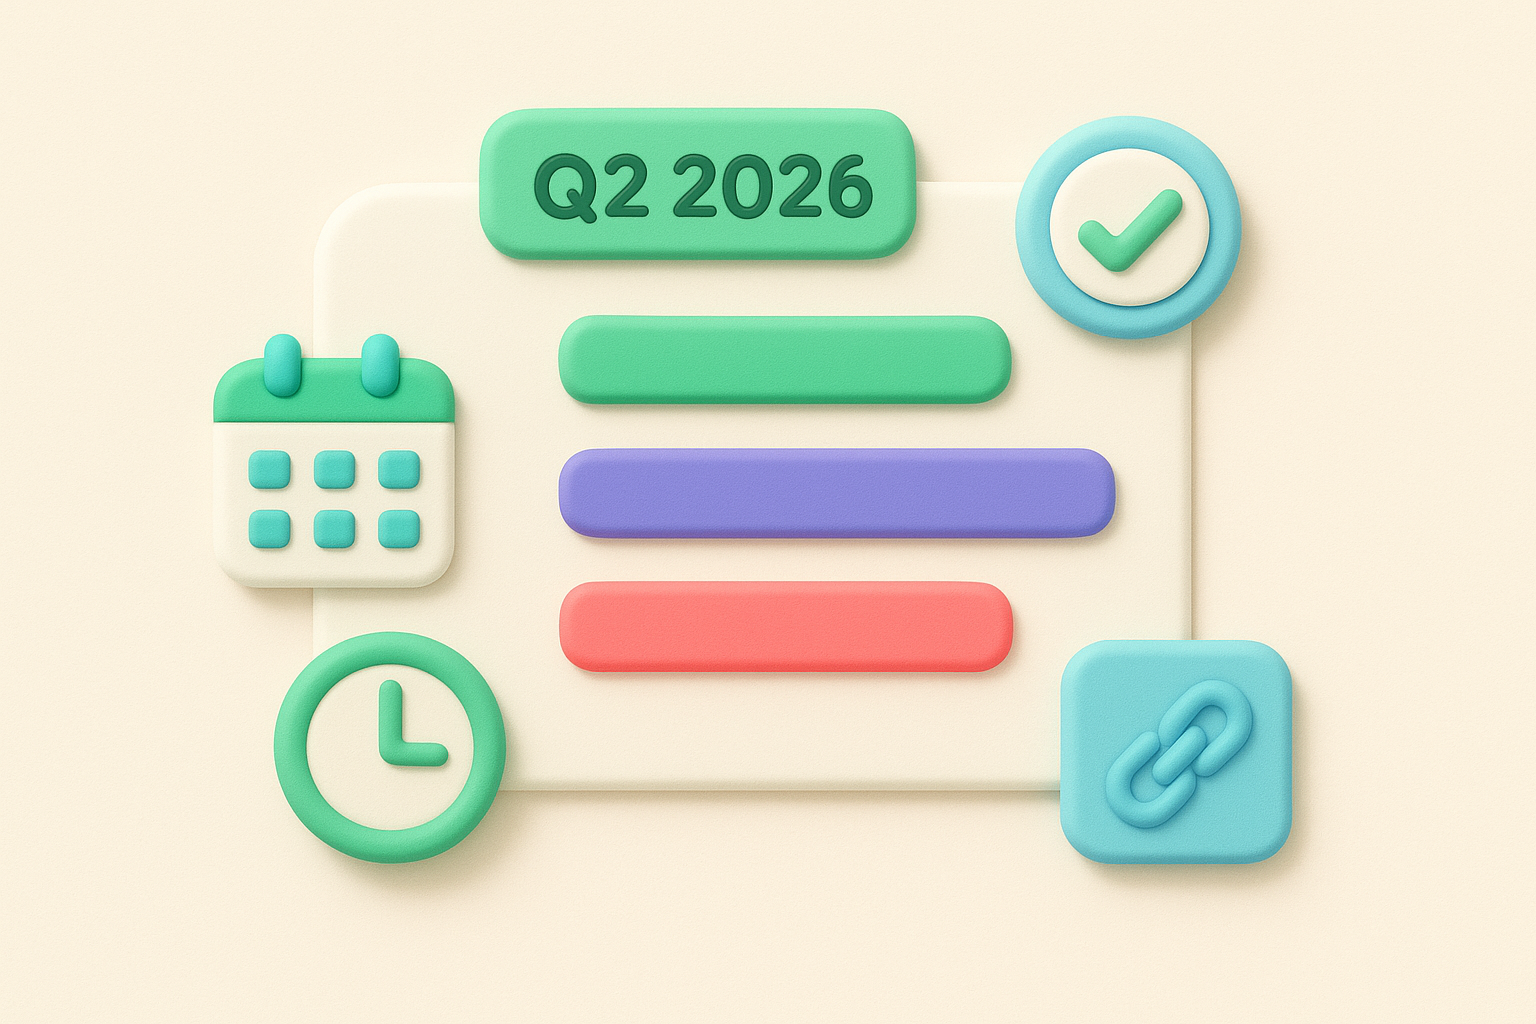
| Release Quarter | Q2 2026 |
| Product Area | UI / API / Billing |
| Owner | Team member or squad |
ClickUp offers several views that translate your task data into a roadmap layout. The Timeline view is the closest match to a traditional Gantt-style roadmap, letting you drag and resize tasks across a calendar. The Board view works well for a Kanban-style roadmap organized by status, where columns show what's planned, in progress, and done.
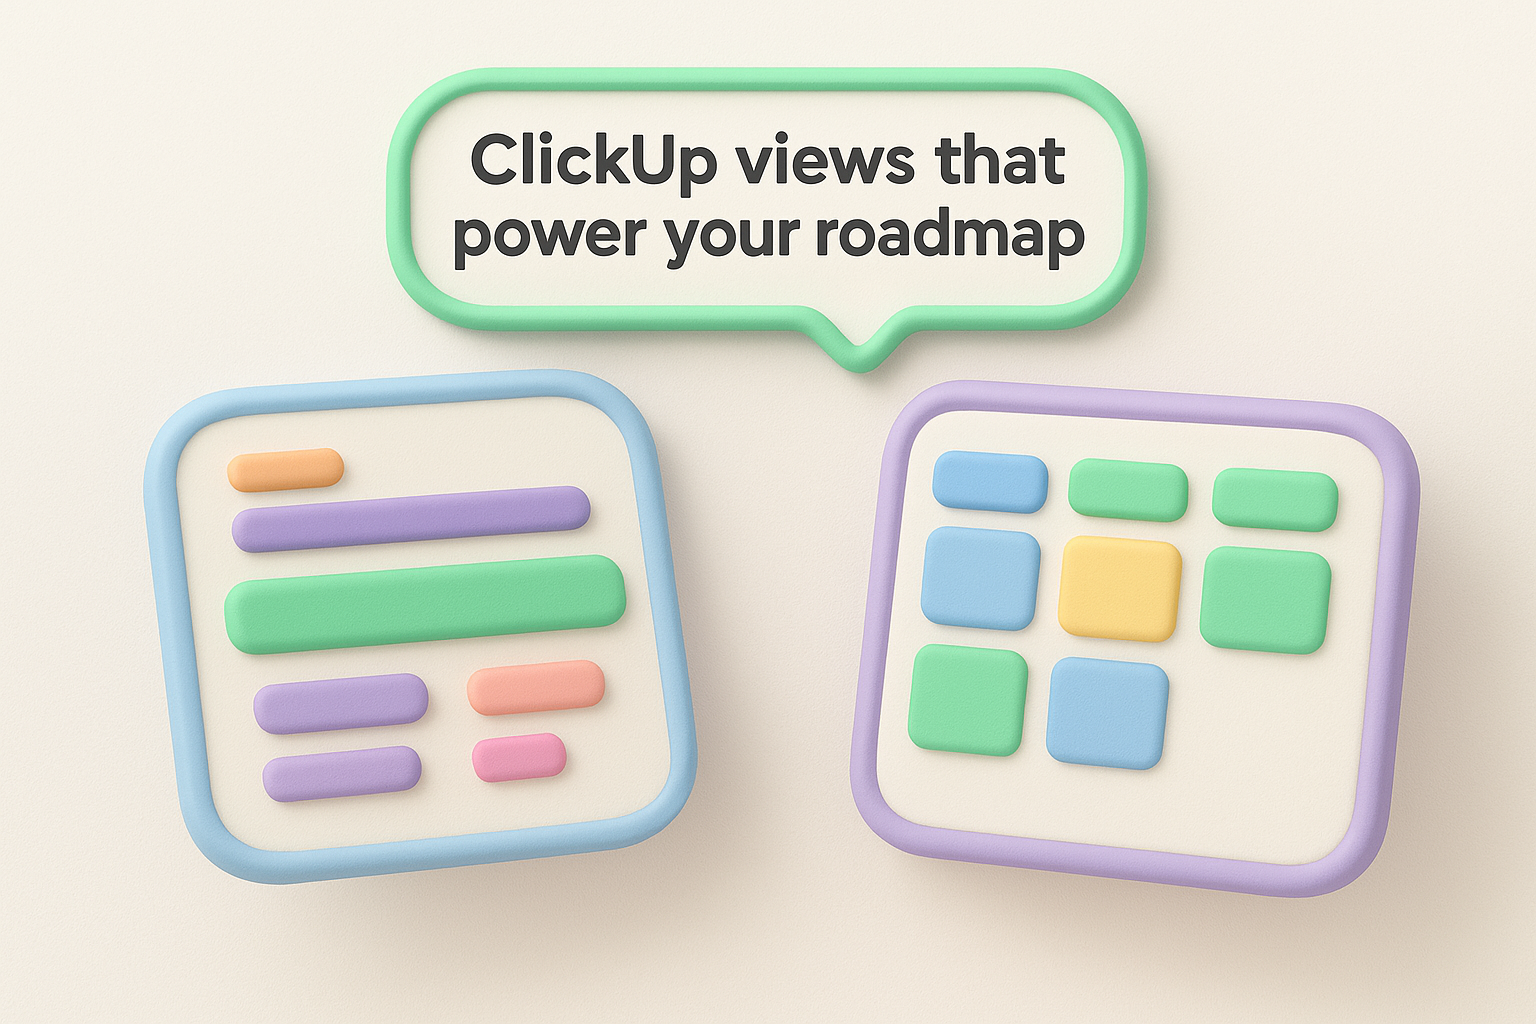
Switching between these views doesn't change any underlying data, which means the same List can serve both your internal planning board and your stakeholder-facing roadmap. Most teams set up at least two saved views: one filtered to show all active work in detail, and one simplified view with only high-level milestones visible.
Generic task fields won't hold up for roadmap management. You need custom fields that reflect how your team actually plans work. At minimum, set up a dropdown for Release Quarter, a dropdown for Product Area, and a priority field. If you work across multiple teams, a Squad or Owner field lets you filter the roadmap by ownership in seconds.
Adding a "Votes" or "Demand" number field is also worth considering. It gives you a place to record how many users have requested a specific feature, which makes it much easier to justify prioritization decisions when you present the roadmap to stakeholders or leadership.
Before you add a single task, you need to decide two things: how you want your roadmap to look, and what it will cover. Skipping this step leads to a roadmap that works fine for one audience but confuses another, or one that turns into a catch-all for every idea your team has ever floated.
ClickUp gives you several views to present your clickup product roadmap, and the right choice depends on who will read it. If you're presenting to executives or stakeholders who need to see timing, use the Timeline view. It maps tasks across weeks and quarters so anyone can see at a glance when features are scheduled to ship.
For internal planning, the Board view works better. It keeps the focus on status rather than dates, which suits daily standup reviews and sprint planning sessions.
A publicly shared roadmap works best as a simple Board view with three columns: Planned, In Progress, and Shipped. Users can scan it without needing context about your team's internal processes or sprint structure.
Scope creep on a roadmap damages your planning process just as much as it damages a project. Decide upfront whether your roadmap will cover one product, one team, or one quarter, and document that decision somewhere your team can reference it.
A simple scope definition looks like this:
This keeps your roadmap focused and prevents the whole structure from losing meaning over time.
A backlog without structure quickly turns into a list no one trusts or uses. In ClickUp, you want a dedicated backlog List separate from your active roadmap so you can review and promote items intentionally rather than letting every idea land directly on the roadmap. Start by creating a List called "Backlog" inside the same Space, and give it the same custom fields you set up for the roadmap itself.
Your backlog should hold every feature request, bug fix, and initiative your team has collected, regardless of whether it will ship this quarter. Add tasks as they come in, tag each one with a Product Area, and assign a rough priority so nothing gets buried. Resist filtering aggressively at this stage. The goal is to capture first and evaluate later.
A backlog only works if your whole team adds to it consistently. Set a shared norm: every user request, internal idea, or support pattern gets a task before it gets discussed.
Before you move anything from the backlog onto your ClickUp product roadmap, score each item against a simple framework. A basic impact-effort matrix works well for most product teams:
| Feature | User Demand | Effort | Strategic Fit | Score |
|---|---|---|---|---|
| Dark mode | High | Low | Medium | High |
| API v2 | Medium | High | High | Medium |
| Bulk export | Low | Low | Low | Low |
Use the Votes or Demand field you set up earlier to weight user demand in your scoring. Items with high demand, low effort, and strong strategic fit move up first. This approach keeps your prioritization evidence-based rather than driven by whoever spoke loudest in the last planning meeting.
Once your backlog is prioritized, you need to translate those ranked items into a release schedule with real dates and clear dependencies. Without this step, your ClickUp product roadmap stays at the planning stage indefinitely. ClickUp's Timeline view is the right tool here, it lets you assign start and end dates to each task and visualize how features stack up across quarters in a single view.
Open the Timeline view and assign a start date and due date to every item you've promoted from the backlog. Group tasks by the Release Quarter field you set up earlier. This gives you an instant visual of how much work is packed into each quarter, which helps you catch overloaded sprints before they become a delivery problem.
Use this template to structure your quarterly release plan inside ClickUp:
| Quarter | Feature | Status | Owner | Dependencies |
|---|---|---|---|---|
| Q2 2026 | Dark mode | In Progress | UI Team | Design tokens |
| Q2 2026 | Bulk export | Planned | Backend | None |
| Q3 2026 | API v2 | Planned | Platform | Auth refactor |
If two features share the same owner and land in the same quarter, flag that conflict in your planning meeting before both tasks are committed to the roadmap.
ClickUp lets you create task dependencies directly from a task's detail panel by setting a relationship as "waiting on" or "blocking" another task. Apply this to any feature that cannot ship until a separate item is complete. Dependency links appear as connected bars in Timeline view, so your team can spot bottlenecks at a glance without opening individual tasks. Review these dependency chains at the start of each sprint to catch any blocked work early.
Once your schedule is locked, you need to get your ClickUp product roadmap in front of the right people. A roadmap no one can see is just an internal to-do list. ClickUp lets you share views via a public link or guest access, so you control exactly what external viewers see without giving them edit permissions.
To publish your roadmap, open the Board or Timeline view you built for your public-facing audience, click the Share button in the top right corner, and enable the public link toggle. You can lock the view so guests cannot switch to other views or access unrelated data. Pair this with custom statuses like "Planned," "In Progress," and "Shipped" so the link you send to users or stakeholders is clean and self-explanatory.
Send your public roadmap link through your product's release notes or feedback portal so users can find it without hunting for it.
Run through this checklist before you share the link with anyone outside your team:
Schedule a monthly roadmap review with your product team to move completed items to "Shipped," promote backlog candidates into the active roadmap, and adjust dates where delivery has shifted. Keep each session productive with a standing agenda so your team knows what to prepare in advance:
| Agenda item | Time |
|---|---|
| Review shipped items | 5 min |
| Update in-progress statuses | 10 min |
| Promote backlog items | 10 min |
| Flag dependency conflicts | 10 min |
| Confirm next share date | 5 min |
A ClickUp product roadmap only stays useful if you treat it as a living document, not a one-time setup. The structure you built works well when your team commits to keeping statuses current, pruning stale backlog items, and sharing updates on a predictable schedule. Consistency beats perfection here. A roadmap that gets reviewed monthly and shared regularly builds more trust with users and stakeholders than a beautifully designed one that goes stale after two weeks.
One gap ClickUp does not close on its own is collecting and prioritizing user feedback before features reach your roadmap. Without a dedicated feedback channel, users have no way to submit ideas or vote on what matters most, which means you risk building based on internal assumptions rather than real demand. Koala Feedback gives your users a structured way to submit, vote on, and track feature requests, so the items you promote into ClickUp already reflect what your users actually want.

Start today and have your feedback portal up and running in minutes.
