Productboard is one of the more popular tools product teams use to collect feedback and turn it into a plan. At the center of that plan sits the Productboard roadmap, a visual way to show what's being built, what's next, and what's already shipped.
But getting your roadmap set up the right way isn't always straightforward. Between views, columns, statuses, and sharing settings, there are real decisions to make about how you present your product direction. And those decisions affect how your team stays aligned and how your users stay informed.
This guide walks you through how to build, customize, and share a roadmap in Productboard, step by step. We'll also look at where the platform shines, where it falls short, and how a lighter tool like Koala Feedback can give you the same roadmap visibility (plus built-in feedback collection) without the complexity or cost. Whether you're evaluating Productboard or already using it, you'll walk away knowing exactly how to get the most out of your roadmap.
A Productboard roadmap is a prioritized, visual view of your product plan built on top of the features and initiatives you've already defined inside your workspace. It's not a standalone document you create from scratch. Instead, it pulls from the structured data you've already collected - features with statuses, priorities, and timeframes - and displays them in a format your team or your customers can actually read and act on.
The roadmap is only as useful as the data feeding it, so your feature prioritization work needs to happen before you touch the roadmap view.
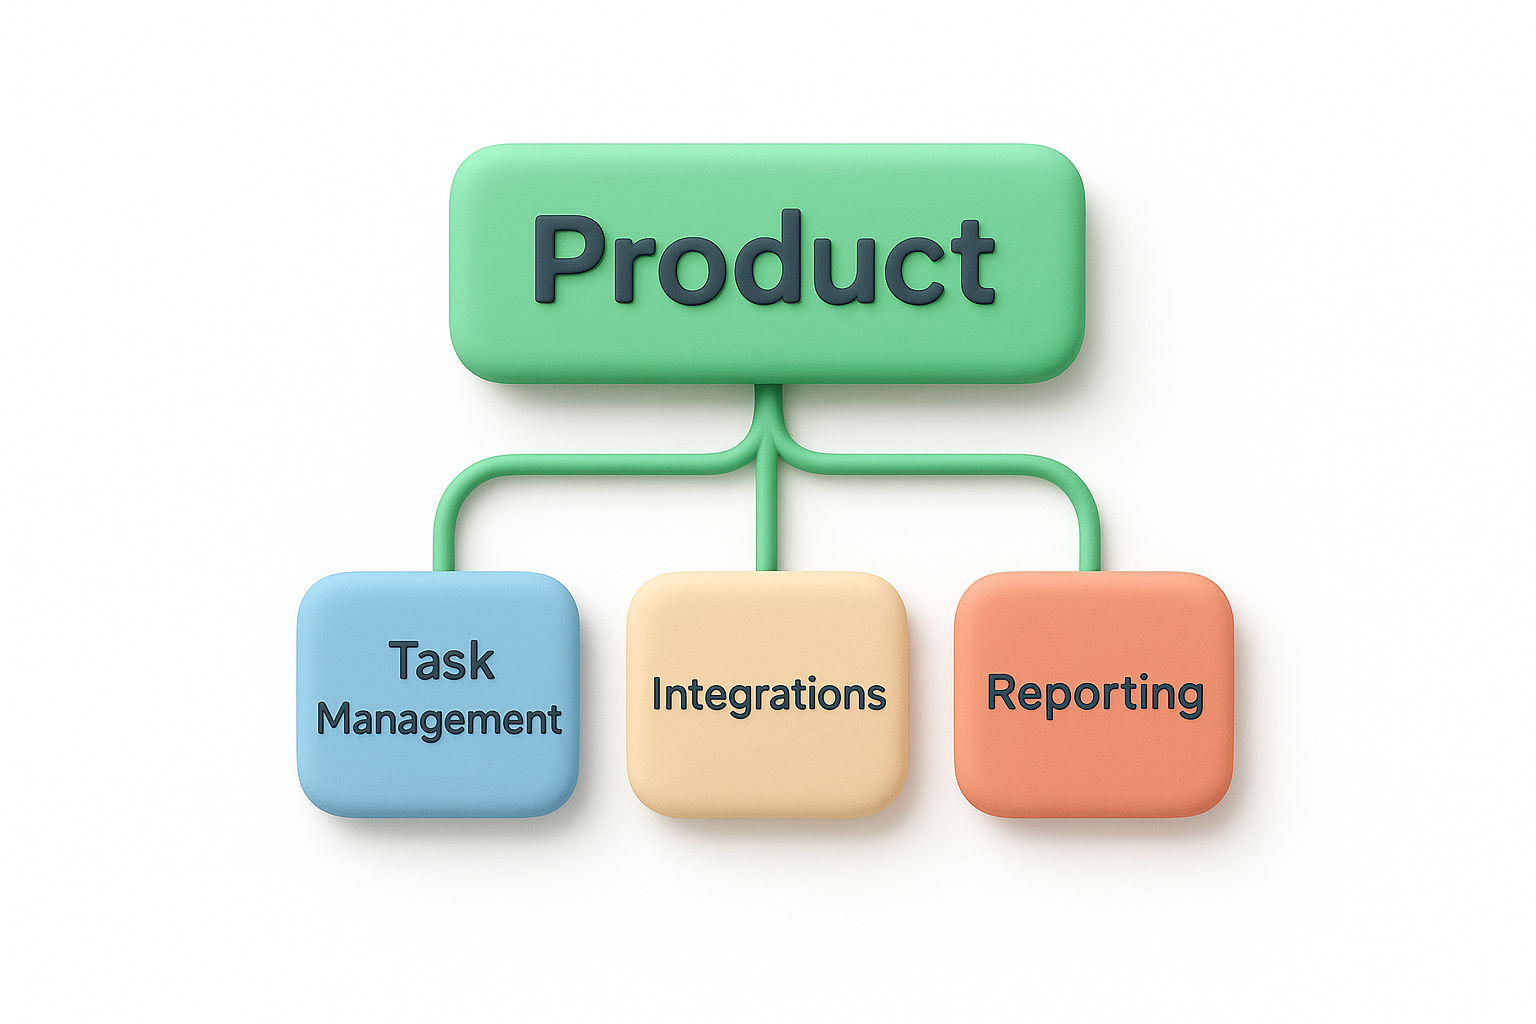
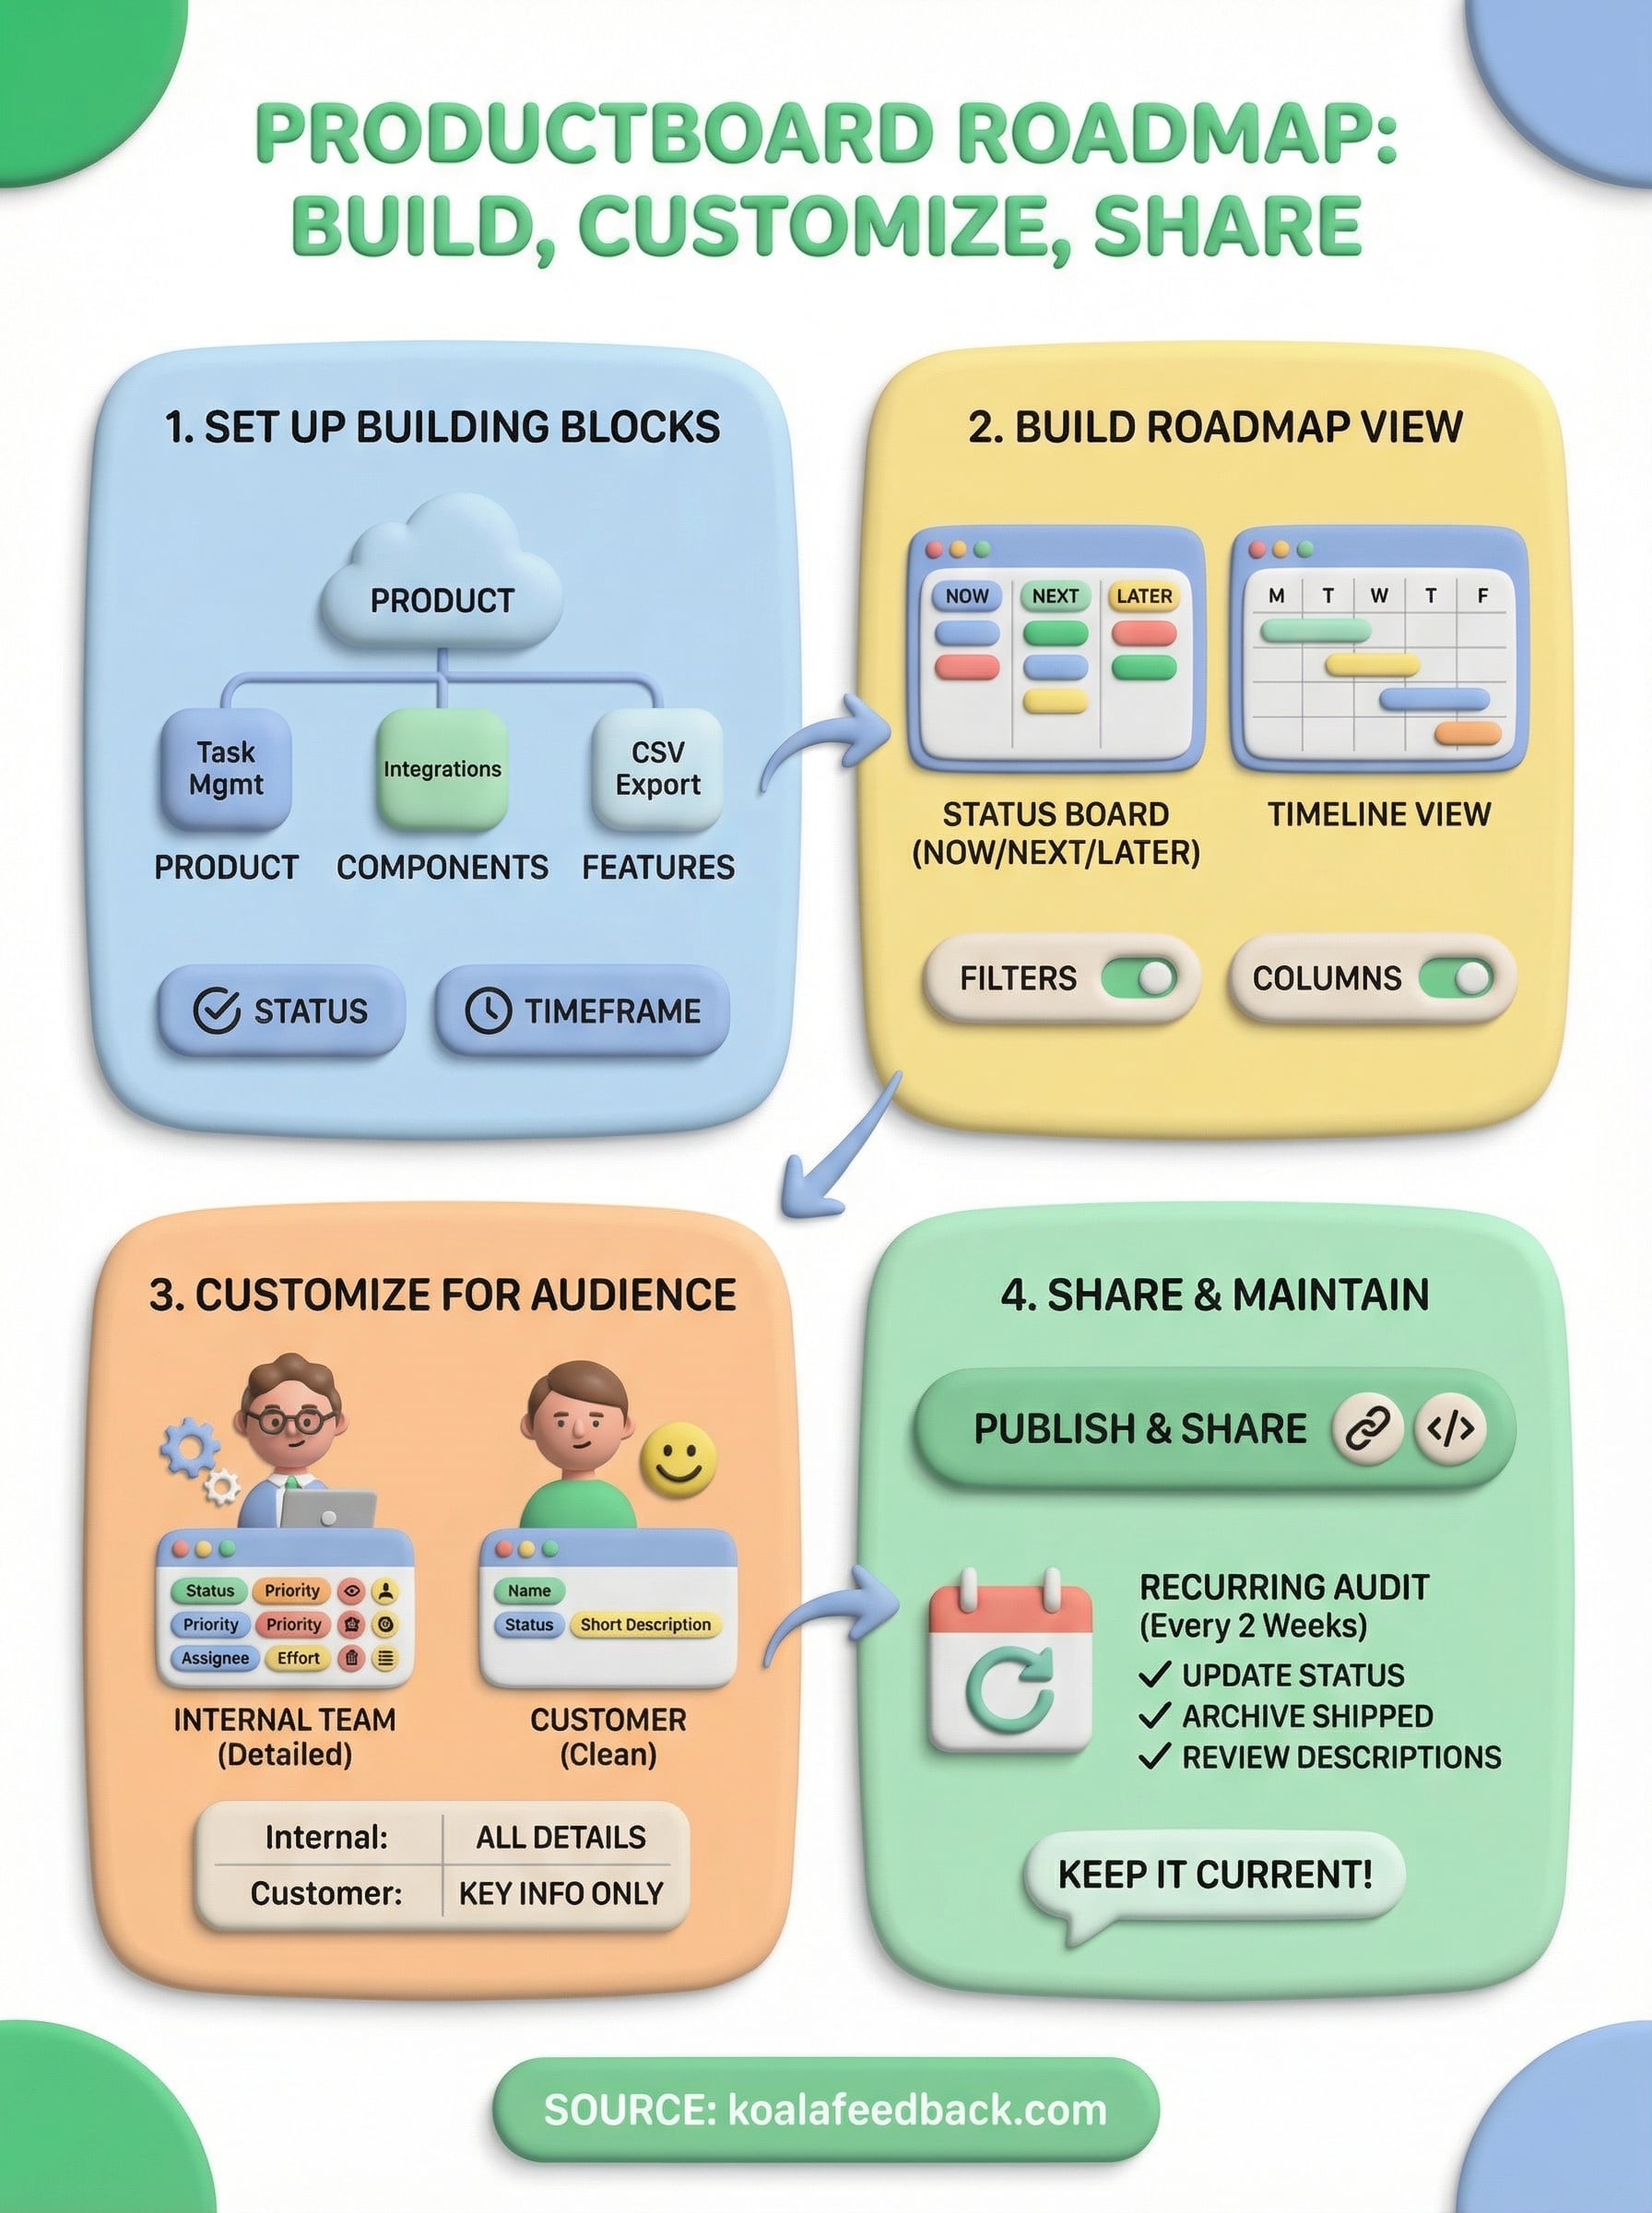
Productboard organizes your product work into a hierarchy of three levels: features, components, and products. Features are the individual work items. Components group related features together (like "Billing" or "Onboarding"). Products sit at the top and represent your full product or product line.
When you build a view, you're choosing which level of that hierarchy to display, how to group items (by status, team, or time period), and what columns or swimlanes to show. Productboard supports two main roadmap formats: a columnar status view (Now/Next/Later style, similar to Kanban) and a timeline view that places features across a calendar. The status view works well for communicating direction without committing to exact release dates. The timeline view suits teams that need to coordinate launches across multiple workstreams or dependencies.
Productboard fits best when your team already has a clear, repeatable process for collecting and scoring feedback and wants to connect that input directly to a shareable plan. If your team regularly receives feature requests from customers, runs discovery interviews, or pulls feedback from support tickets, Productboard gives you a structured pipeline from raw input to roadmap item.
It also works well when you're managing multiple products or product areas in a single workspace. You can create separate roadmap views for each product and filter them independently. Your engineering lead sees a detailed backlog-level view, while your customers see a cleaner, high-level public roadmap showing only what's relevant to them.
Where Productboard starts to strain is for smaller teams or early-stage products that don't need that level of structure yet. The platform has real setup overhead - you need to think through your hierarchy, your scoring criteria, and your view configurations before anything useful appears on screen. If your product has fewer than a few dozen active features and your team is small, that investment takes time you may not have.
In those situations, a simpler tool with a built-in public roadmap and feedback portal often gives you exactly what you need without the added configuration work. It's worth knowing that tradeoff before you commit to the full Productboard setup.
Before you touch the Productboard roadmap view, you need your workspace organized correctly. The roadmap pulls from data you've already structured, so if that foundation is messy, the roadmap reflects that mess back at everyone who views it.
Start by creating your products and components inside Productboard. A product is the top-level container. Components sit inside it and group related features together. For example, if you build a project management app, your components might be "Task Management," "Integrations," and "Reporting."
Get your component structure right early, because reorganizing features after you've built several views takes significant effort.
Once your components are in place, add your features underneath them. Each feature represents a discrete unit of work. Keep feature names clear and specific: "Add CSV export to reports" is more useful than "Export improvements." Vague names create confusion when you filter and display them on a roadmap later.
Your features need two key data points before they can appear meaningfully on a roadmap: a status and a timeframe. Productboard gives you default statuses (Candidate, Planned, In Progress, Done), but you can rename them inside your workspace settings to match your team's actual workflow.
For timeframes, you have two options. If you're building a Now/Next/Later roadmap, assign each feature to one of those time buckets using the "Timeframe" field. If you're building a timeline view instead, set a start date and end date on each feature. Pick the format that matches how your team communicates about timing before you configure anything else.
Here's a quick checklist to run through before moving to the next step:
With those pieces in place, your roadmap view will have real data to work with the moment you create it.
With your features structured and your data clean, you're ready to create the actual Productboard roadmap view. Go to the "Roadmaps" section in the left sidebar and click "+ New roadmap." Productboard will ask you to choose a starting format. Pick either the status board or the timeline depending on the timeframe format you set in Step 1.
Your view type controls how your roadmap communicates timing to whoever reads it. The status board (Now/Next/Later) works best for external sharing with customers because it sets direction without locking you into specific dates. The timeline view suits internal planning where your team needs to see overlapping workstreams and dependencies across a calendar.
Pick the view type that matches how you already talk about your product schedule, not the one that looks most impressive in a demo.
After you select your format, give the view a clear name. Use something like "Public Roadmap - Q2 2026" or "Engineering Timeline - Integrations Team." Descriptive names matter because you'll likely create multiple views over time, and vague names like "Roadmap 1" create confusion quickly.
Once the view loads, set your filters to show only the features relevant to this specific roadmap. Click "Filter" in the top bar and filter by product, component, or status. For example, if you're building a customer-facing roadmap, filter to show only features with a status of "Planned" or "In Progress" and exclude internal infrastructure work.
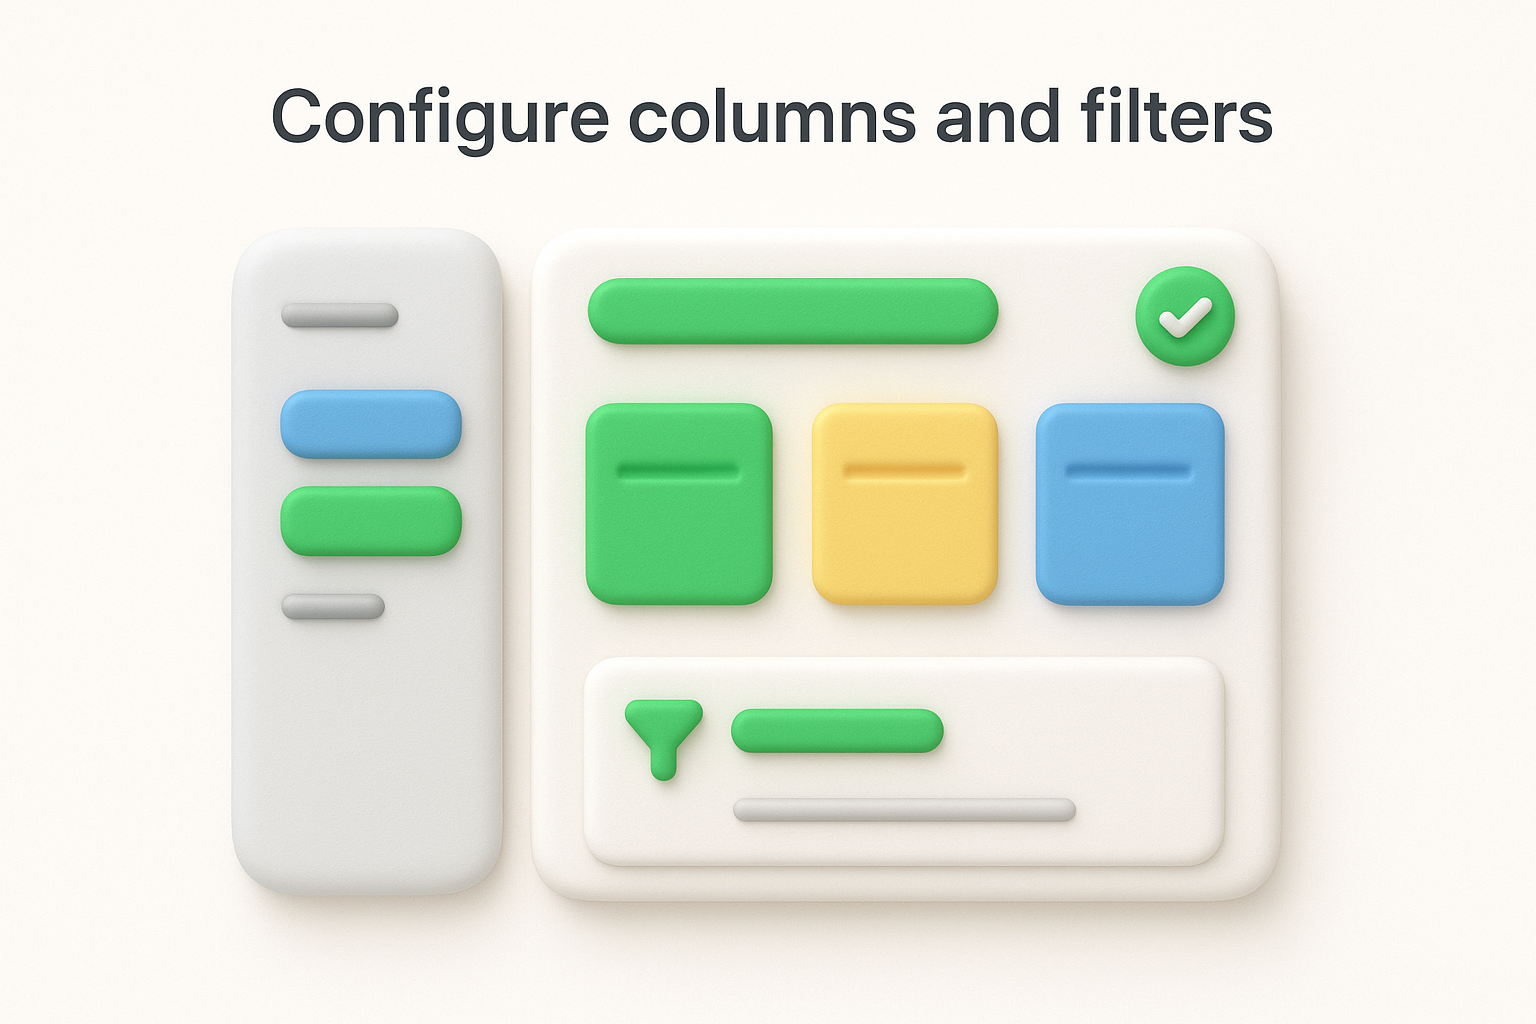
Next, configure your columns or swimlanes to group features logically. In the status board, your columns default to your status labels. In the timeline, you can group rows by component, team, or product. Use component-based grouping for most cases because it gives viewers a clear sense of which area of your product is getting attention. Adjust column widths so feature names are fully visible without scrolling horizontally.
A single roadmap view rarely serves everyone who needs to see it. Your engineers want technical detail and status clarity, while your customers want a clean, high-level picture of what's coming. Productboard lets you create multiple views from the same data, so you can tailor what each audience sees without duplicating your work.
Start by duplicating your existing roadmap view and renaming it immediately. Use names that make the purpose obvious, like "Internal - Engineering Q2" and "External - Customer Roadmap." From there, apply different filters to each copy. Your internal view can show all statuses, including Candidate features still under evaluation. Your customer-facing view should filter to only "Planned" and "In Progress" items so you're not showing work that may never happen.
Never share a view with customers that includes unconfirmed Candidate features, because setting false expectations damages trust faster than staying quiet does.
On your customer-facing Productboard roadmap view, hide columns that expose internal language. Things like effort scores, team assignments, and internal notes should stay out of the public view. Click "Customize columns" in the top bar and toggle off anything that isn't relevant to an outside viewer. Keep the feature name, status, and a short description visible, since those three fields answer the questions customers actually care about.
For your internal view, do the opposite: surface every relevant data field. Show assignee, priority score, estimated effort, and any linked customer feedback. Your team needs context to act, so more information is better here. Here's a simple reference for what to show each audience:
| Field | Internal view | Customer view |
|---|---|---|
| Feature name | Yes | Yes |
| Status | Yes | Yes |
| Priority score | Yes | No |
| Assignee | Yes | No |
| Effort estimate | Yes | No |
| Short description | Yes | Yes |
Once your views are configured and filtered correctly, you're ready to publish and share your Productboard roadmap with the people who need to see it. Productboard gives you two sharing options: a shareable link that anyone with the URL can view, and an embeddable version you can drop into a customer-facing site or help center. Go to your customer roadmap view, click "Share" in the top right corner, toggle on public sharing, and copy the link. Send it directly to customers through email or your support tool, or embed it on a dedicated "What's coming" page on your website.
A public roadmap link only stays useful if the data behind it stays current, so treat publishing as the beginning of the work, not the end.
Before you send that link to anyone, review the view one final time as if you were a customer seeing it fresh. Check that every visible feature has a clear, plain-language name, a current status, and a short description that explains the benefit rather than just the technical implementation. For example, "Export reports to CSV" is better than "Add CSV serialization to the reporting module." Remove any features still marked as Candidate by confirming your filters are applied correctly. A single unpolished item visible to customers creates the impression the whole roadmap is rough.
Your roadmap loses credibility the moment it goes stale. Set a recurring calendar reminder every two weeks to audit your customer-facing view. During each audit, update statuses for features that have moved forward, archive features that shipped, and add any newly confirmed work. This keeps the public view accurate without requiring a full review session each time.
Here's a simple maintenance checklist to run on that two-week cycle:
You now have a clear, step-by-step picture of how to build, customize, and share a Productboard roadmap from scratch. You've seen how to structure your features, configure your views for different audiences, and keep the roadmap accurate after it goes live. That process works well when your team is ready to invest in the full setup.
But if you're a smaller team looking for a faster path to the same outcome, there's a simpler option worth considering. Koala Feedback gives you a built-in public roadmap and feedback portal in one place, without the configuration overhead that Productboard requires. Your users can submit ideas, vote on features, and see exactly what's coming, all from a single tool you can get running in minutes. If that fits what you need right now, it's worth taking a look.

Start today and have your feedback portal up and running in minutes.