Sharing your product direction with customers builds trust and keeps them invested in your journey. A Productboard public roadmap lets you do exactly that, giving stakeholders visibility into what's planned, what's in progress, and what's already shipped. But setting it up correctly makes all the difference between a roadmap that drives engagement and one that sits ignored.
Productboard calls this feature "Portal," and it's designed to help product teams communicate updates externally without exposing internal priorities or sensitive data. Whether you're looking to reduce repetitive "when is this feature coming?" support tickets or simply want to show customers you're listening, a public roadmap can be a powerful tool.
This guide walks you through publishing and sharing your Productboard roadmap step by step. We'll cover the setup process, customization options, and best practices for keeping your roadmap useful. And if you're exploring alternatives, we'll also touch on how tools like Koala Feedback offer similar roadmap-sharing capabilities with a different approach to feedback collection and prioritization.
Before you can publish your Productboard public roadmap, you need to verify that your account has the right features enabled and your content is ready to share. Productboard's Portal feature isn't available on all plans, and you'll need specific permissions to configure and publish external-facing roadmaps. Getting these prerequisites sorted saves you from hitting roadblocks mid-setup.
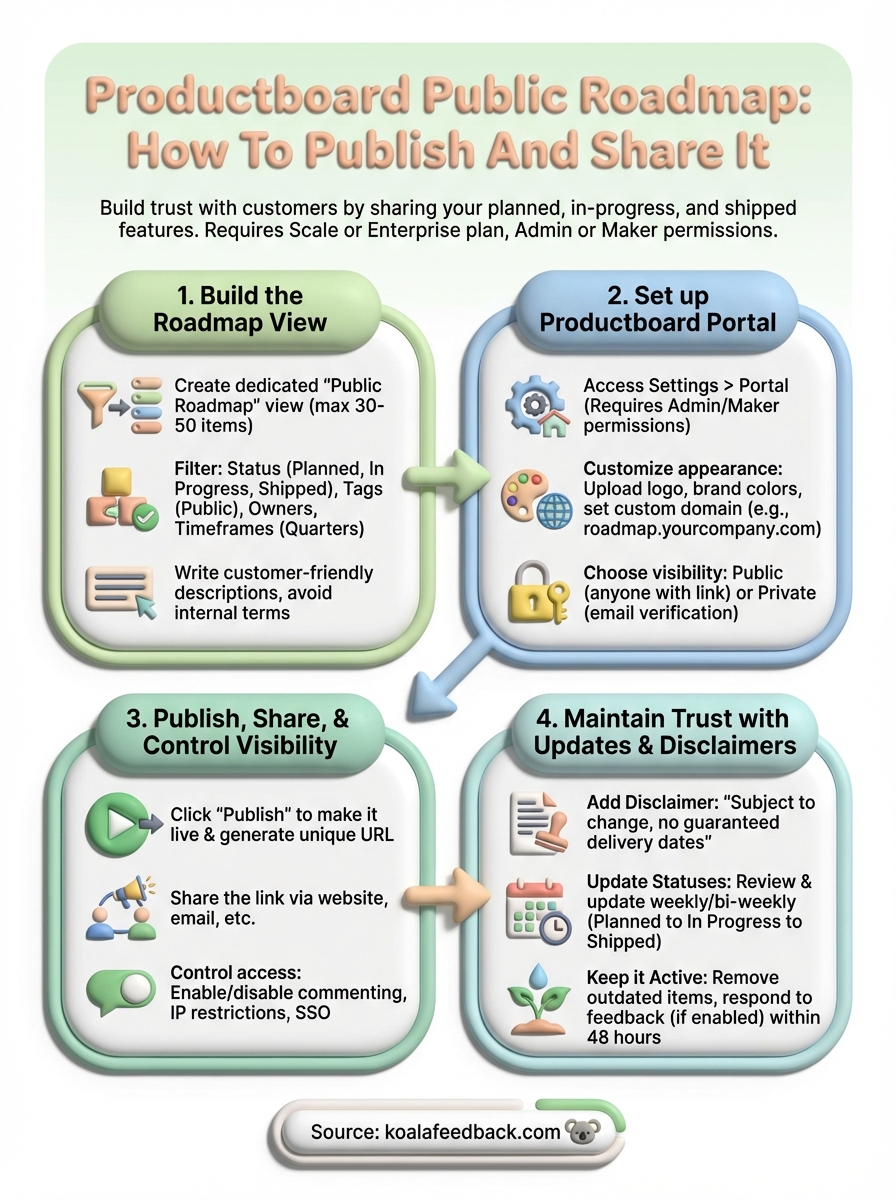
Your Productboard account must be on a Scale or Enterprise plan to access Portal functionality. If you're on a lower-tier plan, you won't see the option to create public roadmaps in your workspace settings. Additionally, you need Product Maker or Admin permissions to configure Portal settings and publish content. Standard users can view internal roadmaps but can't control what gets shared externally.
Without the right permissions, you can build roadmaps internally but won't be able to make them public or customize how they appear to customers.
Check with your account administrator if you're unsure about your current plan or permission level. You'll find your plan details under Settings > Subscription in your Productboard workspace.
Gather the roadmap items you want to display publicly before starting the Portal setup. Decide which features belong on your public view and which should stay internal. You'll also need to prepare customer-friendly descriptions that explain planned features without revealing competitive information or overpromising delivery dates.
Consider these items before publishing:
Your internal roadmap likely contains details you shouldn't share publicly, like competitive strategy, technical debt items, or experimental features. Building your Productboard public roadmap starts with creating a filtered view that shows only what customers need to see. You'll construct this view using Productboard's Views feature, which lets you control exactly which items appear.
Navigate to your Roadmaps section in Productboard and click "Create new view" to start building your public roadmap. Name this view something clear like "Public Roadmap" or "Customer Portal View" so your team knows its purpose. Set up filters to exclude internal-only items by creating tags like "Public" or "Portal-ready" and applying them to features you want to share.
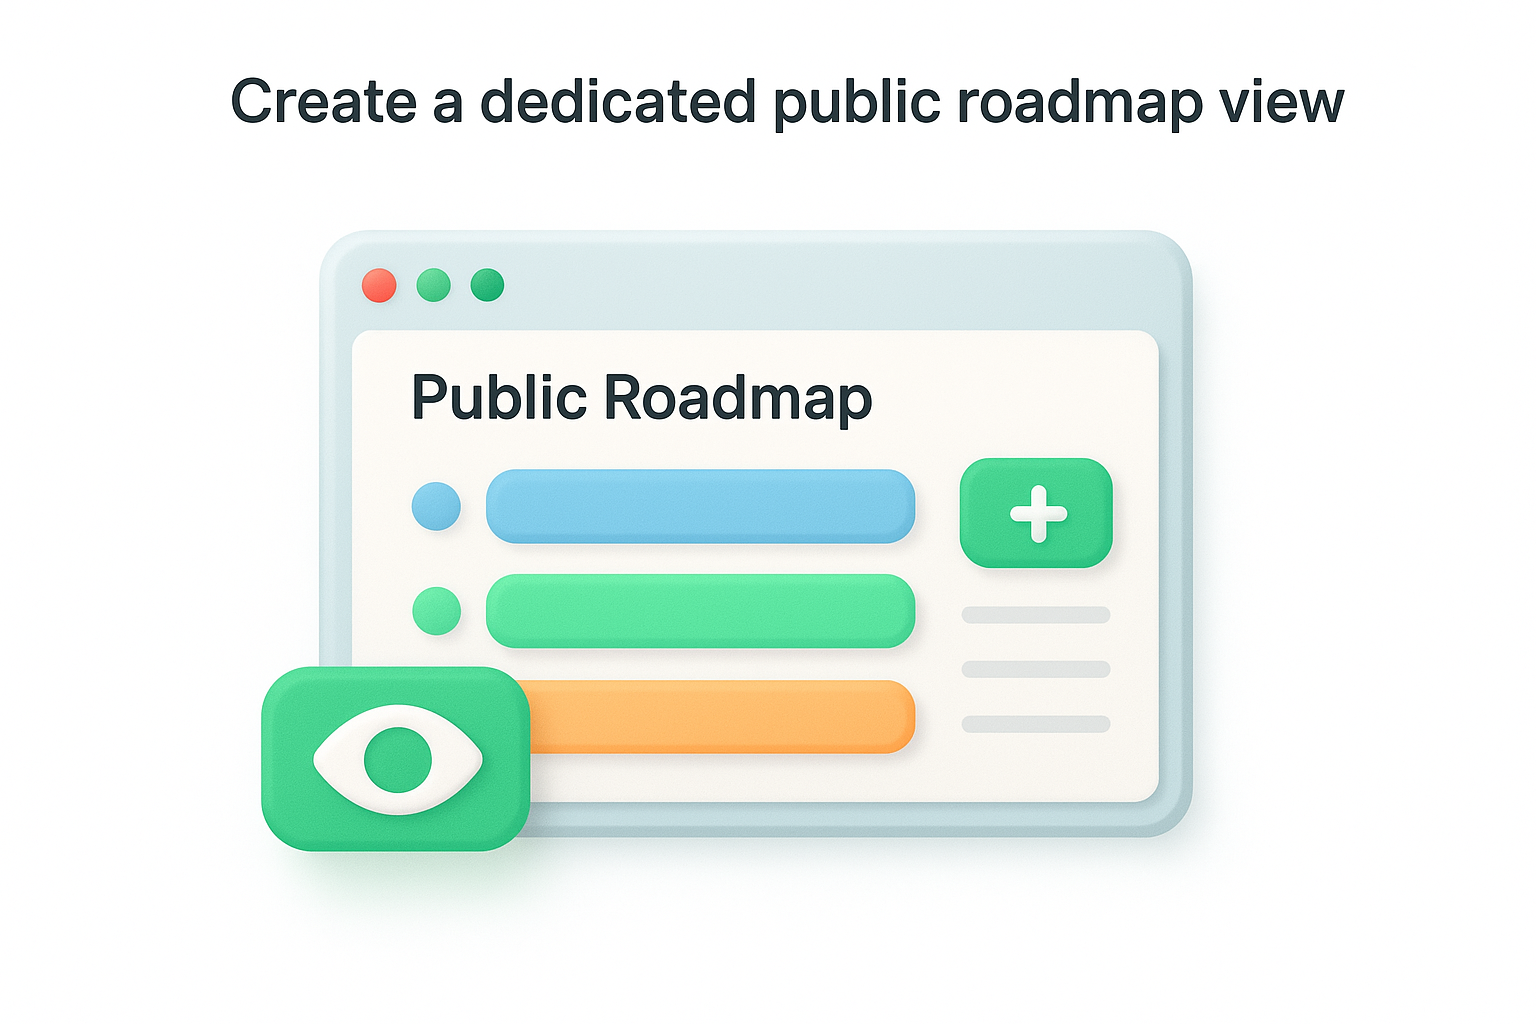
Building a separate view keeps your internal planning process intact while controlling what customers see.
Apply these filters to your public view:
Your public roadmap view should contain 30-50 items maximum to avoid overwhelming visitors. Focus on features that create customer value rather than backend improvements.
Once you've built your public roadmap view, you need to configure Productboard Portal to make it accessible to customers. Portal acts as the public-facing interface where your roadmap lives, and you control everything from branding to access levels. This setup process requires Admin or Product Maker permissions and takes about 10 minutes to complete properly.
Navigate to Settings > Portal in your Productboard workspace to begin configuration. Click "Enable Portal" if this is your first time setting it up. You'll see options to control which views appear in Portal and how visitors interact with them. Select your public roadmap view from the dropdown menu under "Available views" to add it to Portal.
Upload your company logo and choose brand colors that match your website in the "Branding" section. Add a custom domain (like roadmap.yourcompany.com) under "Domain settings" to keep the experience consistent with your brand. You can also customize the portal's welcome message and navigation labels to guide visitors.
Configuring a custom domain makes your productboard public roadmap feel like a natural extension of your product rather than a third-party tool.
Set your portal visibility to "Public" if you want anyone with the link to access it, or "Private" if you need email verification for visitors.
Your Portal configuration is ready, and now you need to make your roadmap live. Productboard requires you to explicitly publish your Portal before customers can access it. This step involves clicking the publish button and choosing how you want to distribute your roadmap link. You'll also set visibility rules that control who can view and interact with your content.
Click the "Publish" button in your Portal settings to make your roadmap live. Productboard generates a unique URL that you can share with customers. If you configured a custom domain, verify it's working properly by visiting the URL in an incognito window. Your roadmap should load with your branding and display only the items you filtered into your public view.
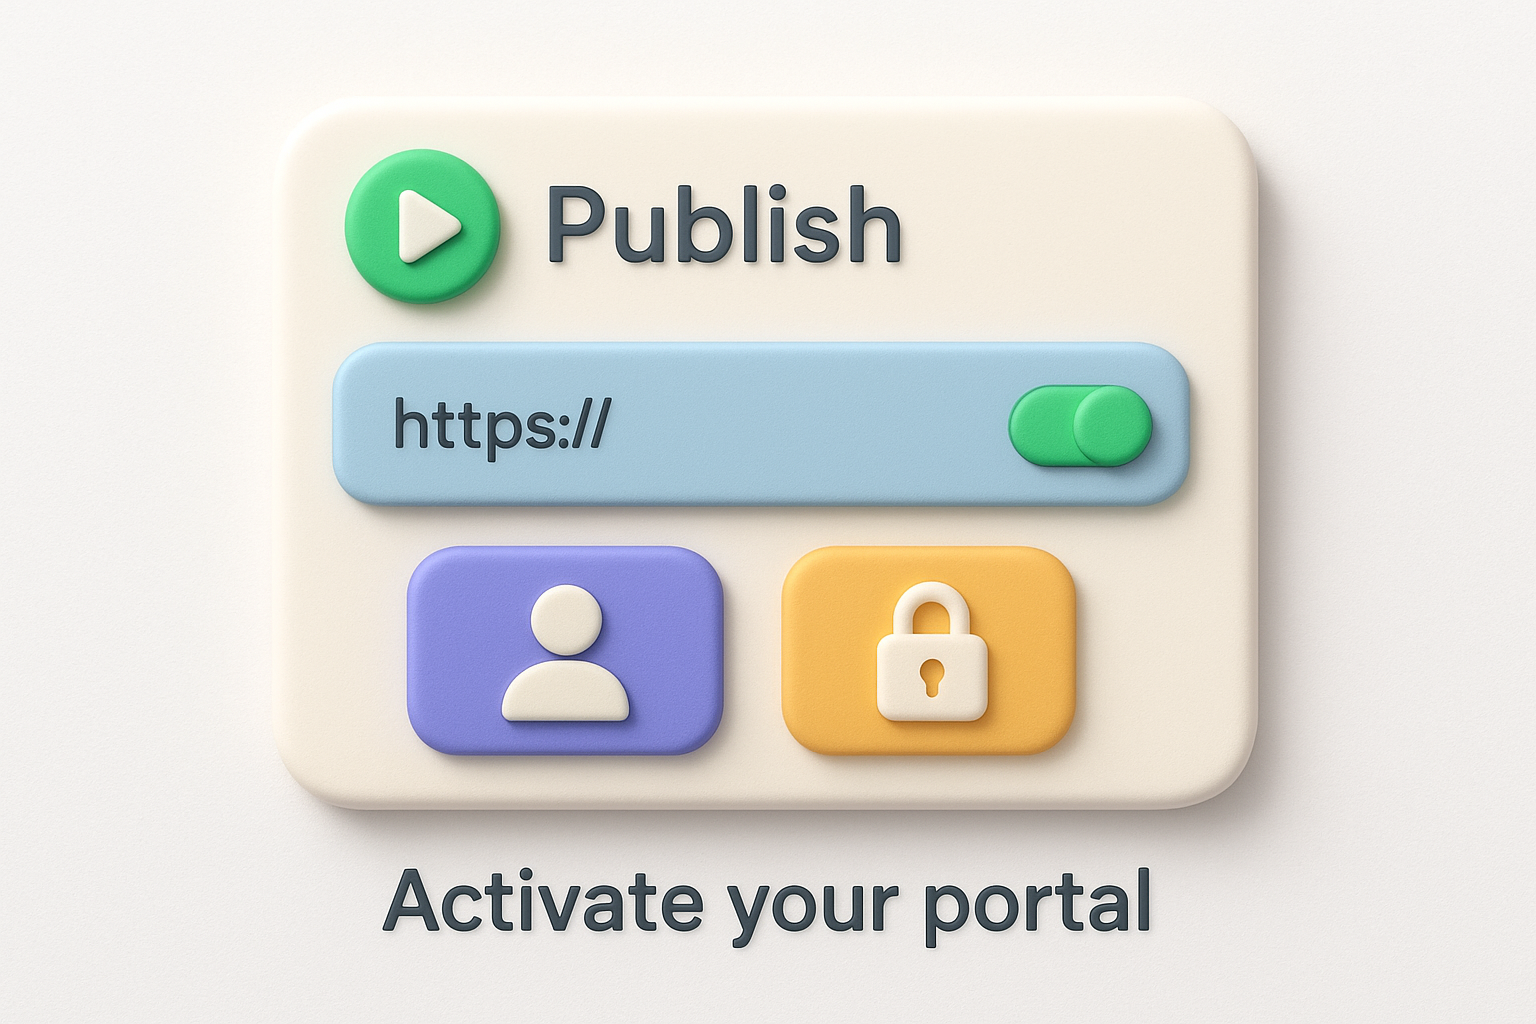
Publishing your productboard public roadmap immediately makes it accessible at your chosen URL, so double-check your content before clicking publish.
Choose between public access (anyone with the link) or email-verified access (requires visitor email entry) under visibility settings. Enable or disable commenting based on whether you want customers to discuss roadmap items. You can also restrict specific IP addresses or require single sign-on authentication if your security requirements demand it.
Your productboard public roadmap needs clear expectations to prevent disappointment when timelines shift or features change direction. Adding disclaimer text to your Portal protects you from overpromising while keeping customers informed. You'll also need a process for updating roadmap items as their status changes, which maintains credibility and shows you're actively working on your plans.
Navigate to Settings > Portal > Branding and scroll to the "Custom message" field to add your disclaimer. Write text that explains roadmap items are subject to change and don't guarantee specific delivery dates. This simple addition protects your team from commitment issues while setting realistic expectations.
Clear disclaimers prevent customers from treating your roadmap as a binding contract.
Use this template as a starting point:
This roadmap shows our current product direction and planned features.
All items are subject to change based on customer feedback, technical
constraints, and business priorities. Features shown do not guarantee
specific delivery dates or final implementation.
Change item statuses in your public roadmap view as work progresses. Move features from "Planned" to "In Progress" when development starts, and update them to "Shipped" when released. Review your roadmap weekly or bi-weekly to catch status changes before customers notice inconsistencies.
Publishing your productboard public roadmap is just the beginning. Customers stop checking roadmaps that show outdated information or features stuck in "Planned" status for months. Schedule a weekly review of your Portal to verify all statuses match your actual development progress. Update item descriptions when scope changes, move completed features to "Shipped," and remove canceled items entirely rather than leaving them visible.
Your roadmap becomes a living document that builds trust when you maintain it actively. Set calendar reminders to review and update content, assign someone on your team as the roadmap owner responsible for accuracy, and respond to customer comments within 48 hours if you enabled that feature. The effort you invest in maintenance directly impacts how customers perceive your commitment to transparency.
If maintaining another tool feels overwhelming, consider exploring alternatives like Koala Feedback that combine feedback collection, prioritization, and public roadmaps in one streamlined platform. The right tool should make roadmap updates feel effortless rather than burdensome.

Start today and have your feedback portal up and running in minutes.
