When a customer submits a request and hears nothing back, trust erodes fast. Jira Service Management customer notifications exist to prevent exactly that, they keep customers informed at every stage of a request, from submission to resolution. But getting them right? That takes some intentional setup and configuration.
Out-of-the-box notification settings rarely match what your team actually needs. Some are too noisy, others miss critical updates entirely, and the default templates often feel impersonal. Whether you're rolling out JSM for the first time or cleaning up a messy notification setup, understanding how each piece works gives you real control over the customer experience.
This guide walks you through setting up, customizing, and managing customer notifications in Jira Service Management, step by step. And if you're looking to go beyond reactive support and proactively collect customer input, tools like Koala Feedback complement JSM by giving your users a dedicated space to submit ideas, vote on features, and stay informed through public roadmaps.
Jira Service Management splits notifications into two distinct categories, and mixing them up leads to customers getting emails they should not see, or agents missing updates entirely. Customer notifications go to the people who raised a request, while internal notifications go to agents, team members, and other stakeholders involved in resolving it. Knowing which system controls what saves you a lot of troubleshooting time.
Getting this distinction right is the foundation of any reliable Jira Service Management customer notifications setup.
Customer notifications are managed through the Customer Notifications section in your project settings. These are the automated emails your requesters receive when their ticket status changes, when an agent adds a public comment, or when a request is resolved. Each notification rule is tied to a specific trigger event, such as "Request created," "Comment added," or "Request resolved," and you can toggle each one on or off independently.
Here are the default events that fire customer notifications:
Internal notifications run through Jira's standard notification schemes, which are completely separate from the customer-facing ones. These fire for events like issue assignments, priority changes, or internal comments, and they reach agents and watchers rather than customers. You configure these through Project Settings > Notifications, and changes there have zero effect on what your customers receive.
Keeping these two systems separate in your mind prevents a common mistake: editing the wrong notification scheme and then wondering why customer emails are not changing. Each system has its own configuration path, and each one needs its own attention when something goes wrong.
Before you touch any notification settings, you need the right project-level permissions. Without them, the relevant configuration menus either appear greyed out or simply don't show up at all. Confirming your access upfront saves you from following steps only to hit a wall halfway through.
Check your role before you start, not after you've made changes that refuse to save.
Project Administrator is the minimum role you need to manage Jira Service Management customer notifications. A standard agent role won't grant access to those settings. To verify your role, navigate to Project Settings > People and check your current permission level. If you need elevated access, contact your Jira site admin to update it before continuing.
Here's a quick reference for which roles can edit customer notifications:
| Role | Can edit customer notifications |
|---|---|
| Site Admin | Yes |
| Project Admin | Yes |
| Service Desk Agent | No |
| Customer | No |
With the correct role confirmed, you won't run into permission errors during the configuration steps that follow. This small check at the start keeps the whole process moving forward without interruptions.
To configure Jira Service Management customer notifications, go to Project Settings in the left sidebar of your JSM project, then scroll down to "Customer Notifications" under the Notifications heading. You'll land on a page listing every trigger event with a toggle next to each one.
Only changes made here affect what your customers receive, not edits you make inside the standard Jira notification scheme.
Each rule displays the trigger event name alongside a toggle to enable or disable it. Click the toggle and JSM saves the change immediately, no separate save button required. To edit the content of a notification, click the event name itself to open the inline template editor for that rule.
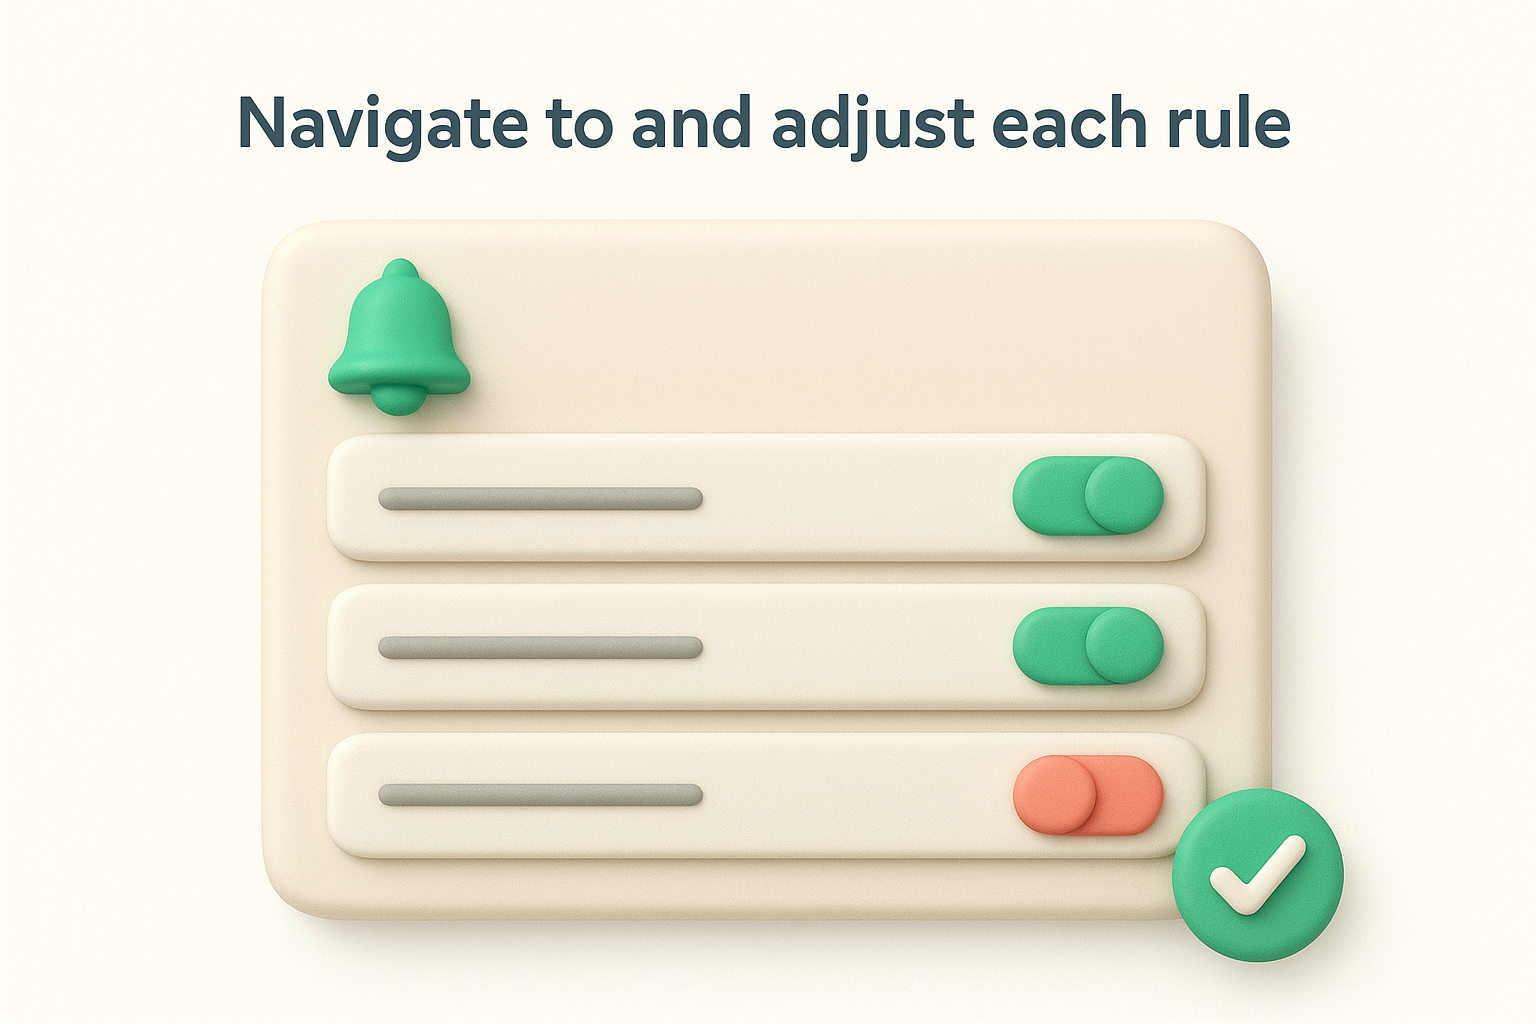
Not every default rule suits every team. Use this table as a practical starting point before refining further:
| Notification Rule | Recommended State |
|---|---|
| Request created | On |
| Comment added (public) | On |
| Request resolved | On |
| Status changed | On |
| Request participant added | Review before enabling |
Disable "Request participant added" if your agents frequently add internal watchers, since that trigger fires an email to every listed participant and can overwhelm customers with unnecessary noise.
Once your notification rules are enabled, the next step is editing the email content itself. Inside each rule, JSM provides a template editor where you can modify the subject line and body text. Click any event name in the Customer Notifications list to open it and start editing immediately.
Personalizing these templates turns a generic system email into a clear, trustworthy message that reflects your brand.
Each template uses variables to pull in dynamic data like the customer's name, request summary, and portal link. Below is a clean starting template for a "Request created" confirmation:
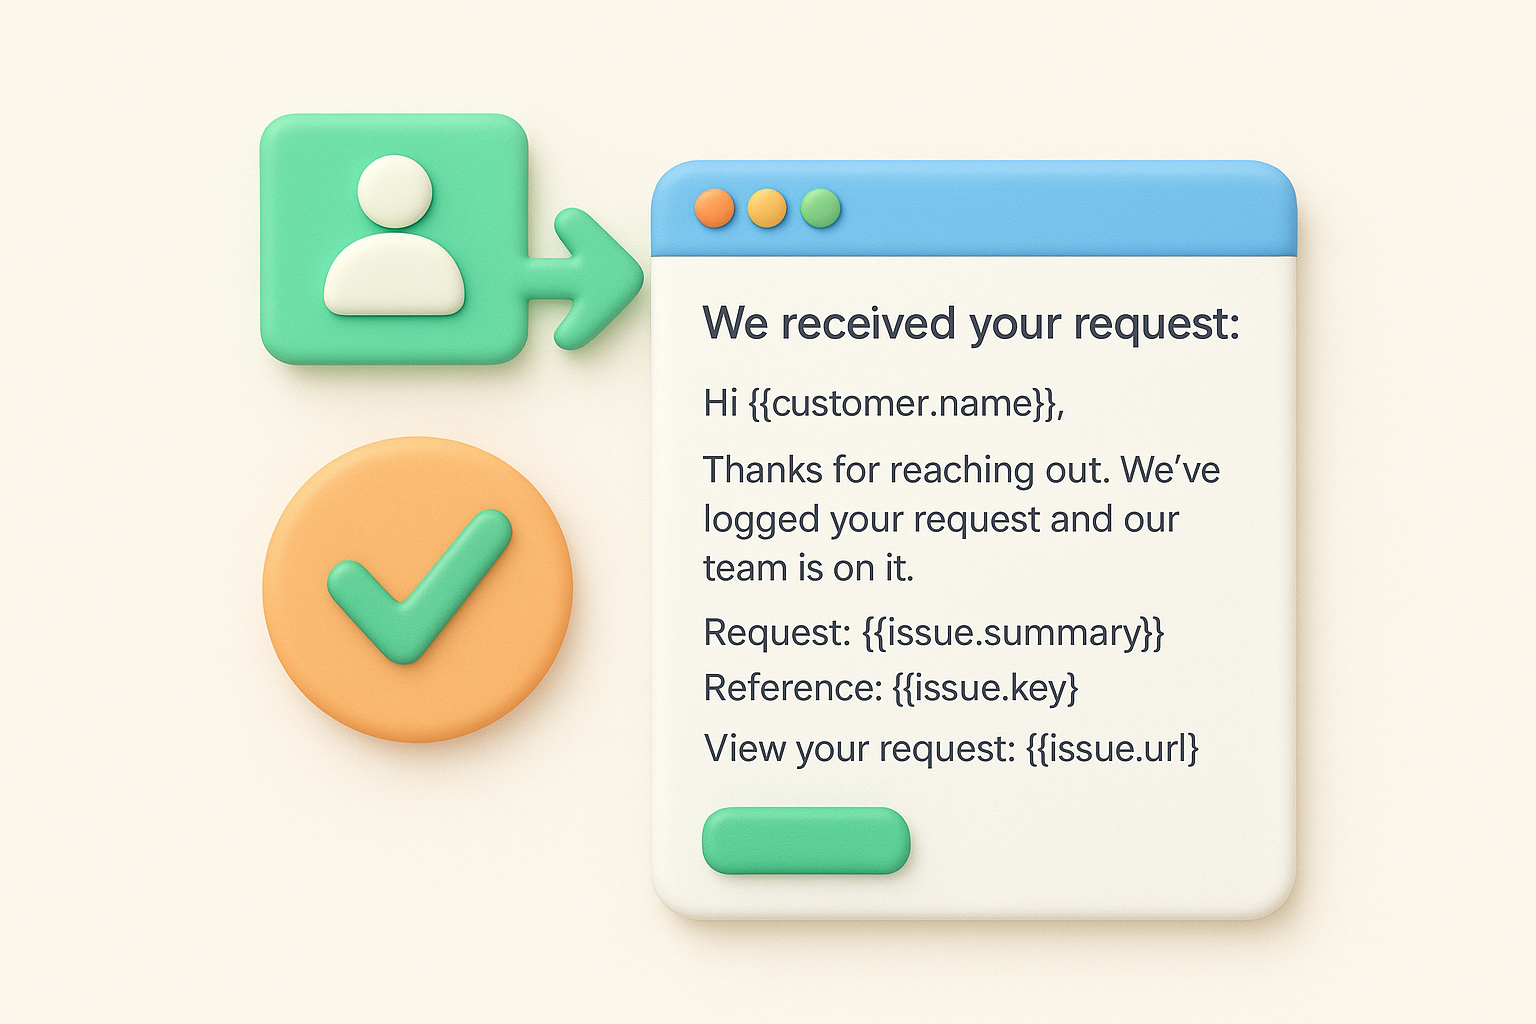
Subject: We received your request: {{issue.summary}}

Hi {{customer.name}},

Thanks for reaching out. We've logged your request and our team is on it.

Request: {{issue.summary}}
Reference: {{issue.key}}
View your request: {{issue.url}}
Keep the body concise and always include a direct portal link so customers can track status without contacting support again.
Sender name and reply-to address are configured at the project level under Customer Notifications settings. Setting a recognizable sender name like your product name, rather than a generic "noreply," builds customer trust and improves email open rates. These two fields together shape how customers perceive your Jira Service Management customer notifications before they even open them.
When Jira Service Management customer notifications stop firing or send the wrong content, the cause almost always falls into one of a few predictable categories. Checking each one systematically keeps you from wasting time on guesswork and helps you pinpoint fixes faster.
Start with the most common causes before digging into advanced configuration settings.
The most frequent reason customers miss notifications is that the specific rule is toggled off, or the customer was not added to the request as a reporter or participant. Verify both in Project Settings > Customer Notifications and the request's People field before anything else. If the customer submitted the request by email rather than through the portal, also confirm that their email address was captured correctly as the reporter.
If the rule is on and the customer has access, the problem likely sits outside JSM. Spam filters and corporate email policies block automated messages more often than most teams expect. Ask the customer to check their spam folder, and confirm your sender address is not flagged by reviewing the outgoing mail configuration under Project Settings.
| Symptom | Likely Cause | Fix |
|---|---|---|
| No email on ticket creation | Rule toggled off | Enable in Customer Notifications |
| Email goes to spam | Unrecognized sender name | Update sender display name |
| Wrong content in email | Template not saved | Re-edit and confirm save |
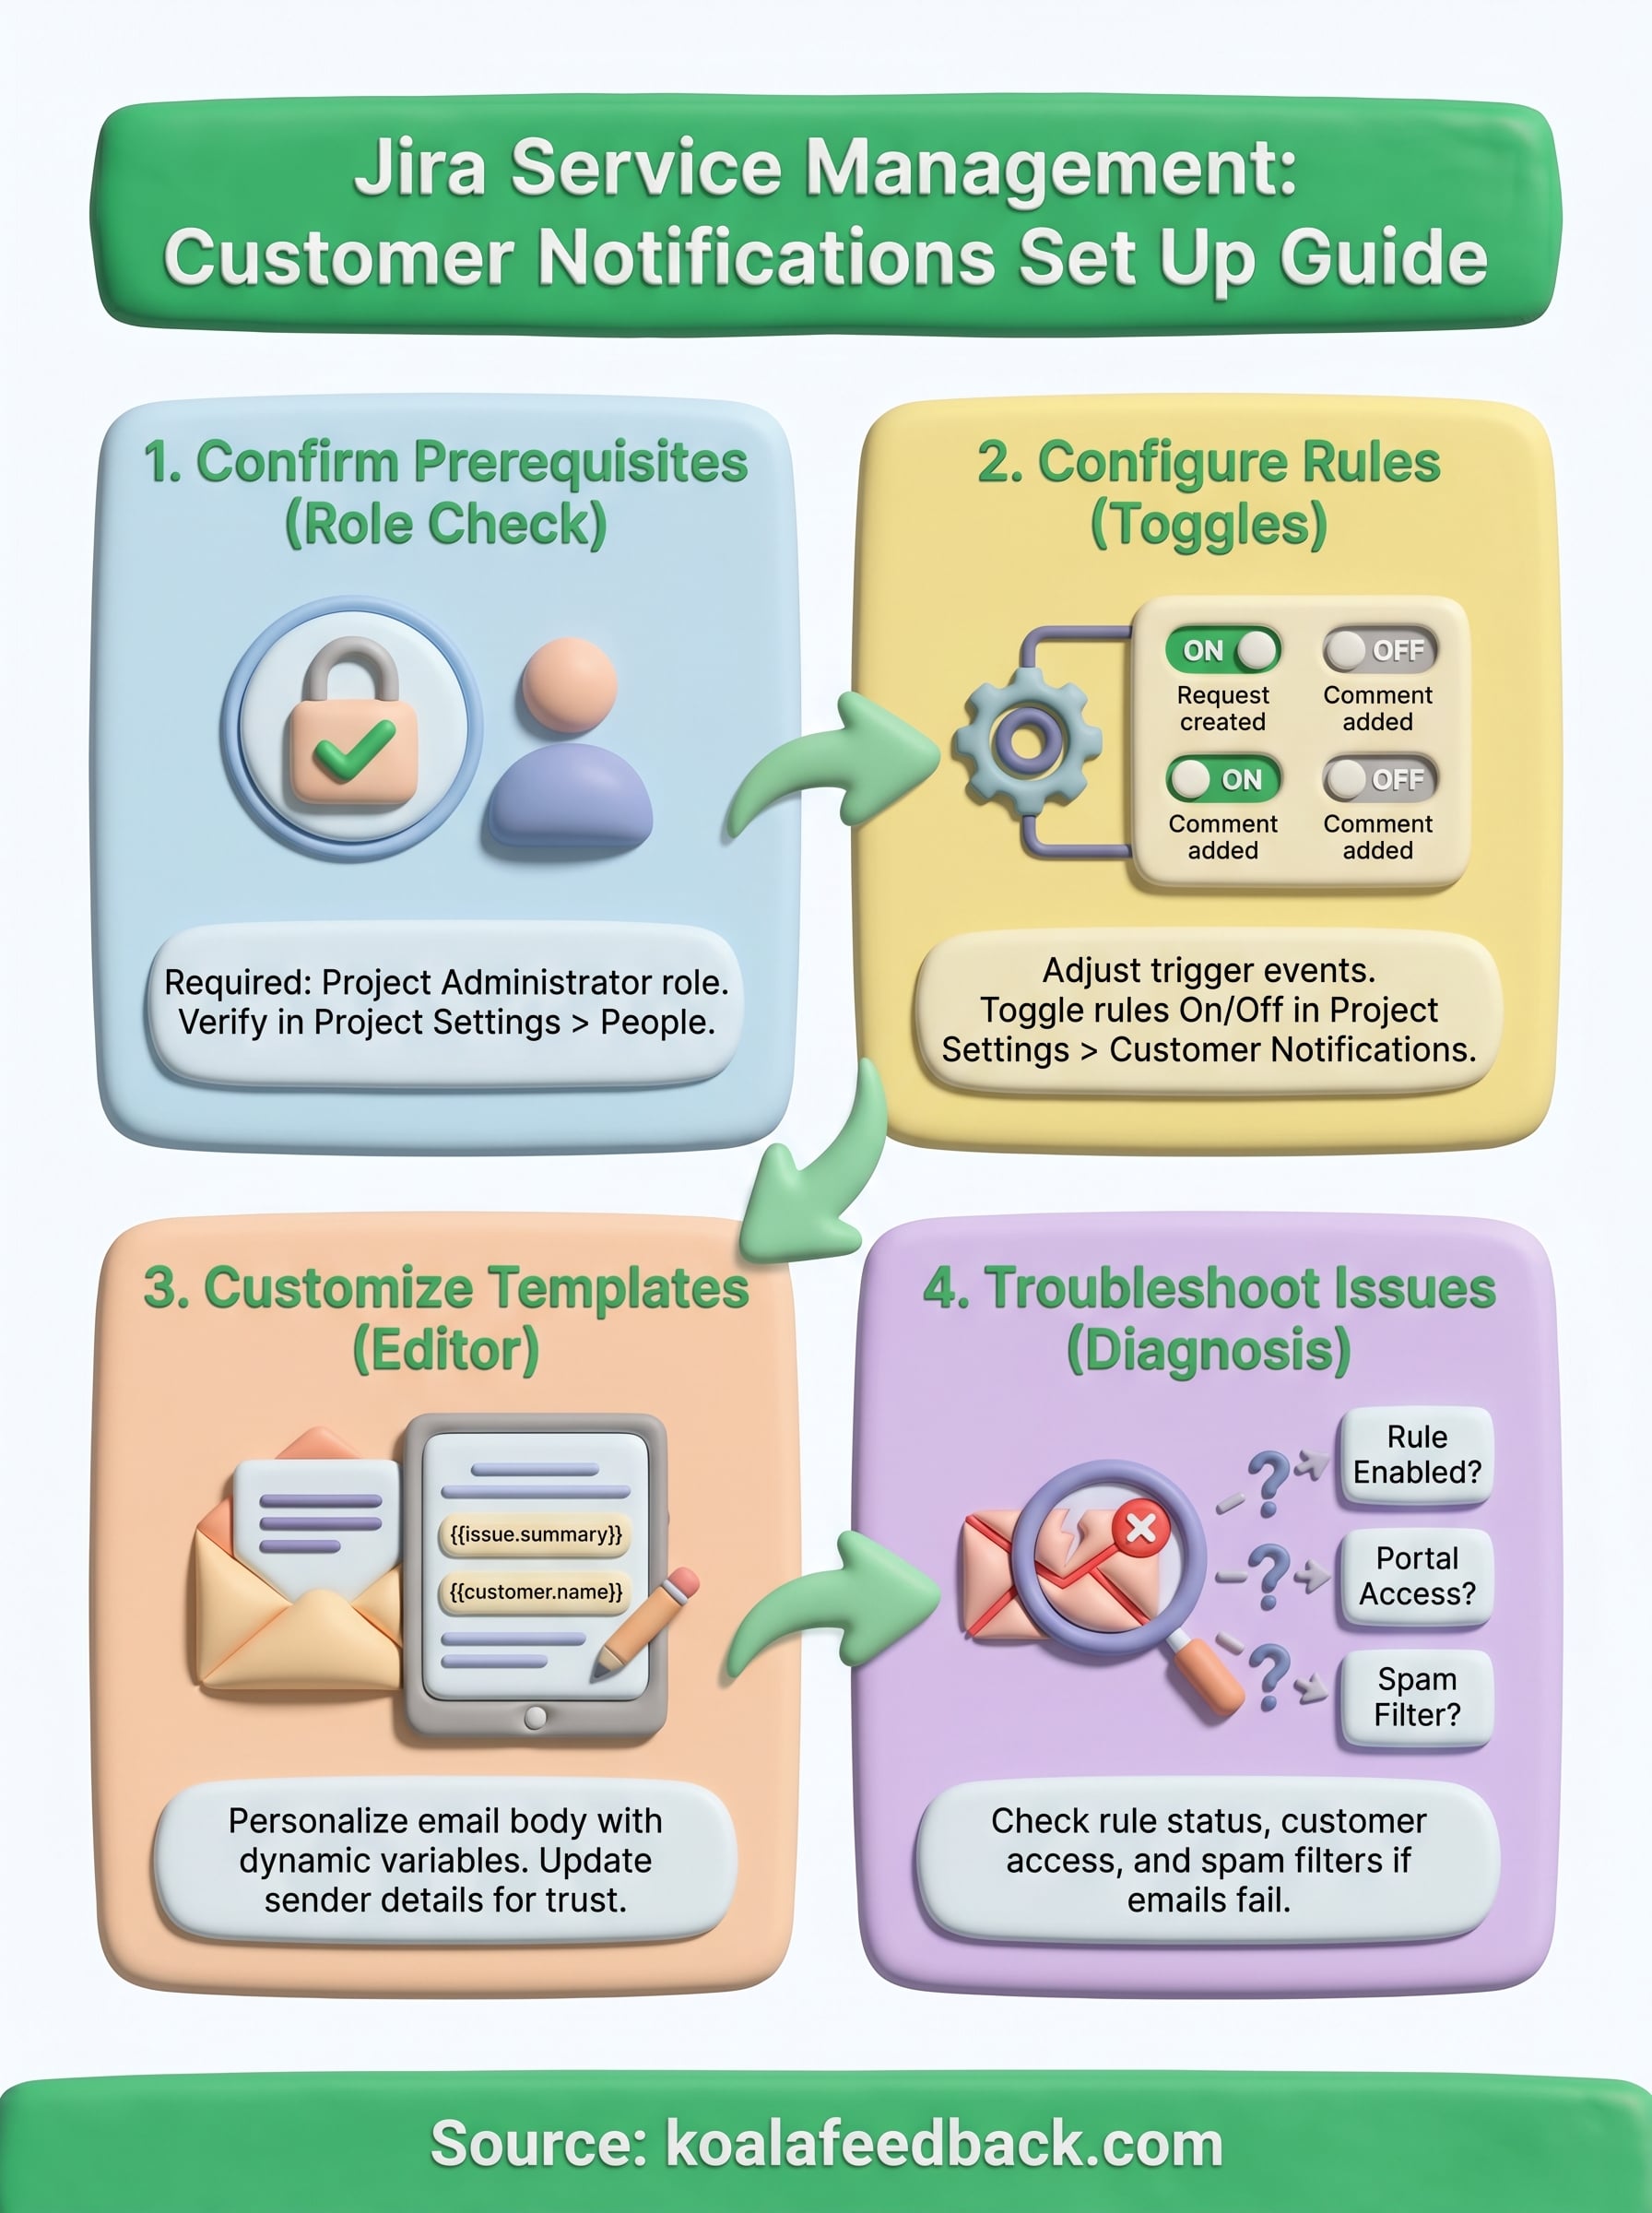
You now have a complete path for setting up, customizing, and troubleshooting Jira Service Management customer notifications. Start by confirming your project admin role, then work through the notification rules, template edits, and sender details in sequence. Each step builds on the previous one, so skipping ahead often creates gaps that are harder to fix later. Applying these changes consistently across your projects keeps customers informed and reduces unnecessary inbound support volume.
Notifications handle the reactive side of customer communication well, but they don't give customers a structured way to share ideas or influence your product direction. If you want to close that gap, a dedicated feedback tool lets users submit requests, vote on features, and track what you're actually building. Pairing JSM with a feedback platform gives your team both sides of the picture: timely updates going out, and meaningful input coming in. Collect and prioritize user feedback with Koala Feedback to turn customer input into a roadmap your team and your users can trust.

Start today and have your feedback portal up and running in minutes.