Freshdesk is one of the most widely used helpdesk platforms, and its API opens the door to custom integrations, automation, and data syncing that go well beyond what the dashboard offers. Whether you're pulling ticket data into a reporting tool, automating agent workflows, or connecting support channels to your product feedback loop, the Freshdesk API documentation is where it all starts.
The problem? Freshdesk's official docs can feel scattered, and figuring out authentication, rate limits, and endpoint structure takes longer than it should. If you've ever stared at a 401 error wondering what went wrong with your API key, you're not alone. This guide cuts through the noise and gives you a practical, developer-friendly walkthrough of the Freshdesk API, from authentication setup to real endpoint examples you can test right away.
At Koala Feedback, we help product teams collect and prioritize user feedback in one place. Many of our users rely on helpdesk tools like Freshdesk to capture support requests, and connecting that data to a feedback platform is one of the most common integration use cases we see. Understanding how the Freshdesk API works is a critical first step for teams that want to turn support conversations into actionable product insights.
In this guide, you'll find endpoint references, authentication walkthroughs, code examples, and common pitfalls to avoid, everything you need to start building with the Freshdesk API with confidence.
Before you write a single line of code, gather a few things. Working through the Freshdesk API documentation without the right credentials and tools in place will slow you down fast. This section covers everything you need so your first API request succeeds on the first attempt, not the fifth.
Having your credentials, subdomain, and testing tools ready before you start saves significant debugging time later.
Freshdesk offers several pricing tiers, and API access is available on all plans, including the free Sprout plan. If you don't have an account yet, sign up at Freshdesk's website and pick the plan that matches your team's needs. For testing purposes, the free plan works fine for most basic API operations like reading and creating tickets.
Keep in mind that certain endpoints, such as custom objects or advanced reporting, may only be available on higher-tier plans. Check your plan's feature list before you build a workflow that depends on a specific endpoint, since hitting a 403 error mid-build because of a plan restriction is a frustrating way to discover a limitation.
Your API key is the credential you will use in every single request. To find it, log in to your Freshdesk account, click your profile picture in the top-right corner, and navigate to Profile Settings. Your API key appears at the bottom-right of that page. Copy it and store it in a password manager or secrets vault, never in plain text inside your source code.
Your Freshdesk subdomain forms the base URL for all API calls. It follows the pattern yourcompany.freshdesk.com. Every endpoint you call will start with https://yourcompany.freshdesk.com/api/v2/. Replace yourcompany with the subdomain you chose when you set up your account. If you're unsure, look at the browser address bar when you're logged in to your Freshdesk dashboard.
You don't need a full development environment to start testing. A few lightweight tools let you send requests and inspect responses without writing any application code first.
Here's what to have ready:
| Tool | Purpose | Best for |
|---|---|---|
| curl | Command-line HTTP requests | Quick tests, shell scripts |
| Postman | GUI-based API client | Exploring endpoints, saving collections |
| Python requests | HTTP library for Python | Building integrations and automation |
| Node.js (axios or fetch) | HTTP for JavaScript | Web apps and serverless functions |
Install at least one of these before you move forward. curl comes pre-installed on macOS and most Linux distributions. On Windows, you can use Git Bash or Windows Subsystem for Linux to get curl without additional setup.
If you plan to build a production integration, also configure a secure environment variables system in your development setup. This keeps your API key out of your source code and version history. Most setups use a .env file combined with a library like python-dotenv for Python or the dotenv package for Node.js to load credentials at runtime without ever hardcoding them.
Before moving to the next section, confirm you have all three of these:
yourcompany.freshdesk.comWith these ready, you're set to start making real requests.
The Freshdesk API follows RESTful principles, which means it uses standard HTTP methods and returns data in JSON format. Understanding this structure before you dig into the freshdesk api documentation helps you predict how endpoints behave and what response shapes to expect across different resource types.
The Freshdesk REST API organizes resources around core helpdesk objects: tickets, contacts, agents, companies, and more. Each object has its own endpoint path, and you interact with those objects using standard HTTP verbs. The base URL pattern is always https://yoursubdomain.freshdesk.com/api/v2/, followed by the resource name.
Always use HTTPS for every request. Plain HTTP connections to the Freshdesk API will fail at the network level.
Here's a quick reference for the HTTP methods and what they do:
| HTTP Method | Action | Example use |
|---|---|---|
| GET | Retrieve data | Fetch a ticket or list all tickets |
| POST | Create a new resource | Create a ticket or contact |
| PUT | Update an existing resource | Change ticket status or priority |
| DELETE | Remove a resource | Delete a contact or ticket |
Freshdesk currently runs on API v2, which replaced the older v1 endpoint structure. If you find older code examples or tutorials that reference /api/v1/, they won't work and you should update those paths to v2 before running any tests. The v2 API is more consistent in its response structure and adds support for features like embedding related objects directly in a single response.
The version number sits directly in the URL path, so it's easy to confirm you're using the right one at a glance. You'll see /api/v2/ in every request URL throughout this guide. Freshdesk has not announced a v3, so v2 remains the current standard for all production integrations.
Every successful API response returns JSON-formatted data, which you can parse in any modern programming language without additional libraries. For created or updated resources, Freshdesk returns the full object in the response body so you can confirm the result without making a second GET request. Error responses also return JSON, with a "message" field that describes exactly what failed, making it much faster to diagnose problems during development.
The Freshdesk API uses HTTP Basic authentication to verify your identity on every request. The mechanism is straightforward: you send your API key as the username and any string as the password (Freshdesk ignores the password field, so many developers just pass X). Your credentials travel in the request header, encoded in Base64 format.
Basic auth works by combining your username and password into a single string, encoding it, and attaching it to the Authorization header of each request. With Freshdesk, the username is your API key and the password can be any non-empty string. The final header looks like this: Authorization: Basic <base64-encoded-string>. Most HTTP clients handle the Base64 encoding automatically when you supply a username and password, so you rarely need to encode manually.
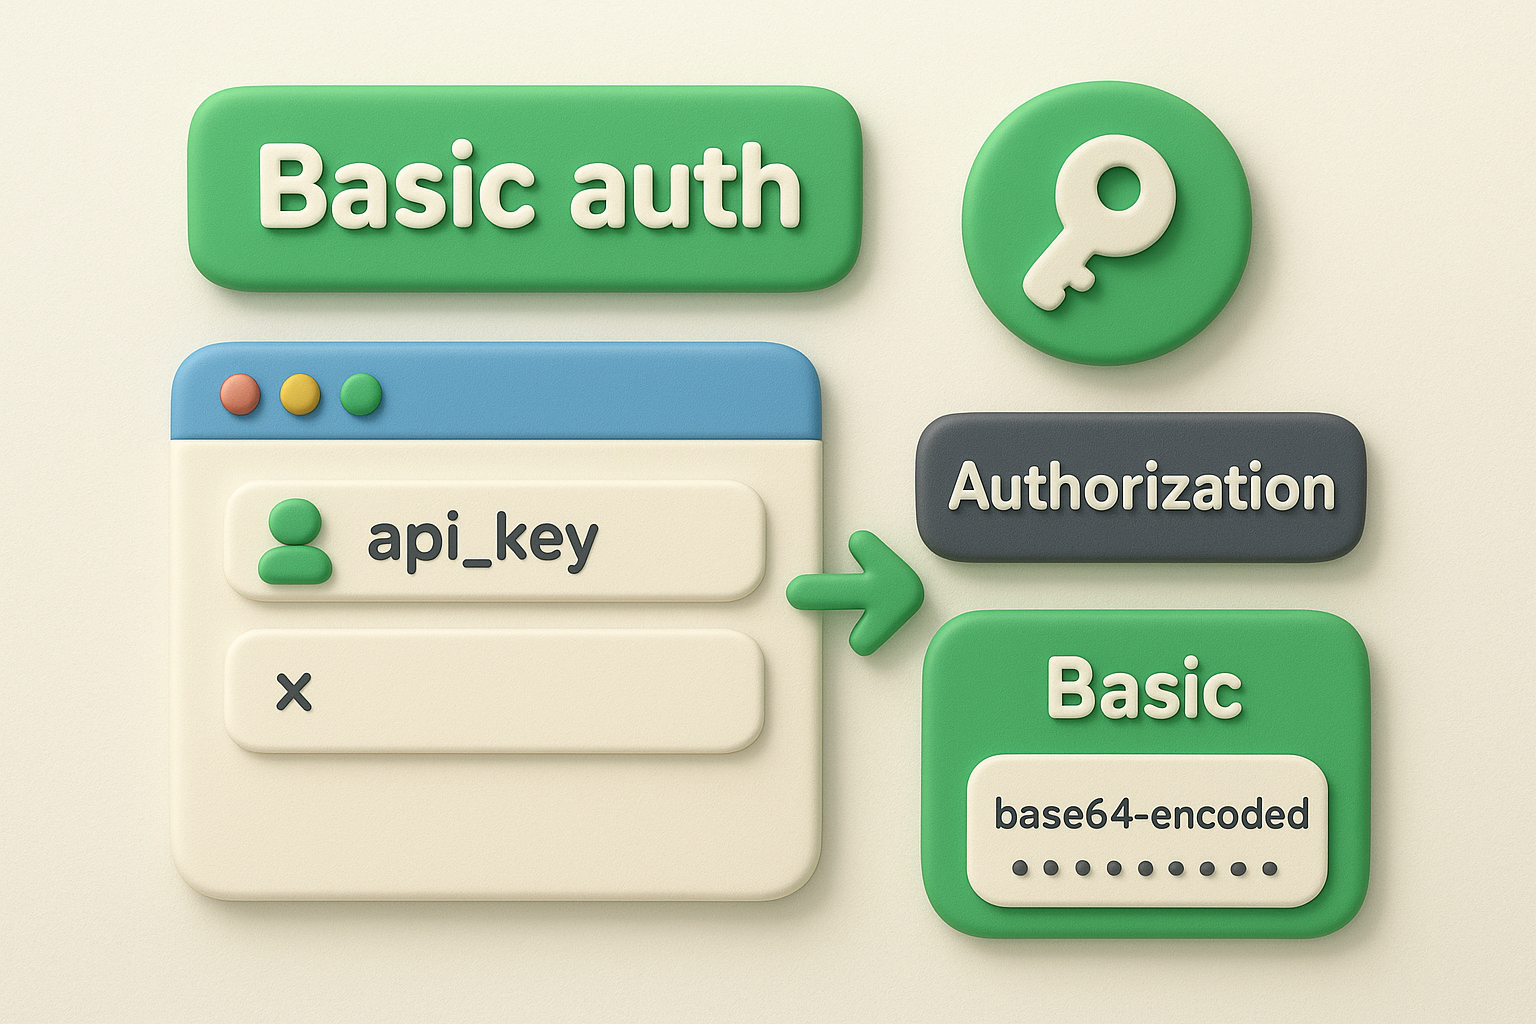
Most HTTP libraries encode Basic auth credentials automatically when you pass them as a tuple or separate fields, so you typically won't touch Base64 directly.
The freshdesk api documentation confirms that every request must include this header, with no exceptions. Requests without a valid Authorization header return a 401 Unauthorized response immediately, before Freshdesk processes anything else.
The raw credential string follows the pattern apikey:X, where X is the placeholder password. Here's what a correct curl request looks like using the -u flag, which handles encoding for you:
curl -u your_api_key:X \
  -H "Content-Type: application/json" \
  https://yoursubdomain.freshdesk.com/api/v2/tickets
If you prefer Python, the requests library accepts a tuple in the auth parameter:
import requests

response = requests.get(
    "https://yoursubdomain.freshdesk.com/api/v2/tickets",
    auth=("your_api_key", "X")
)
print(response.json())
Replace your_api_key with the actual key from your Profile Settings and yoursubdomain with your Freshdesk subdomain.
Hardcoding your API key directly in source code is a significant security risk. Instead, store it in an environment variable and read it at runtime. Here's a Python example using os.environ:
import os
import requests

API_KEY = os.environ["FRESHDESK_API_KEY"]
SUBDOMAIN = os.environ["FRESHDESK_SUBDOMAIN"]

response = requests.get(
    f"https://{SUBDOMAIN}.freshdesk.com/api/v2/tickets",
    auth=(API_KEY, "X")
)
Set those environment variables in your shell with export FRESHDESK_API_KEY=your_key before running the script. This keeps credentials out of your codebase and version history entirely.
Once your credentials are in place, your next step is sending a real request and confirming you get a valid response back. The two most practical tools for this are curl and Postman. Both let you test any endpoint from the freshdesk api documentation without writing a full application first, which makes troubleshooting much faster when something doesn't work.
curl is the fastest path from zero to a working request. The command below fetches your 10 most recent tickets using your API key and subdomain:
curl -u your_api_key:X \
  -H "Content-Type: application/json" \
  -X GET \
  "https://yoursubdomain.freshdesk.com/api/v2/tickets"
Replace your_api_key with the key from your Profile Settings and yoursubdomain with your actual subdomain. If authentication works, Freshdesk returns a JSON array of ticket objects. If you see a 401, double-check that your API key has no extra spaces and that your subdomain is correct. Add the -v flag to your curl command to print full request and response headers, which makes diagnosing auth failures much easier.
A 401 response almost always means your API key or subdomain is wrong, not that your account lacks access.
Postman gives you a visual interface for building, saving, and re-running requests without retyping curl commands each time. Follow these steps to get your first request working:
GET and enter https://yoursubdomain.freshdesk.com/api/v2/tickets as the URL.X in the Password field.Postman shows the full response body, status code, and response headers in the panel below. You should see a 200 OK status and a JSON array of tickets. Save this request to a collection named "Freshdesk" so you can reuse and expand it as you add more endpoints. Postman also lets you set collection-level variables for your API key and subdomain, so you only update them once when credentials change rather than fixing every saved request individually.
Tickets are the core resource in Freshdesk, so the ticket endpoints you'll use most often are worth understanding in detail. The freshdesk api documentation covers a wide range of ticket operations, but most real workflows come down to four actions: creating, retrieving, updating, and filtering tickets. Mastering these gives you the foundation to automate nearly any support-related process.
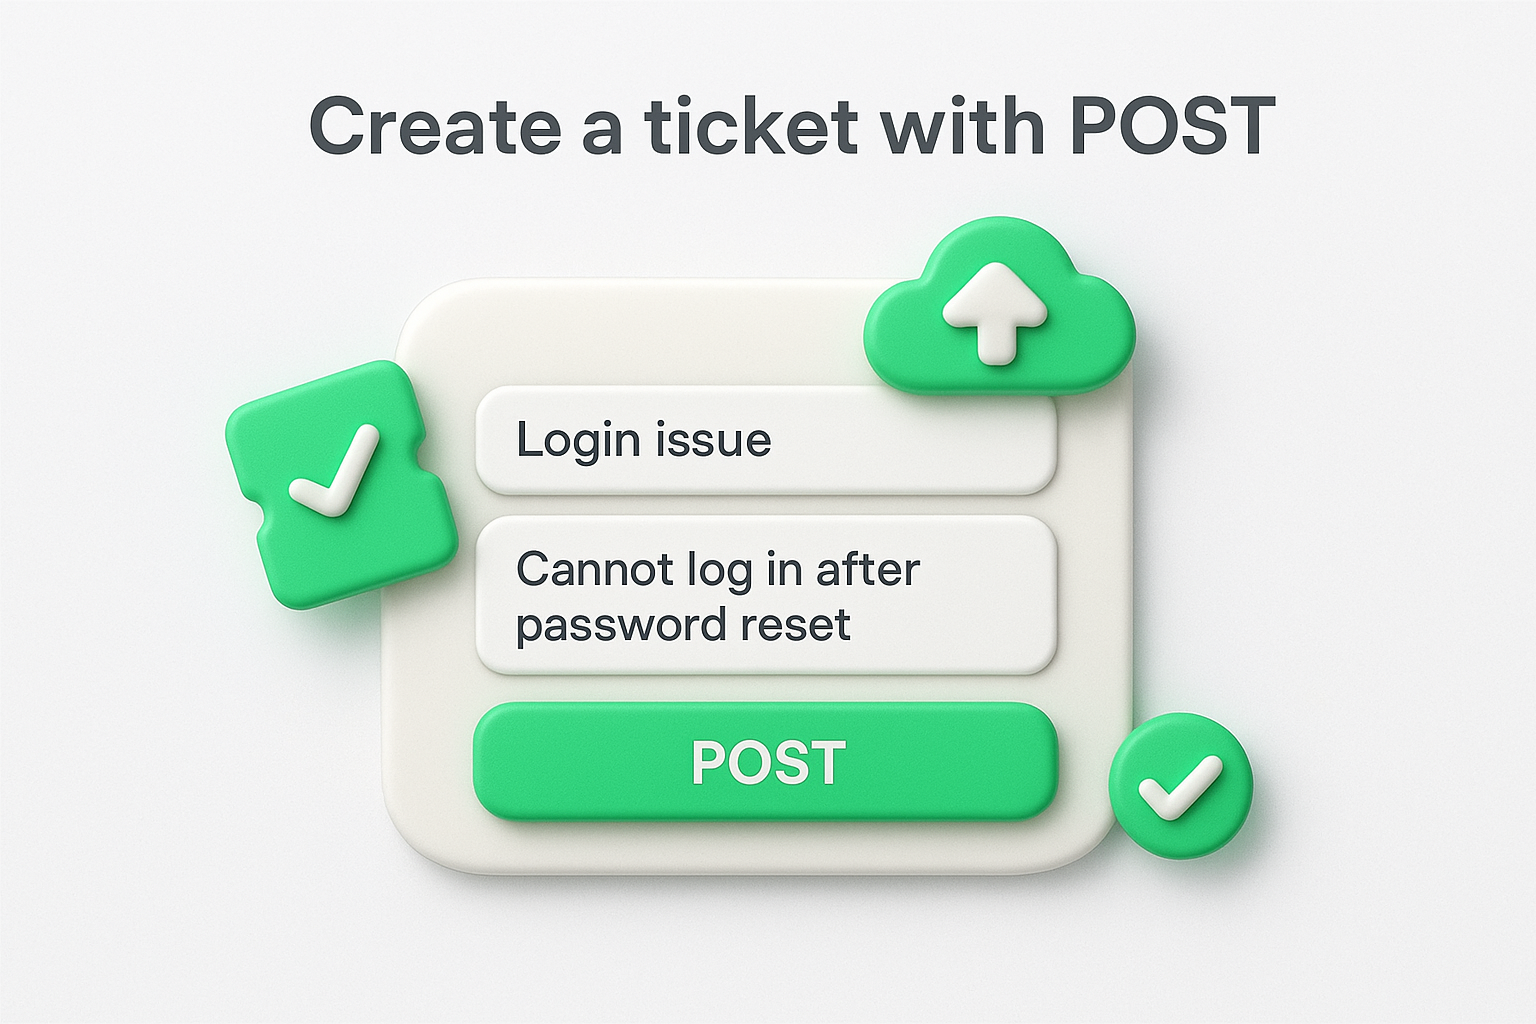
Sending a POST request to /api/v2/tickets creates a new ticket. You must include at minimum a requester identifier (email or contact ID) and a subject. The status and priority fields accept integer values that map to Freshdesk's internal labels, so check the table below before you build your payload.
| Field | Type | Common values |
|---|---|---|
status |
Integer | 2 = Open, 3 = Pending, 4 = Resolved, 5 = Closed |
priority |
Integer | 1 = Low, 2 = Medium, 3 = High, 4 = Urgent |
source |
Integer | 1 = Email, 2 = Portal, 3 = Phone |
Here's a curl example that creates an open, medium-priority ticket:
curl -u your_api_key:X \
  -H "Content-Type: application/json" \
  -X POST \
  -d '{"subject":"Login issue","description":"Cannot log in after password reset","email":"[email protected]","status":2,"priority":2}' \
  "https://yoursubdomain.freshdesk.com/api/v2/tickets"
Freshdesk returns the full ticket object in the response body on creation, so you can capture the ticket ID immediately without making a second GET request.
Updating a ticket uses a PUT request to /api/v2/tickets/{ticket_id}. Replace {ticket_id} with the numeric ID returned when the ticket was created or retrieved. You only need to send the fields you want to change, not the full ticket object. To close a ticket, pass "status": 5 in the request body:
curl -u your_api_key:X \
  -H "Content-Type: application/json" \
  -X PUT \
  -d '{"status":5}' \
  "https://yoursubdomain.freshdesk.com/api/v2/tickets/42"
Retrieving a filtered list of tickets uses query parameters on the GET /api/v2/tickets endpoint. You can filter by status, priority, agent, or creation date. For more complex queries, the search endpoint at /api/v2/search/tickets accepts a query parameter with field-value expressions like "status:2 AND priority:3". Both approaches return paginated results, which the next section covers in full.
Beyond tickets, the freshdesk api documentation covers three other resource types you'll interact with regularly: contacts, agents, and companies. Each has its own endpoint path and supports the same GET, POST, PUT, and DELETE methods as the ticket endpoints. Understanding how these resources connect to each other helps you build integrations that sync customer data accurately instead of creating duplicate records.
A contact in Freshdesk represents a customer or end user who submits tickets. You create, retrieve, update, and delete contacts through /api/v2/contacts. When you create a contact, the email field is required and serves as the unique identifier Freshdesk uses to deduplicate records. If a contact with that email already exists, Freshdesk returns the existing record rather than creating a duplicate.
Always check the response status code when creating contacts. A 200 response means Freshdesk matched an existing contact, while a 201 means it created a new one.
Here's a POST request that creates a new contact with a name, email, and phone number:
curl -u your_api_key:X \
  -H "Content-Type: application/json" \
  -X POST \
  -d '{"name":"Sara Kim","email":"[email protected]","phone":"555-0100"}' \
  "https://yoursubdomain.freshdesk.com/api/v2/contacts"
To update an existing contact, send a PUT request to /api/v2/contacts/{contact_id} with only the fields you want to change. You can also merge duplicate contacts using the /api/v2/contacts/{id}/merge endpoint by passing the target contact ID in the request body.
Agents are your support team members, and the /api/v2/agents endpoint lets you retrieve a list of all agents or look up a specific agent by ID. This is useful when you need to programmatically assign tickets to agents based on availability or skill, or when you want to build a reporting dashboard that maps tickets to the people who handled them.
Companies represent organizations or accounts that group multiple contacts together. Use /api/v2/companies to create and retrieve company records. When you associate a contact with a company by setting the company_id field on the contact, Freshdesk automatically links all that contact's tickets to the company. This makes it straightforward to pull all support activity for a specific account in a single filtered request.
curl -u your_api_key:X \
  -H "Content-Type: application/json" \
  -X GET \
  "https://yoursubdomain.freshdesk.com/api/v2/companies"
Three features of the freshdesk api documentation catch developers off guard more than almost anything else: pagination, object embedding, and file attachments. Each one requires a slightly different approach from standard JSON requests, and understanding how they work before you need them saves you from silent failures and incomplete data in production.
Freshdesk returns a maximum of 30 records per page by default on list endpoints like /api/v2/tickets and /api/v2/contacts. If your account has more records than that, you need to page through results using the page query parameter to retrieve everything. The API does not return a total record count in the response body, so you continue requesting the next page until Freshdesk returns fewer than 30 records, which signals you have reached the last page.
Stop pagination when the response array contains fewer items than your requested
per_pagevalue, since Freshdesk provides no explicit "last page" flag.
Here's a Python loop that fetches all tickets across every page:
import os, requests

API_KEY = os.environ["FRESHDESK_API_KEY"]
SUBDOMAIN = os.environ["FRESHDESK_SUBDOMAIN"]
page = 1
all_tickets = []

while True:
    response = requests.get(
        f"https://{SUBDOMAIN}.freshdesk.com/api/v2/tickets",
        auth=(API_KEY, "X"),
        params={"page": page, "per_page": 30}
    )
    data = response.json()
    all_tickets.extend(data)
    if len(data) < 30:
        break
    page += 1
By default, Freshdesk returns only the core fields of a resource without including related objects. You can request embedded data using the include query parameter, which reduces the number of separate API calls your integration needs to make. The most useful include values on the tickets endpoint are requester, company, and stats.
Attach the parameter directly to your GET request URL:
curl -u your_api_key:X \
  -H "Content-Type: application/json" \
  "https://yoursubdomain.freshdesk.com/api/v2/tickets?include=requester,company"
Uploading a file with a ticket or reply requires a multipart/form-data request instead of a standard JSON body. You cannot mix JSON and file uploads in the same request, so all ticket fields must also travel as form fields, not a JSON payload. Use curl's -F flag to send each field separately alongside the file.
curl -u your_api_key:X \
  -F "subject=Attachment test" \
  -F "[email protected]" \
  -F "status=2" \
  -F "priority=2" \
  -F "attachments[]=@/path/to/screenshot.png" \
  "https://yoursubdomain.freshdesk.com/api/v2/tickets"
Freshdesk accepts common file types including PNG, JPG, PDF, and plain text. Each individual attachment has a 20 MB size limit, and a single ticket can carry up to 20 attachments total.
When something goes wrong, the Freshdesk API tells you exactly what happened through HTTP status codes and JSON error bodies. Reading them correctly saves you hours of guessing. Every response from the API carries a status code that maps to a specific outcome, and the response body almost always contains a "message" field that gives you the detail you need to fix the problem without digging through the freshdesk api documentation from scratch.
The status codes Freshdesk returns follow standard HTTP conventions, but a few specifics are worth memorizing. A 200 OK confirms a successful GET or PUT request, while a 201 Created confirms a new resource was created via POST. Anything in the 4xx or 5xx range signals a problem that needs your attention.
| Status code | Meaning | Common cause |
|---|---|---|
| 200 | Success | GET or PUT completed |
| 201 | Created | POST created a new resource |
| 400 | Bad Request | Malformed JSON or missing required field |
| 401 | Unauthorized | Wrong or missing API key |
| 403 | Forbidden | Plan restriction or permission issue |
| 404 | Not Found | Incorrect ticket or contact ID |
| 429 | Too Many Requests | Rate limit exceeded |
| 500 | Server Error | Freshdesk-side issue |
For 400 errors, check the response body for the "errors" array, which identifies the exact field that failed validation. For 401 errors, verify your API key has no whitespace and your subdomain is correct.
Freshdesk enforces a rate limit of 1,000 API calls per hour on most plans, with higher limits on enterprise tiers. When you exceed the limit, the API returns a 429 status code and includes a Retry-After header that tells you exactly how many seconds to wait before your next request.
Read the
Retry-Afterheader on every 429 response instead of guessing a wait time, since it gives you the precise window before your limit resets.
The snippet below shows a simple retry loop in Python that respects the Retry-After header automatically:
import time, requests, os

API_KEY = os.environ["FRESHDESK_API_KEY"]
SUBDOMAIN = os.environ["FRESHDESK_SUBDOMAIN"]

def get_tickets():
    while True:
        response = requests.get(
            f"https://{SUBDOMAIN}.freshdesk.com/api/v2/tickets",
            auth=(API_KEY, "X")
        )
        if response.status_code == 429:
            wait = int(response.headers.get("Retry-After", 60))
            time.sleep(wait)
        else:
            return response.json()
This approach keeps your integration running without crashing on rate limit windows and avoids burning unnecessary retries that push you further over your hourly quota.
Building a working integration is one thing. Building one that stays working when ticket volumes spike, API responses slow down, or credentials rotate is a different challenge entirely. The freshdesk api documentation gives you the endpoints, but the patterns below are what keep your integration stable once it hits production.
Most integration failures are invisible until something breaks in production, at which point tracing the root cause without logs becomes nearly impossible. Log every outgoing request URL and response status code from the moment you start building, not as an afterthought later. Store the response body for any 4xx or 5xx response so you have the exact error message Freshdesk returned, not just a generic failure.
A minimal logging setup in Python looks like this:
import logging, requests, os

logging.basicConfig(level=logging.INFO)

API_KEY = os.environ["FRESHDESK_API_KEY"]
SUBDOMAIN = os.environ["FRESHDESK_SUBDOMAIN"]

response = requests.get(
    f"https://{SUBDOMAIN}.freshdesk.com/api/v2/tickets",
    auth=(API_KEY, "X")
)

logging.info("Status: %s", response.status_code)
if not response.ok:
    logging.error("Error body: %s", response.text)
Logging response bodies on errors costs almost no storage and saves hours of debugging when something fails at 2am on a weekend.
When a network timeout interrupts a POST request, your code may not know whether Freshdesk created the ticket before the connection dropped. Retrying blindly creates duplicate tickets or contacts, which is expensive to clean up at scale. Before retrying any write operation, search for the record using a unique identifier like the requester's email or an external ID stored in a custom field.
Freshdesk lets you store an external_id string on tickets, which is the cleanest way to check before creating. Query /api/v2/search/tickets?query="external_id:'your-id'" first, and only proceed with the POST if that search returns an empty array. This single pattern eliminates most duplicate-record problems without adding significant complexity to your codebase.
Run every new endpoint against a separate test subdomain or a small set of sandbox tickets before pointing your integration at live customer data. Create a dedicated test contact and a handful of test tickets you can safely modify or delete during development. Mixing development requests with production records risks corrupting ticket statuses, triggering agent notifications, and polluting your reporting data in ways that are difficult to reverse cleanly.
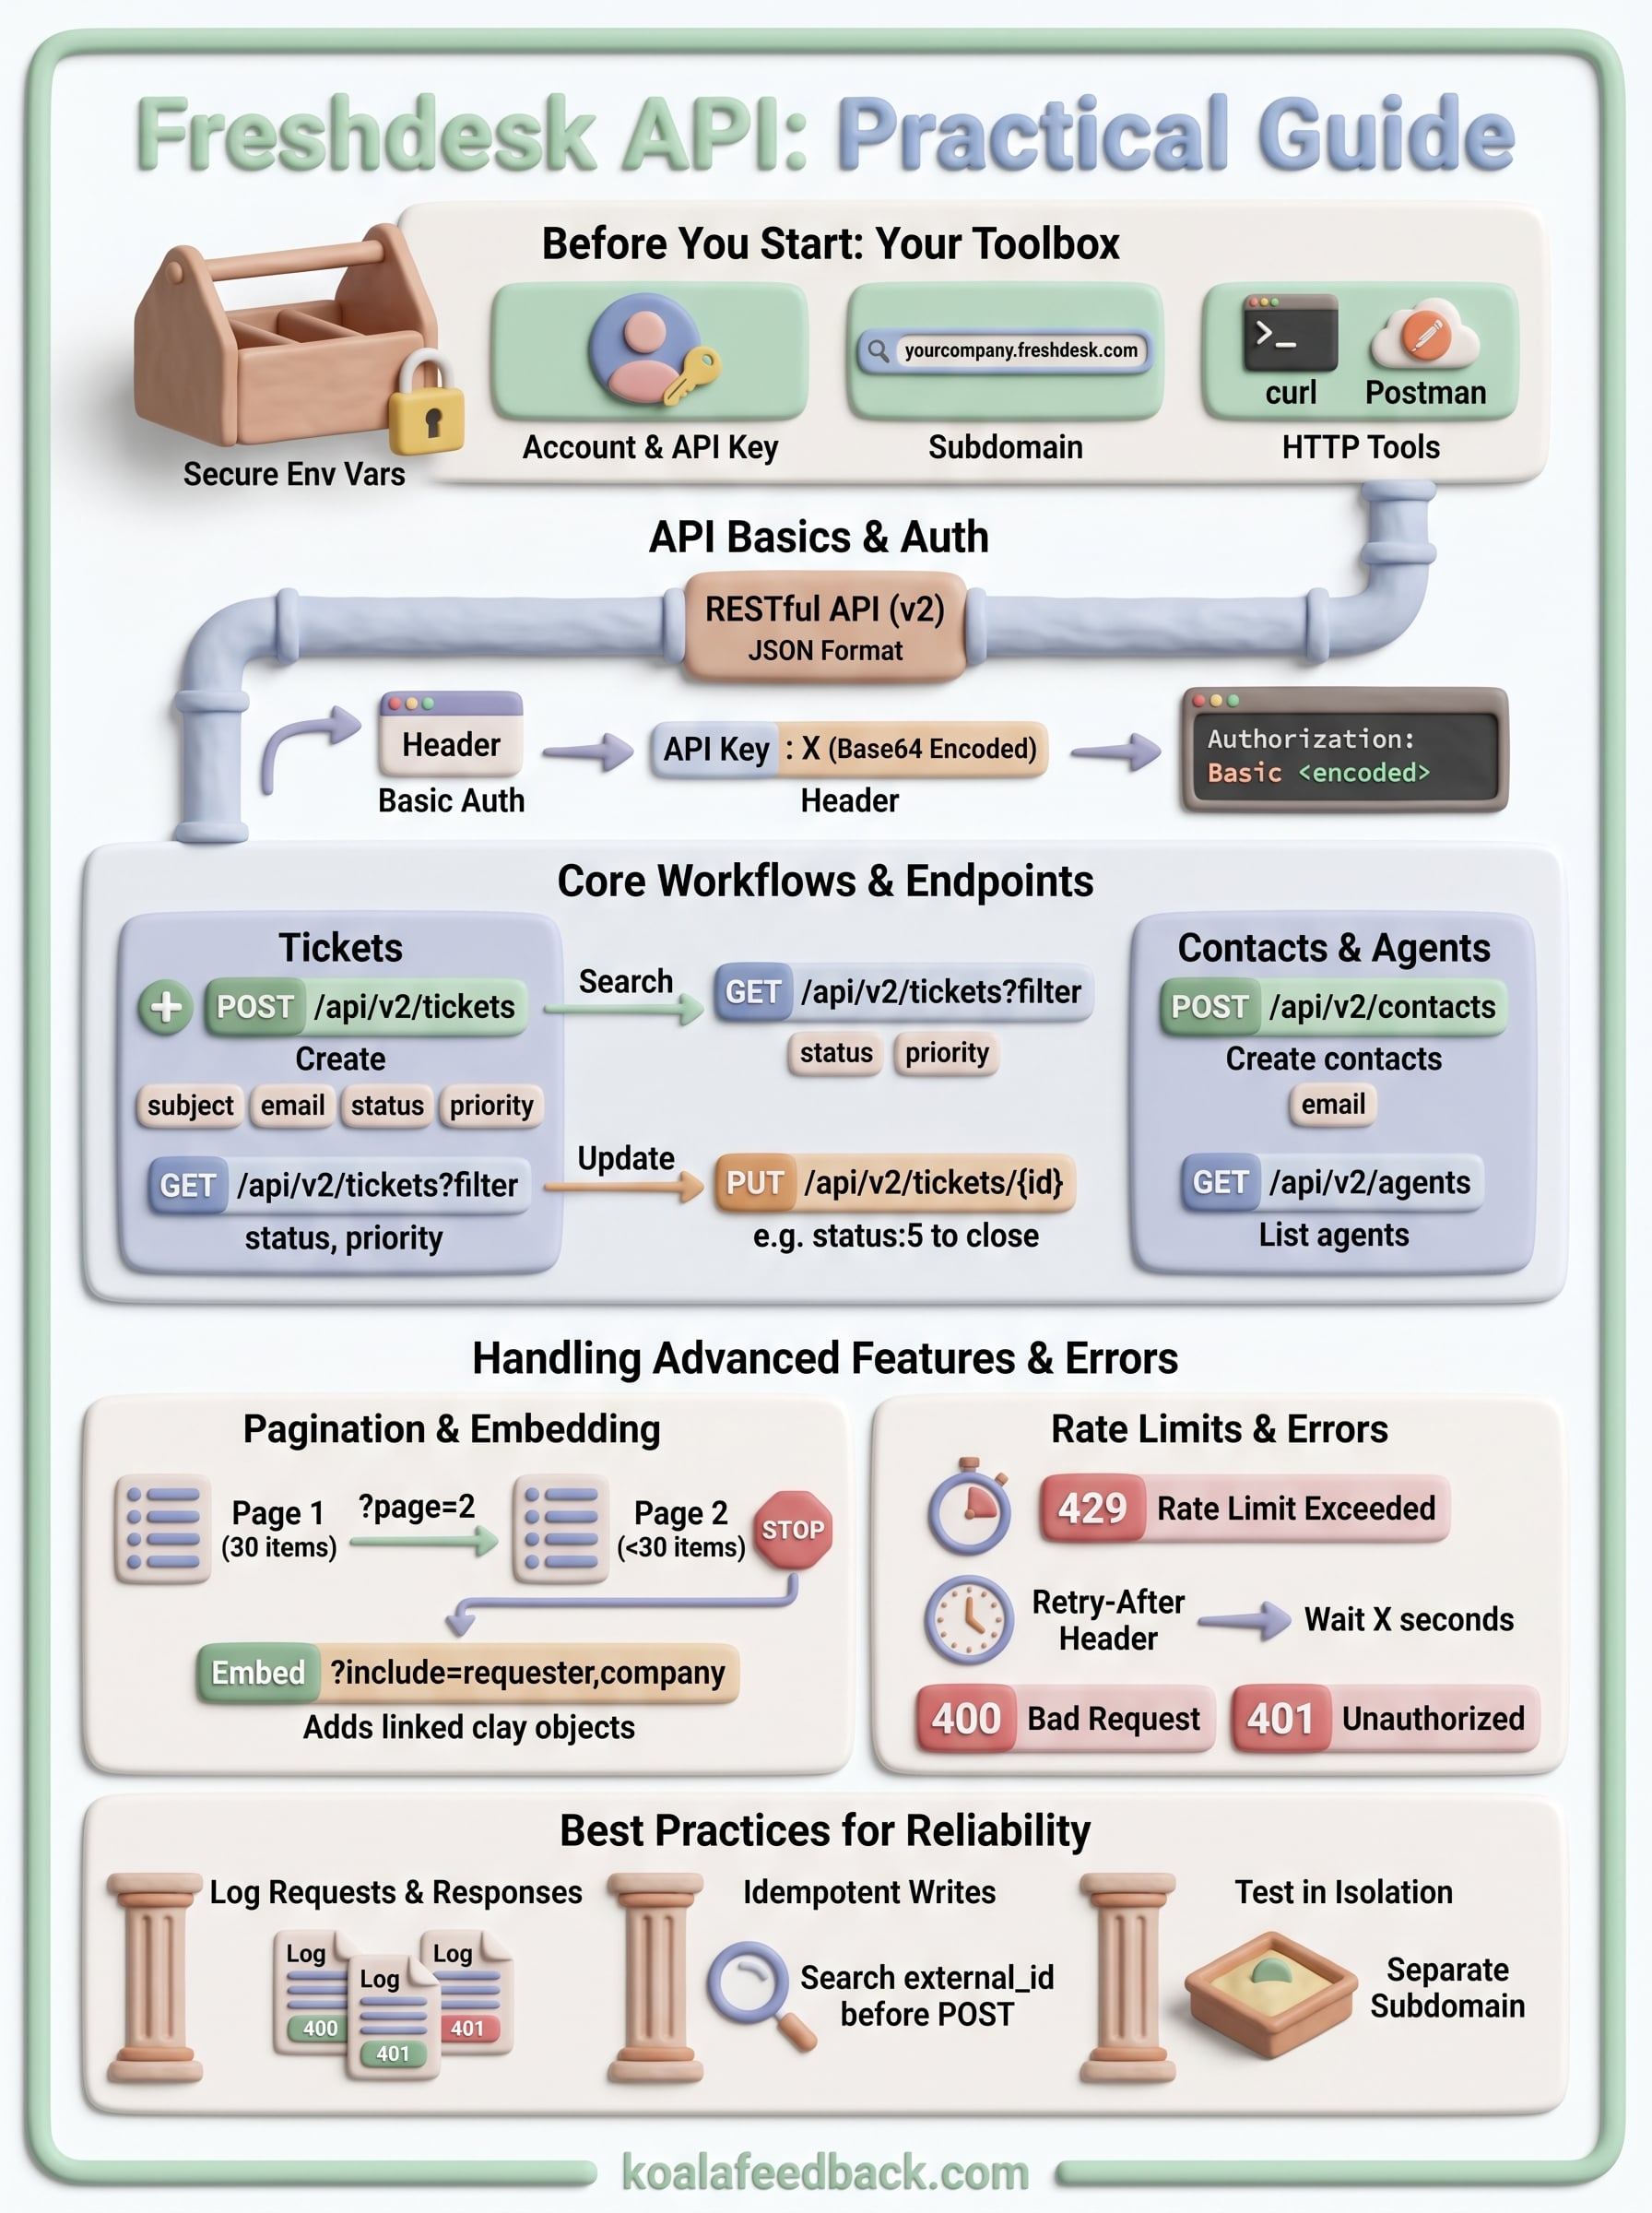
You now have everything you need to start working with the Freshdesk API documentation in a practical, structured way. From setting up Basic auth and making your first curl request to handling pagination, rate limits, and file attachments, this guide covers the building blocks that every reliable integration depends on. The patterns here are not theoretical, they are the same approaches developers use in production systems every day.
Your next step is to identify the workflow that matters most to your team and build it using the endpoint examples and code snippets from this guide. If your goal is to connect support conversations to product decisions, the real value comes from routing that ticket data into a system where your team can act on it. Koala Feedback helps you close that loop by giving your team a centralized place to collect, prioritize, and respond to user feedback drawn from sources like Freshdesk.

Start today and have your feedback portal up and running in minutes.