A feature development process is the structured approach your team uses to take an idea from concept to reality. It covers everything from identifying user needs and designing solutions to building the feature, testing it, and releasing it to users. This process ensures everyone on your team knows what to do, when to do it, and how to measure success along the way.
You might be here because your team keeps missing deadlines, building the wrong things, or struggling to align on priorities. Maybe feedback gets lost between channels, or you're not sure which features to tackle next. This article walks you through the core steps of an agile feature development process, shows you how to build one that fits your team, and provides practical examples you can use right away. You'll learn how to move from chaos to clarity while keeping your users at the center of every decision.
Without a clear feature development process, your team operates in reactive mode. Developers build features based on whoever shouted loudest, designers create mockups without context, and product managers struggle to explain why certain work takes priority. You end up with misaligned expectations, duplicated effort, and features that miss the mark.
A structured process gives your team shared language and clear checkpoints. Everyone knows when design needs to be finalized, when engineering starts building, and when QA begins testing. This clarity reduces confusion, speeds up delivery, and ensures you build features that actually solve user problems. You spend less time in meetings clarifying what to do next and more time doing the work.
A defined process turns guesswork into predictable progress.
The benefits extend beyond internal efficiency. Users get better features faster because your team focuses on what matters most. You can track progress accurately, communicate timelines confidently, and pivot when feedback shows you're heading in the wrong direction.
Building a feature development process starts with mapping what you already do, not inventing something from scratch. Look at how your team currently moves from idea to shipped feature. Write down each step, who does the work, and where things typically get stuck. This baseline shows you what works and what needs fixing.
Document your existing steps by following a recent feature from start to finish. Ask your team where they spend time waiting, where information gets lost, and where decisions stall. You'll likely find patterns like unclear handoffs between design and engineering or features that sit in "ready for testing" for weeks. These pain points tell you where your new process needs stronger guardrails.
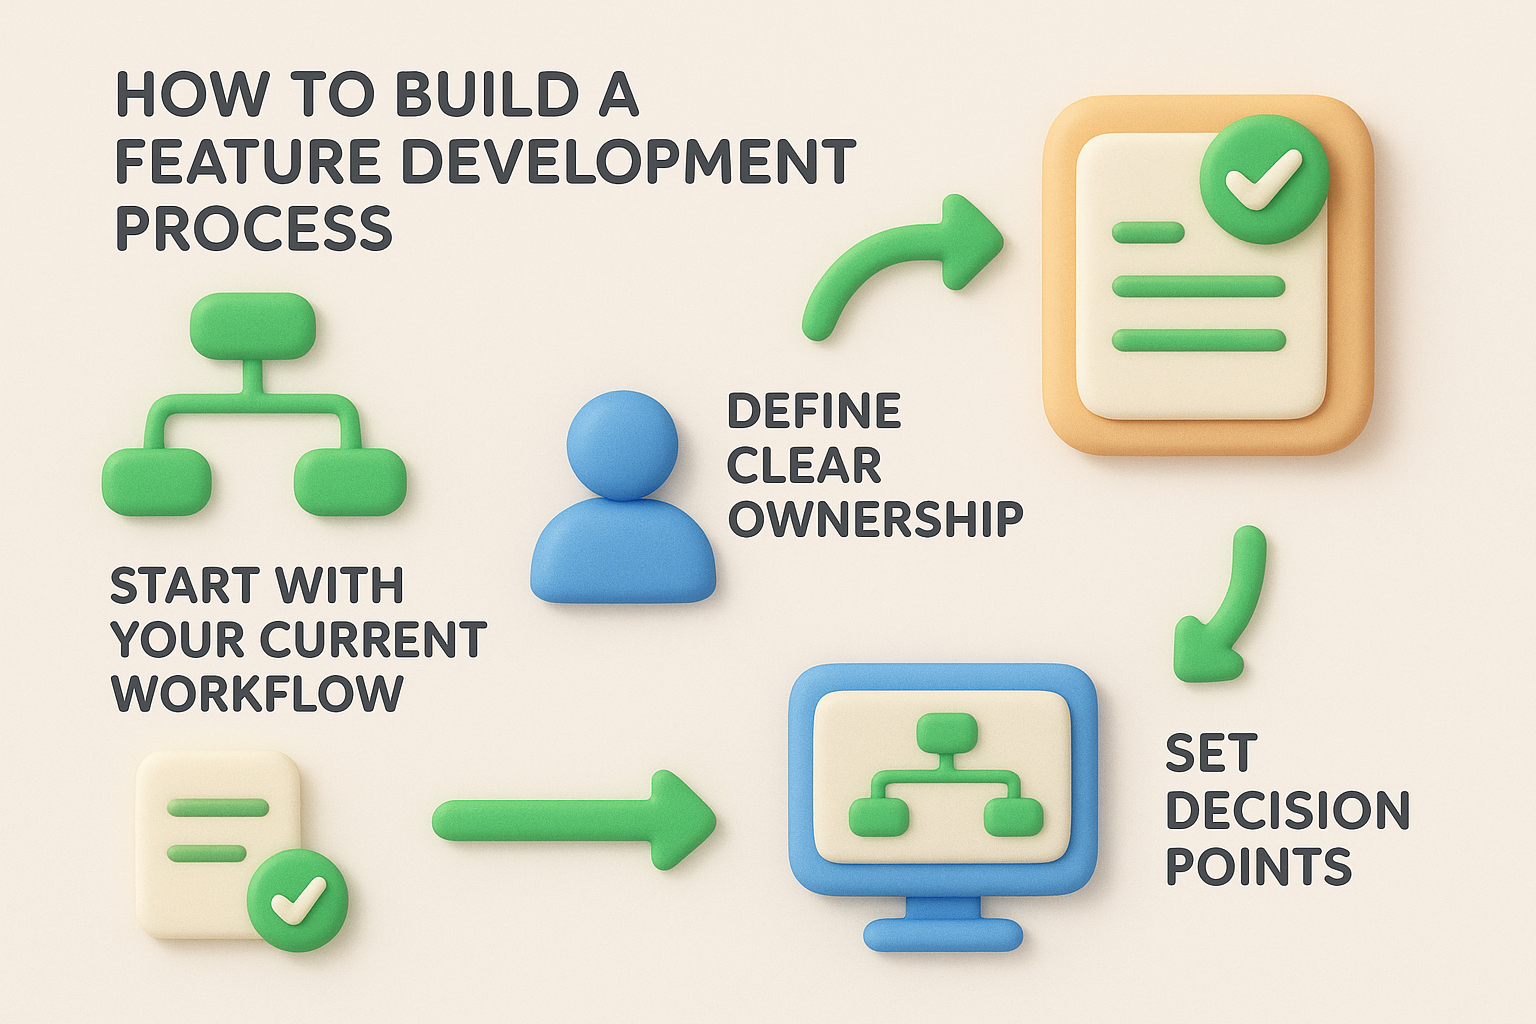
Assign specific roles to each phase of development. Your product manager might own discovery and prioritization, designers own the solution design, engineers own implementation, and QA owns testing. Make it explicit who makes the final call when disagreements arise. This clarity prevents features from getting stuck because no one knows whose job it is to move things forward.
Clear ownership turns bottlenecks into smooth transitions.
Establish formal checkpoints where your team reviews progress and decides whether to continue, pivot, or stop. These might include a design review before engineering starts, a technical spec review before writing code, and a launch readiness check before shipping. Each checkpoint should have clear criteria for moving forward. You'll catch problems early instead of discovering them right before launch.
Every agile feature development process follows a similar rhythm, though the specific steps and timeframes vary by team. These phases create a repeatable framework that helps you move from user need to shipped feature without losing momentum or clarity. Understanding each phase helps your team coordinate work across disciplines and catch problems before they become expensive.
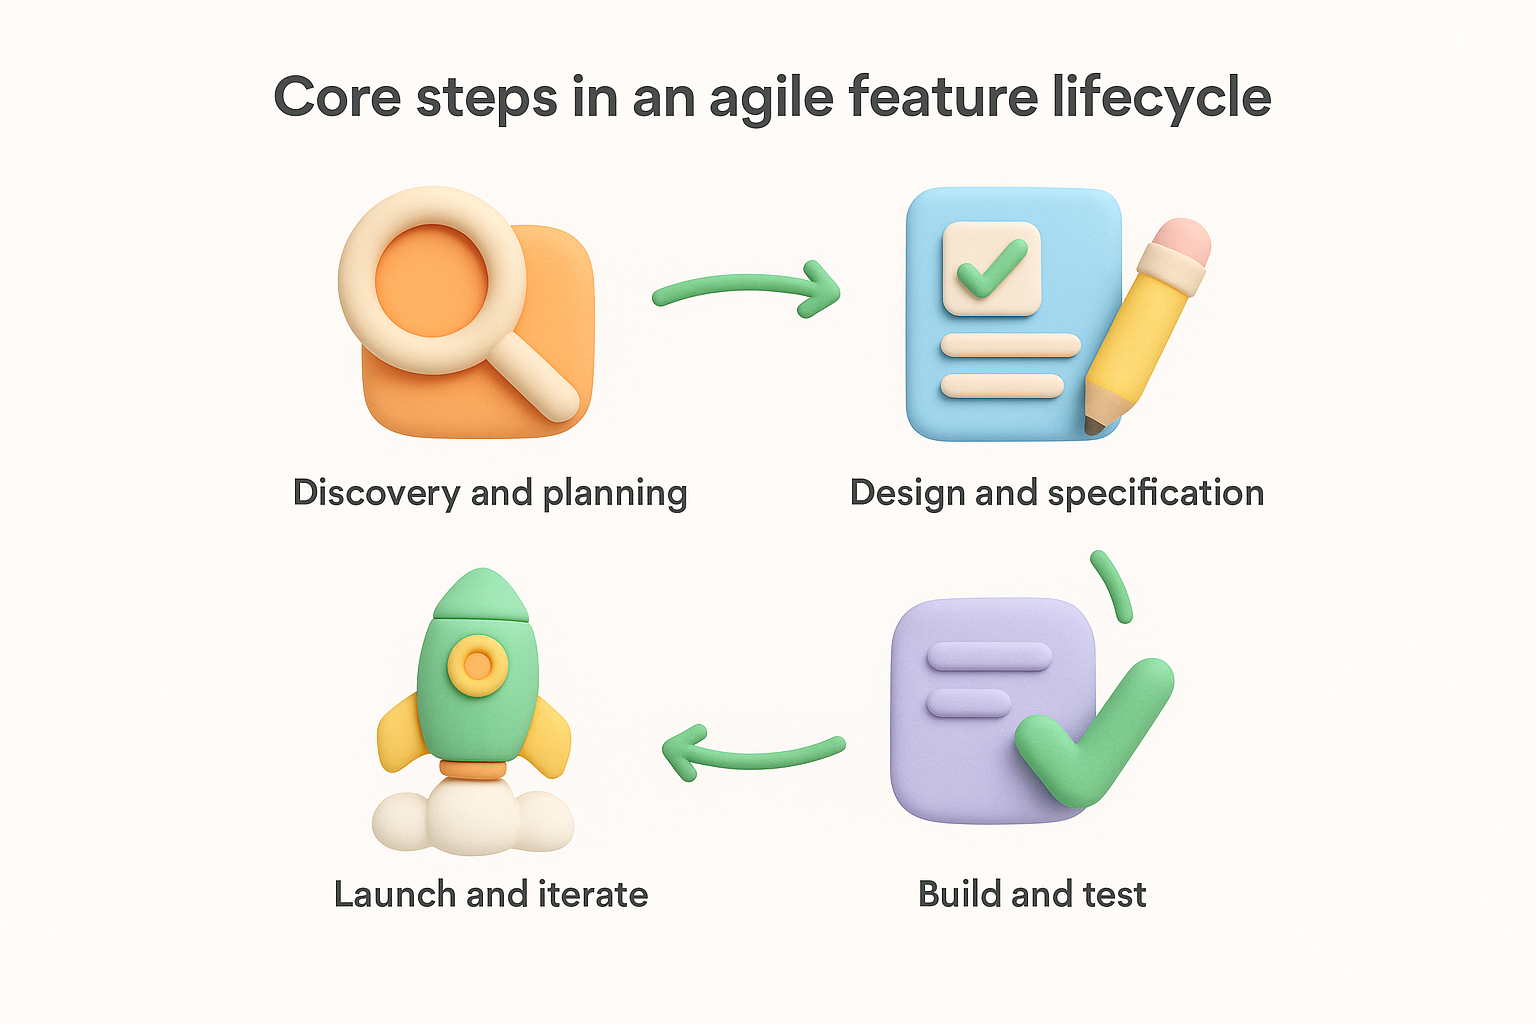
You start by identifying the problem your feature will solve. Talk to users, review support tickets, analyze usage data, and examine feedback from your feedback portal. Your goal is to understand the "why" behind the feature, not just what users are asking for. Document the problem clearly so your entire team understands what success looks like.
Clear problem definition prevents building the wrong solution.
Next, prioritize the feature against your other work. Consider factors like user impact, business value, technical complexity, and strategic alignment. Create a brief spec that outlines the problem, success metrics, and any constraints. This document becomes your north star throughout development.
Your design team creates the solution based on the problem definition. They explore different approaches, test concepts with users when possible, and produce mockups or prototypes. This phase answers "how" you'll solve the problem in a way that fits your product and delights users.
Engineers review the designs for technical feasibility and create implementation specs. They identify dependencies, estimate effort, and flag any architectural considerations. Both teams collaborate to ensure the proposed solution is buildable within your constraints.
Developers write the code according to the specifications, working in small increments whenever possible. They collaborate with designers to resolve edge cases and with product managers to clarify requirements. Quality assurance runs alongside development, not just at the end.
Your QA team validates the feature against acceptance criteria, tests edge cases, and verifies it works across different devices or configurations. You catch bugs early and fix them before users encounter them.
You release the feature to users, starting with a small group if possible. Monitor usage, collect feedback, and track your success metrics. Based on what you learn, you make quick improvements or adjustments to maximize value and user satisfaction.
Feature Driven Development (FDD) is a specific agile methodology created in 1999, not a generic term for your feature development process. FDD follows five prescribed steps: develop an overall model, build a features list, plan by feature, design by feature, and build by feature. This methodology works best for larger teams and projects where you need structured, top-down leadership with clear roles for chief programmers and architects.

Understand the difference between FDD methodology and your general process.
Your general feature development process can incorporate FDD principles without adopting the full framework. You might borrow concepts like feature-based planning or iterative design while maintaining flexibility for your team size and culture. Most modern agile teams blend practices from multiple frameworks rather than following one methodology strictly, choosing what works for their specific context.
Your feature development process becomes concrete and repeatable when you create simple templates your team can reuse. These checklists ensure you capture essential information at each phase without slowing down delivery. You can adapt these examples to fit your specific workflow and tools.
Before you commit to building, document these critical inputs to align your team. Include the problem statement in one sentence, the target user segment, success metrics you'll track, and any technical constraints or dependencies. Capture stakeholder approval explicitly so everyone agrees on scope before work begins. Your product manager should complete this checklist and share it with design and engineering before the next phase starts.
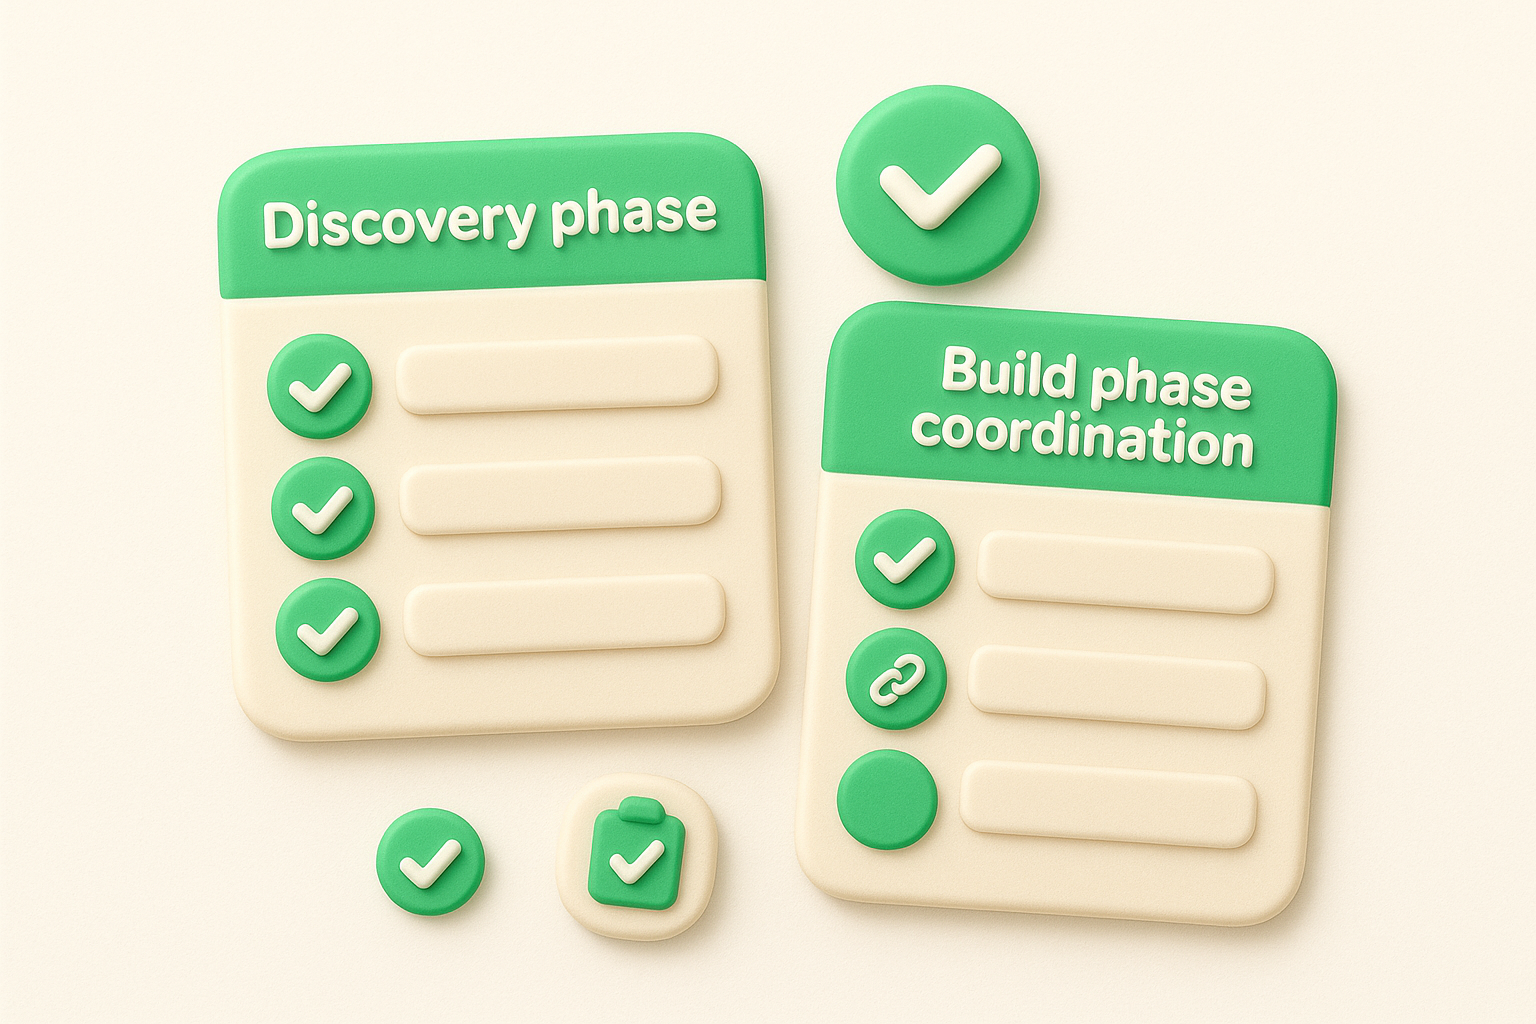
Templates turn best practices into everyday habits.
During development, track these key milestones to keep progress visible. Log when engineering starts implementation, when the first code review happens, when QA begins testing, and when the feature passes all acceptance criteria. Include links to your design specs, technical documentation, and test plans in one central location. This transparency helps your entire team understand status without asking for updates, and it creates a historical record you can reference for future features.

A feature development process transforms scattered work into coordinated progress. You need clear ownership at each phase, documented checkpoints for decision making, and a shared understanding of how work flows from discovery to launch. Start by mapping your current workflow, identify where things get stuck, and build lightweight templates that your team will actually use.
Your process should adapt to your team size and culture rather than following rigid methodologies. Track what matters, communicate status transparently, and keep user feedback central to every decision. Koala Feedback helps you centralize user input, prioritize features based on real demand, and share your roadmap so everyone knows what you're building next. The right process paired with the right tools turns feature chaos into predictable delivery.

Start today and have your feedback portal up and running in minutes.
